-

-
 Argentina (en)
-
 Australia (en)
-
 Belgien (de)
-
Belgique (fr)
-
België (en)
-
 Brasil (en)
-
 Canada (en)
-
Canada (fr)
-
 Česko (en)
-
 Chile (en)
-
 Danmark (en)
-
 Deutschland (de)
-
 España (en)
-
 France (fr)
-
 Hrvatska (en)
-
 Ireland (en)
-
 Italia (en)
-
 Magyarország (en)
-
 Nederland (en)
-
 Norge (en)
-
 Österreich (de)
-
 Polska (pl)
-
 Portugal (en)
-
 România (en)
-
 Schweiz (de)
-
 Slovenija (en)
-
 Slovensko (en)
-
 South Africa (en)
-
 Srbija (en)
-
Suisse (fr)
-
 Suomi (en)
-
 Sverige (en)
-
Svizzera (en)
-
 United Kingdom (en)
-
United States (en)
-
 Россия (en)
-
 Україна (en)
-
 日本 (en)
-
[Crops 101] How to Sow & Harvest Carrots
November 14, 2023
Welcome to your next “Crops 101” lesson of the Farming Simulator Academy! In this tutorial, we'll show you how to grow, harvest and sell carrots.
What you need for carrots
Let's take a look at everything you need. Please note that we require special equipment. This is not the cheapest equipment, so carrots might not be the best choice to start with at the very beginning. If you still want to, think about leasing the machines at the dealership!
- You need a tractor + weights. You require weights in addition to various tools, so the front wheels of your tractor don't lose traction because of the heavy machinery attached in the back. They counter the weight of tools. More info in the equipment section.
- You need a subsoiler. Because of the roots, you need to plow the field after every harvest. A subsoiler is easier and faster to use than a plow, although both works.
- You need a planter and seeds. In the “Vegetable Technology” category of the shop, you will find the planters listed. You will also need to buy a BigBag of seeds, which contains all the crops.
- You need a fertilizer spreader, mineral fertilizer (and lime). Without, the income from your harvested crops will be lowered. For beginners, artificial fertilizers are the best choice. You find both lime and fertilizer in the BigBag section of the shop. A fertilizer spreader is found in the fertilizing technology category. If your field requires lime, it will be shown in the right corner box if you’re standing on the field and on the map in the menu.
- You need a hoe to get rid of the weeds that appear quickly. Otherwise, you will get less money for your crop when you sell it. You should get rid of the weeds as soon as possible. If they grow too tall, you will need an expensive fertilizer sprayer!
- You need a special harvester to harvest the carrots.
- You need a trailer to transport and sell the harvest.
Optional:
- You may use a ridge former to prepare the field for carrot sowing. It counts as a fertilizing stage and improves the yield.
Equipment Selection (recommendation)
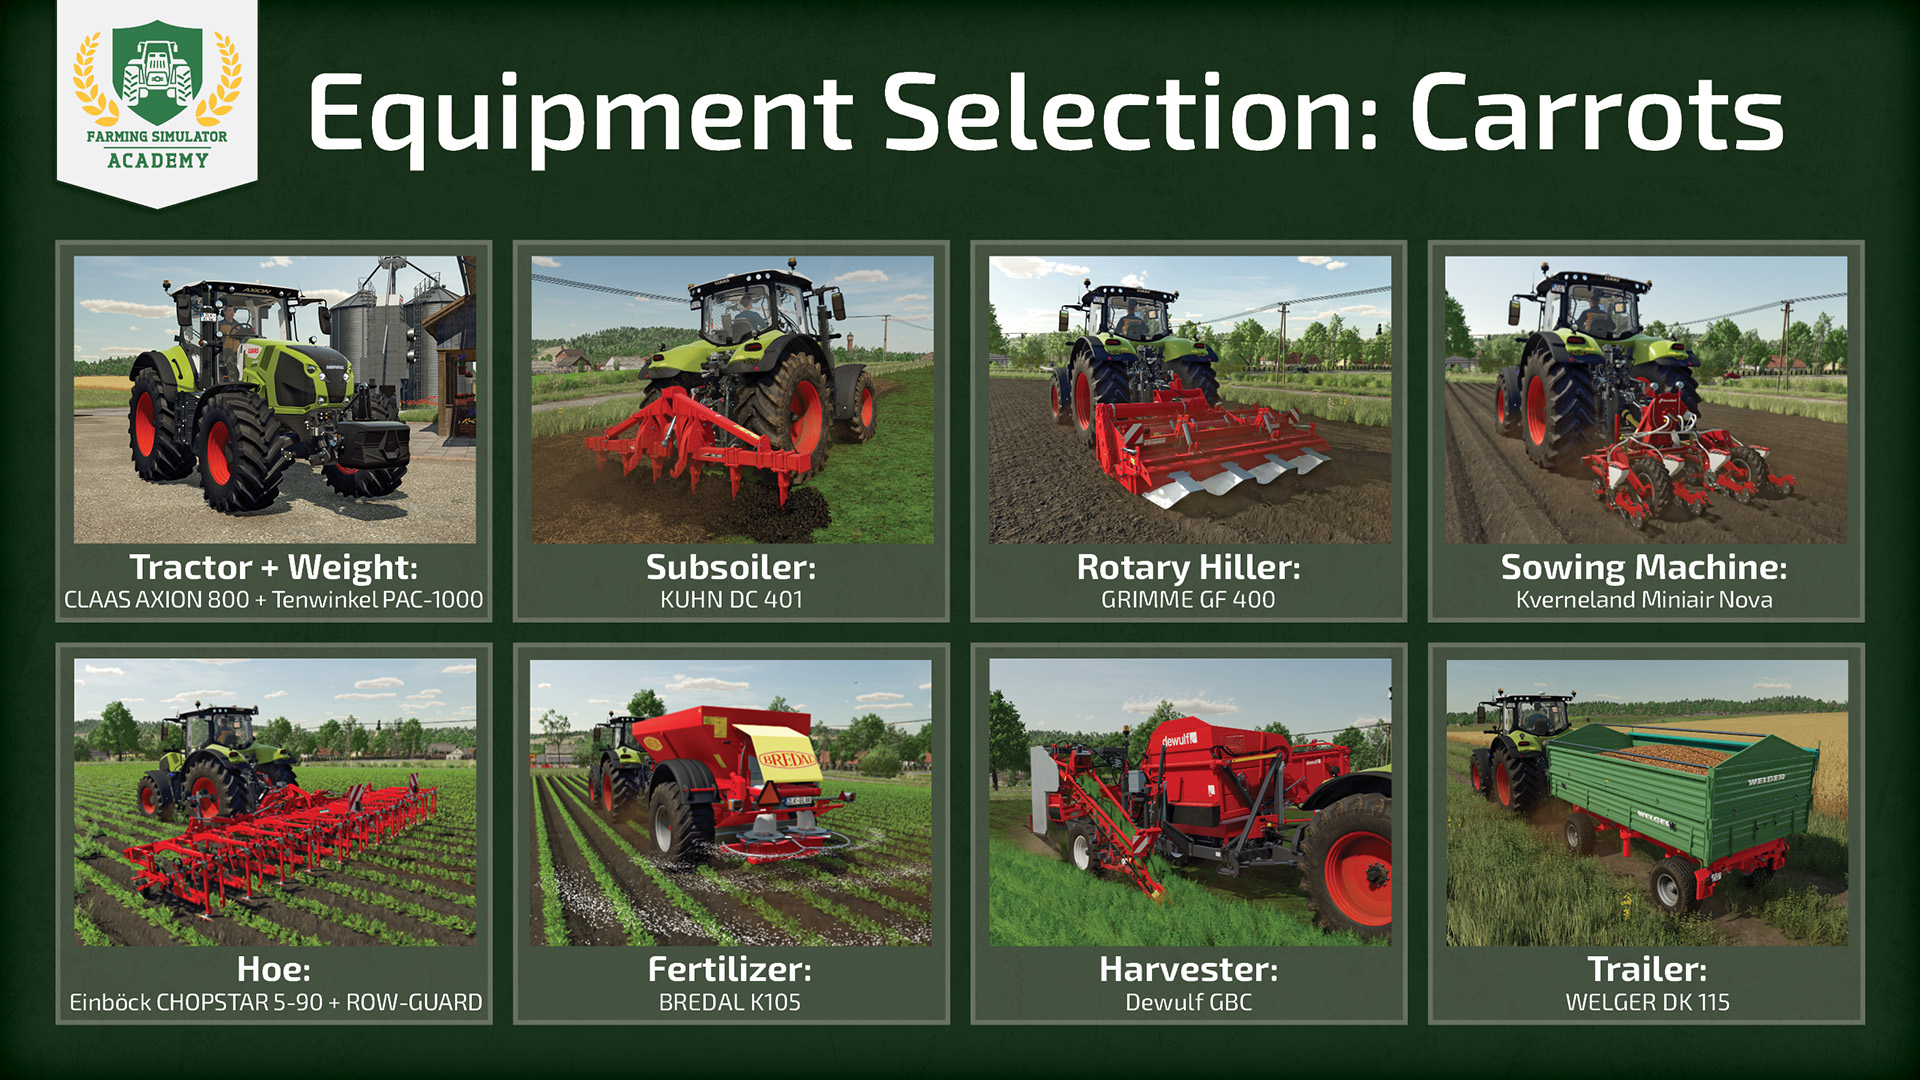
We have chosen the following equipment. Feel free to use other vehicles or equipment. Just mind compatibilities and power requirements as indicated by respective icons at the dealership.
- Tractor: CLAAS Axion 800
- Subsoiler: Kuhn DC 401
- Ridge Former: Grimme GF 400
- Planter: Kverneland Miniair Nova
- Harvester: Dewulf GBC
- Hoe: Einböck CHOPSTAR 5-90 ROW-GUARD
- Fertilizer: BREDAL K105
- Trailer: WELGER DK 115
- Front weight: Tenwinkel PAC-1000
Let’s go to work!
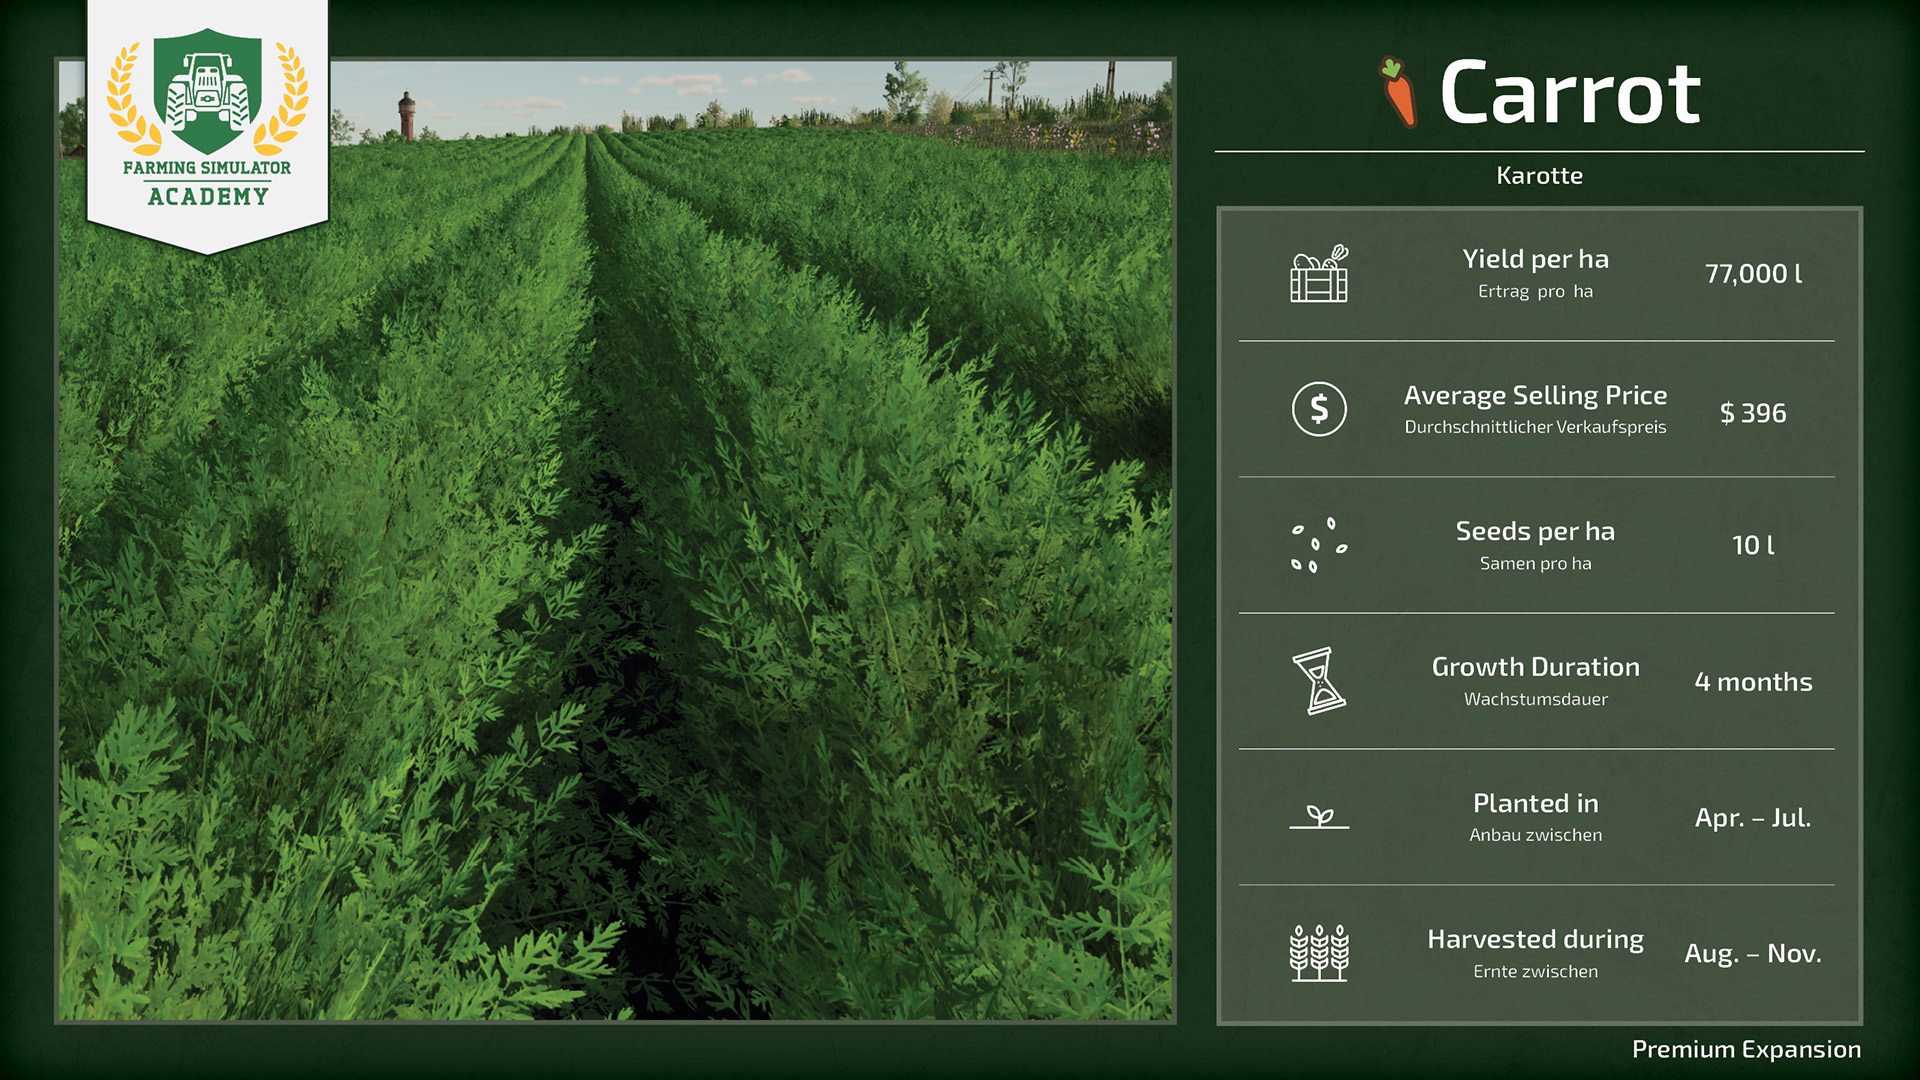
Got everything you need? Then let's get to work and grow some carrots. Remember that you can only sow carrots from the beginning of April to the end of July if you play with seasonal growth.
Step 1: Plowing the field
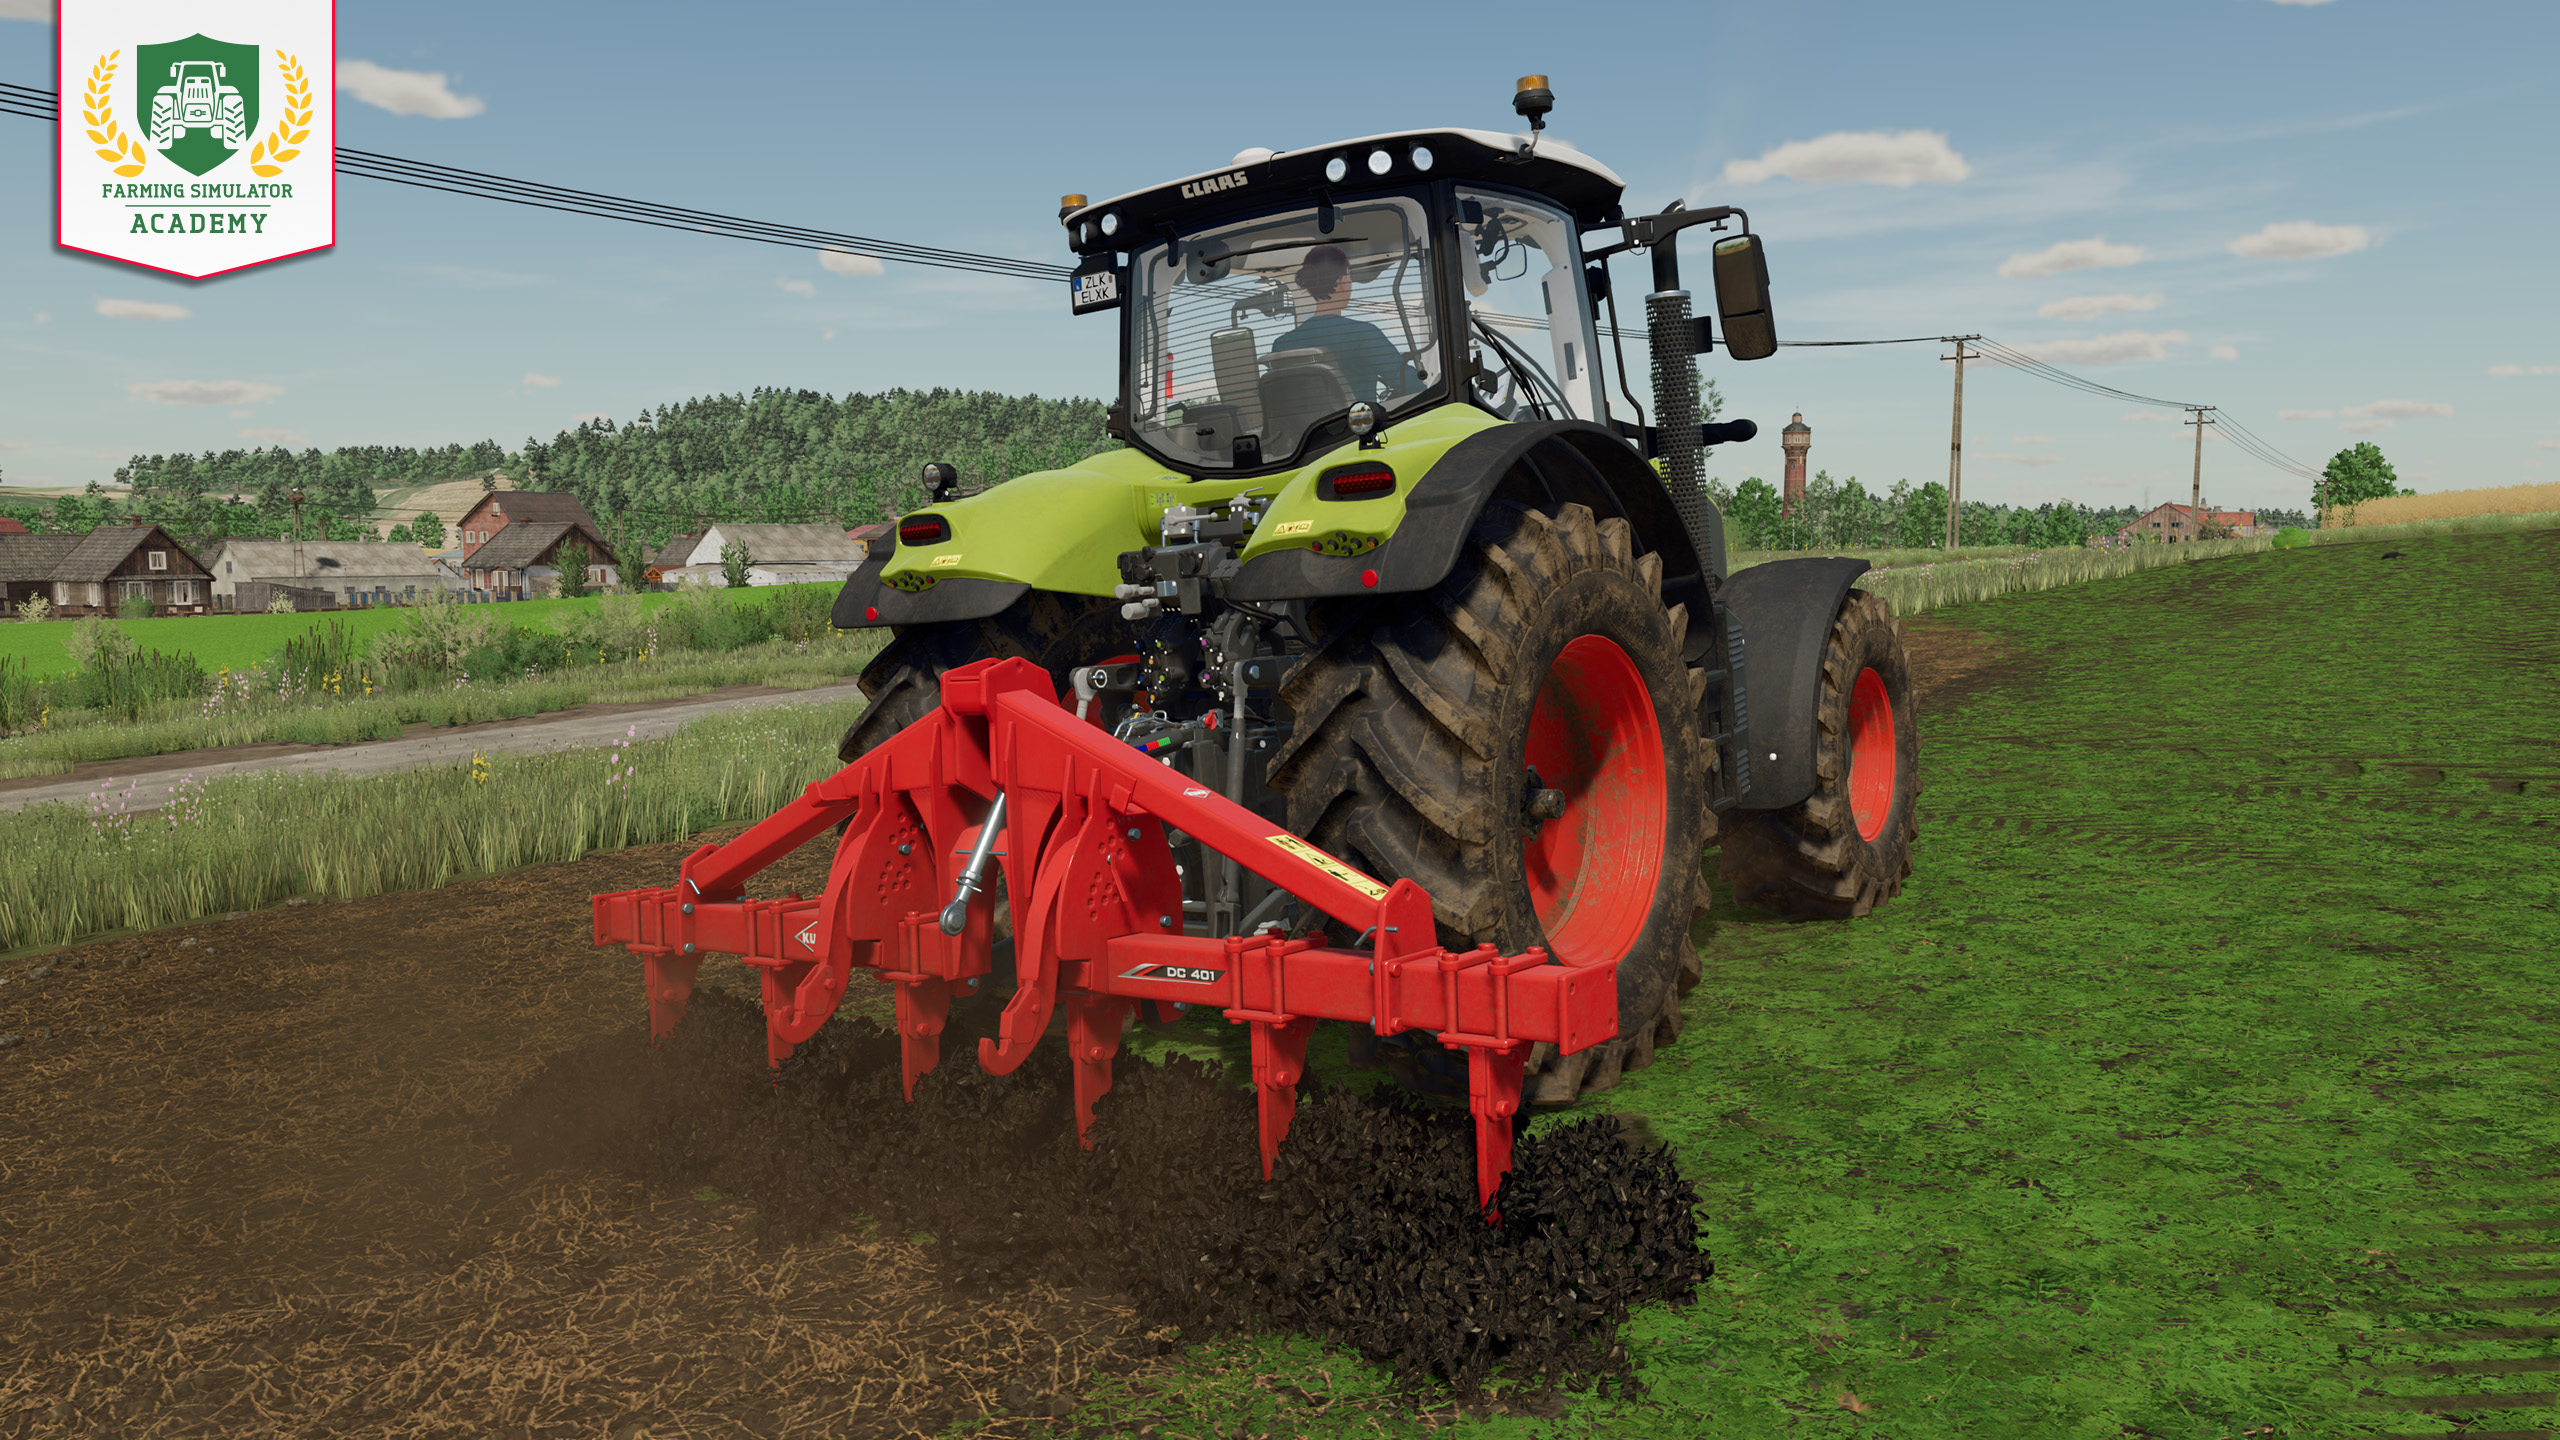
If necessary (the field info box will tell you), you will need to plow the field first, depending on what was growing in the field before. After harvesting, you will need to plow the field again to remove the deep roots and get the full yield.
We use a subsoiler instead of a plow. Of course, you can also use a plow if you like. Lower it into the ground and plow away!
Step 2: Shaping ridges (optional)

Now is the time to prepare the field for the carrots. Connect the ridging machine to your tractor. Similar to the subsoiler, start at one corner of the field and make your tracks. Before the next step, the field should be completely covered with ridges.
This step is optional and improves your yield. Alternatively, If you are short on money, you can also apply fertilizer twice to generate an application rate of 100 %.
Step 3: Planting carrots

Connect your planter to the tractor, position it next to the seeds and fill up the machine. Then drive to the field. Position yourself at a corner of the field, lower and turn on the machine. Now you can sow the carrots one row after another until the entire field is covered. As already mentioned, it does not have to be perfect from the beginning.
Tip! If you play with fruit destruction, you should use a tractor with maintenance tires for the following steps (as soon as the carrots start to grow) - otherwise you will destroy many of the plants.
Step 4: Applying fertilizer and lime
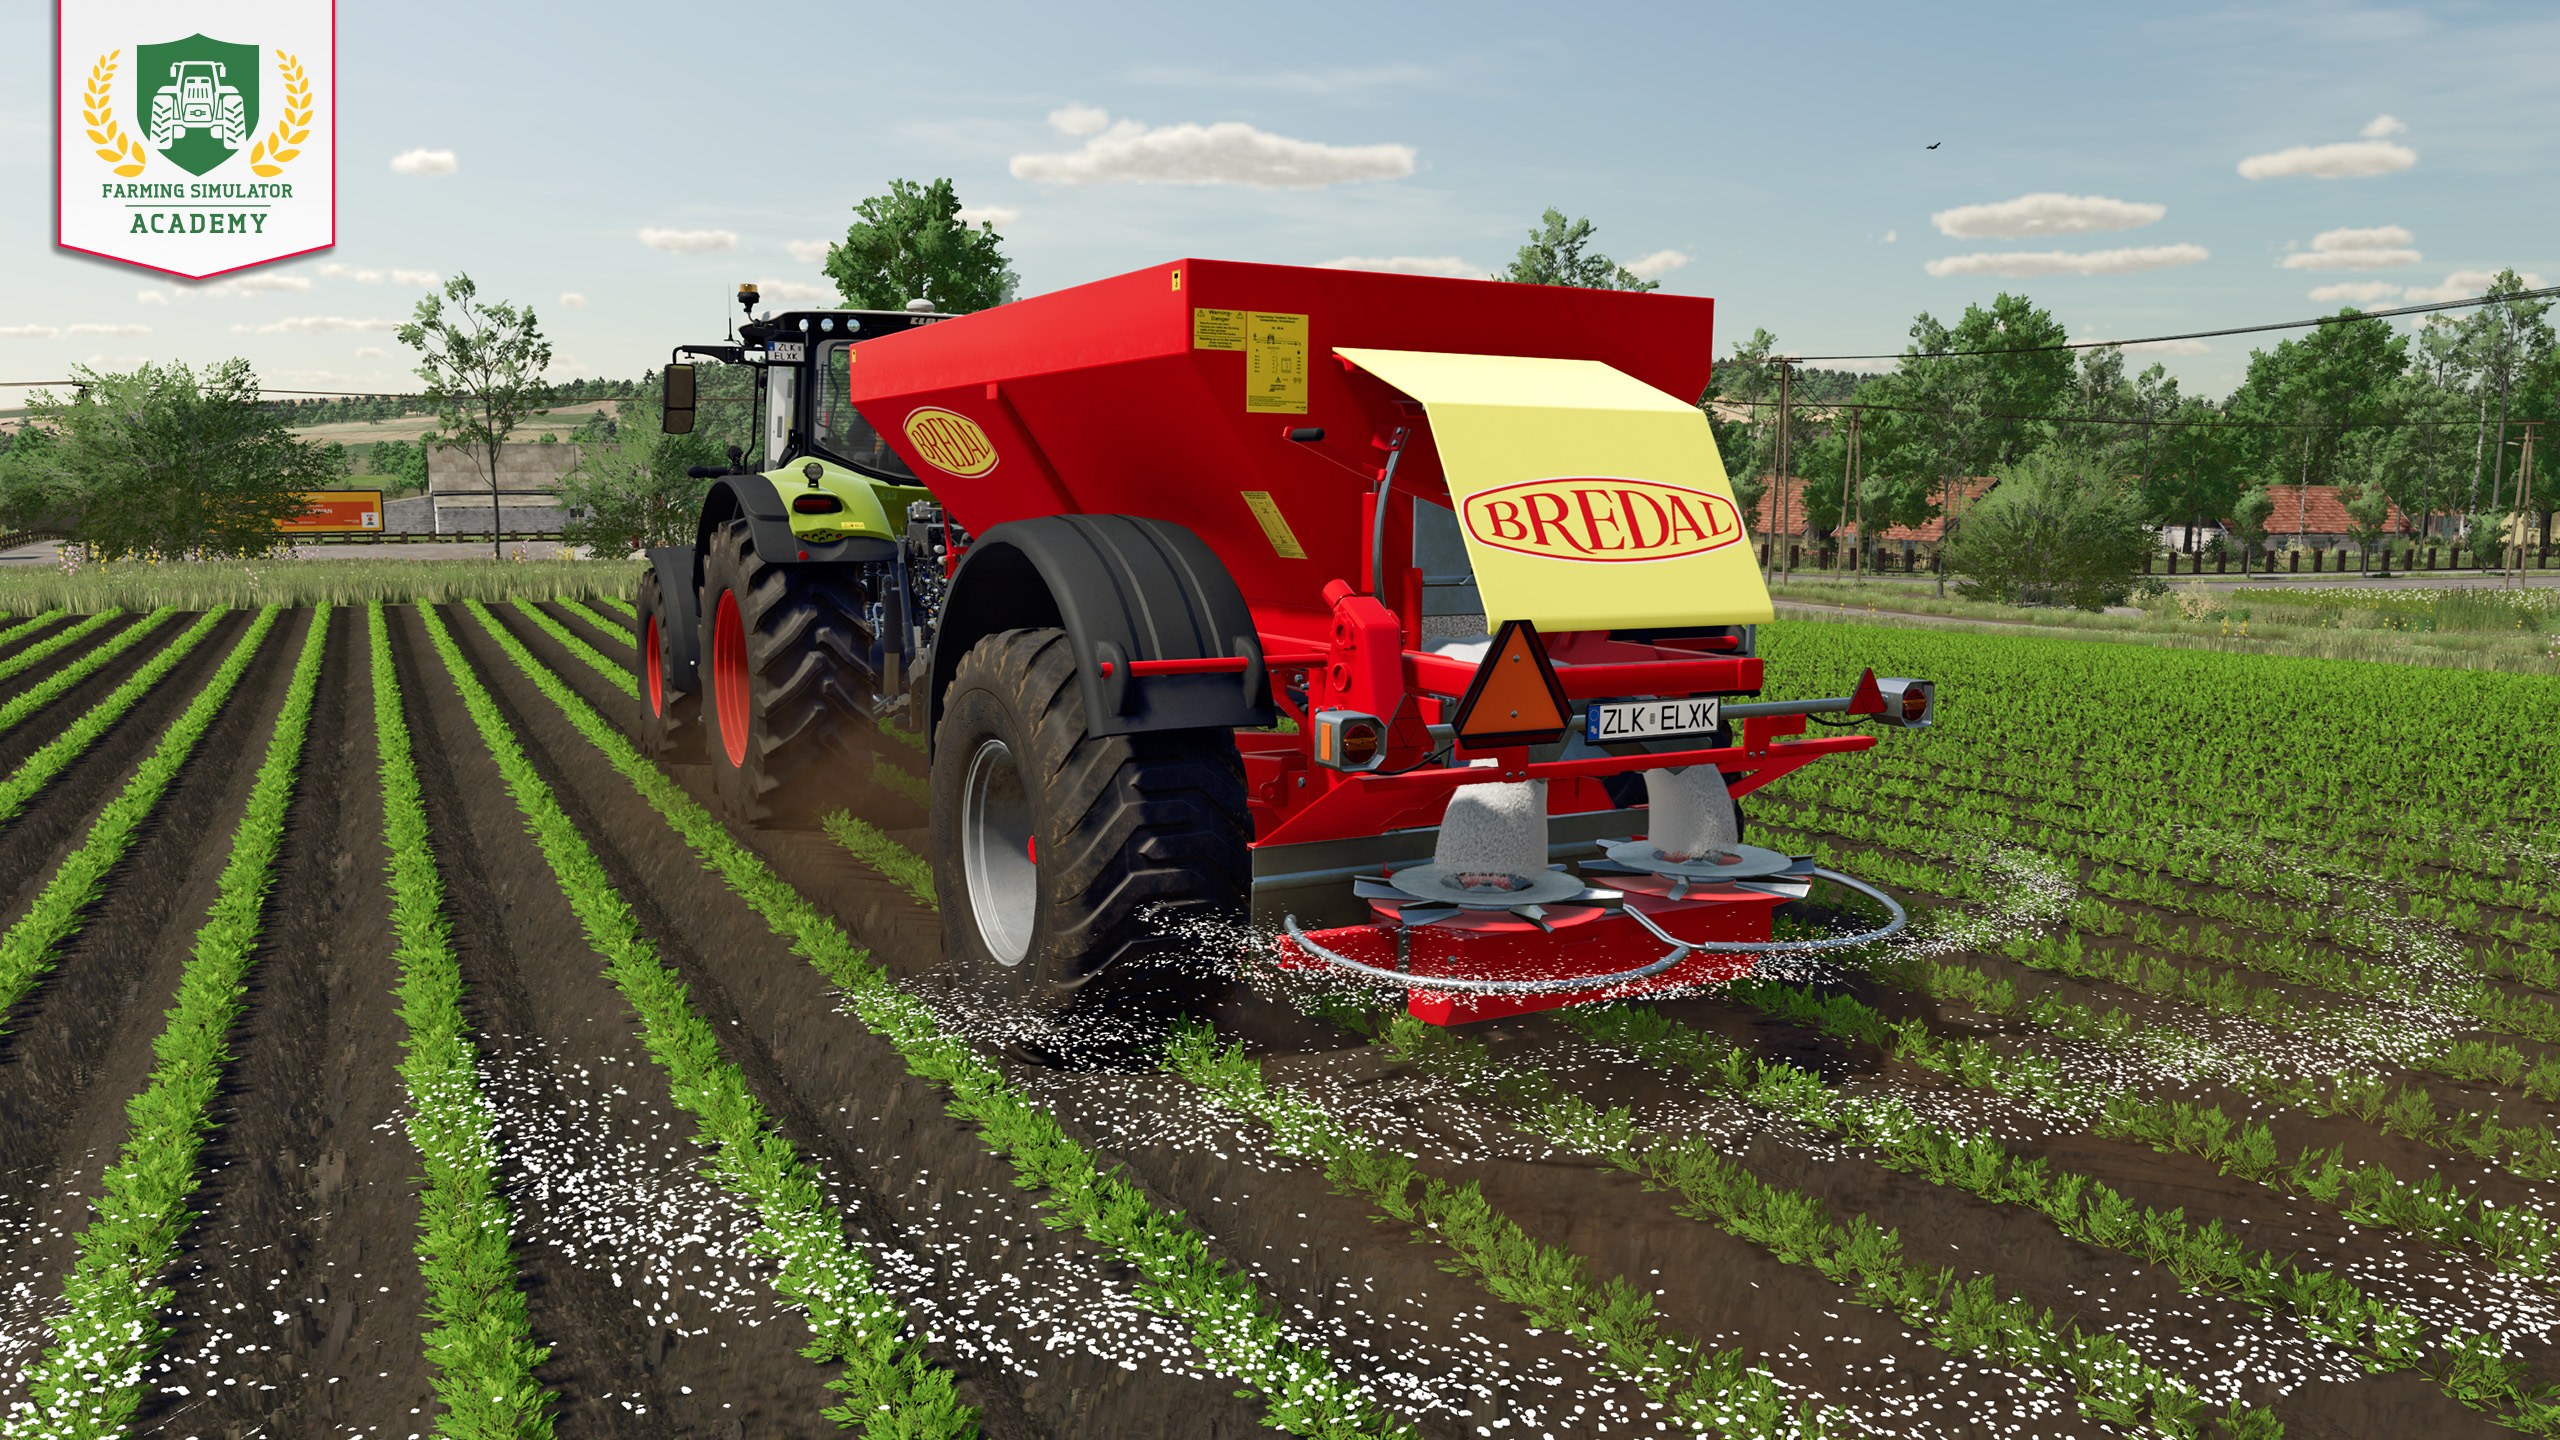
Fertilizing will improve your yield. Click on the BigBag category and buy the Solid Fertilizer. Then attach your fertilizer spreader to your tractor, position it next to the BigBag and press the button to refill.
Back on the field, turn on the machine and cover the whole field in fertilizer. It should now be 50 % fertilized. This will be shown in the bottom right corner of the field info screen when you are standing on a field. It’s okay if you miss a few spots.
Does the field tell you it also needs lime? Then head back to the shop, buy lime and repeat the same procedure. If you have fertilizer left in your spreader, you can unload it at your farm first.
Tip! If you didn’t shape ridges, repeat the process after the next stage of growth to increase the fertilization to 100%. The yield will be even higher.
Step 5: Removing weeds
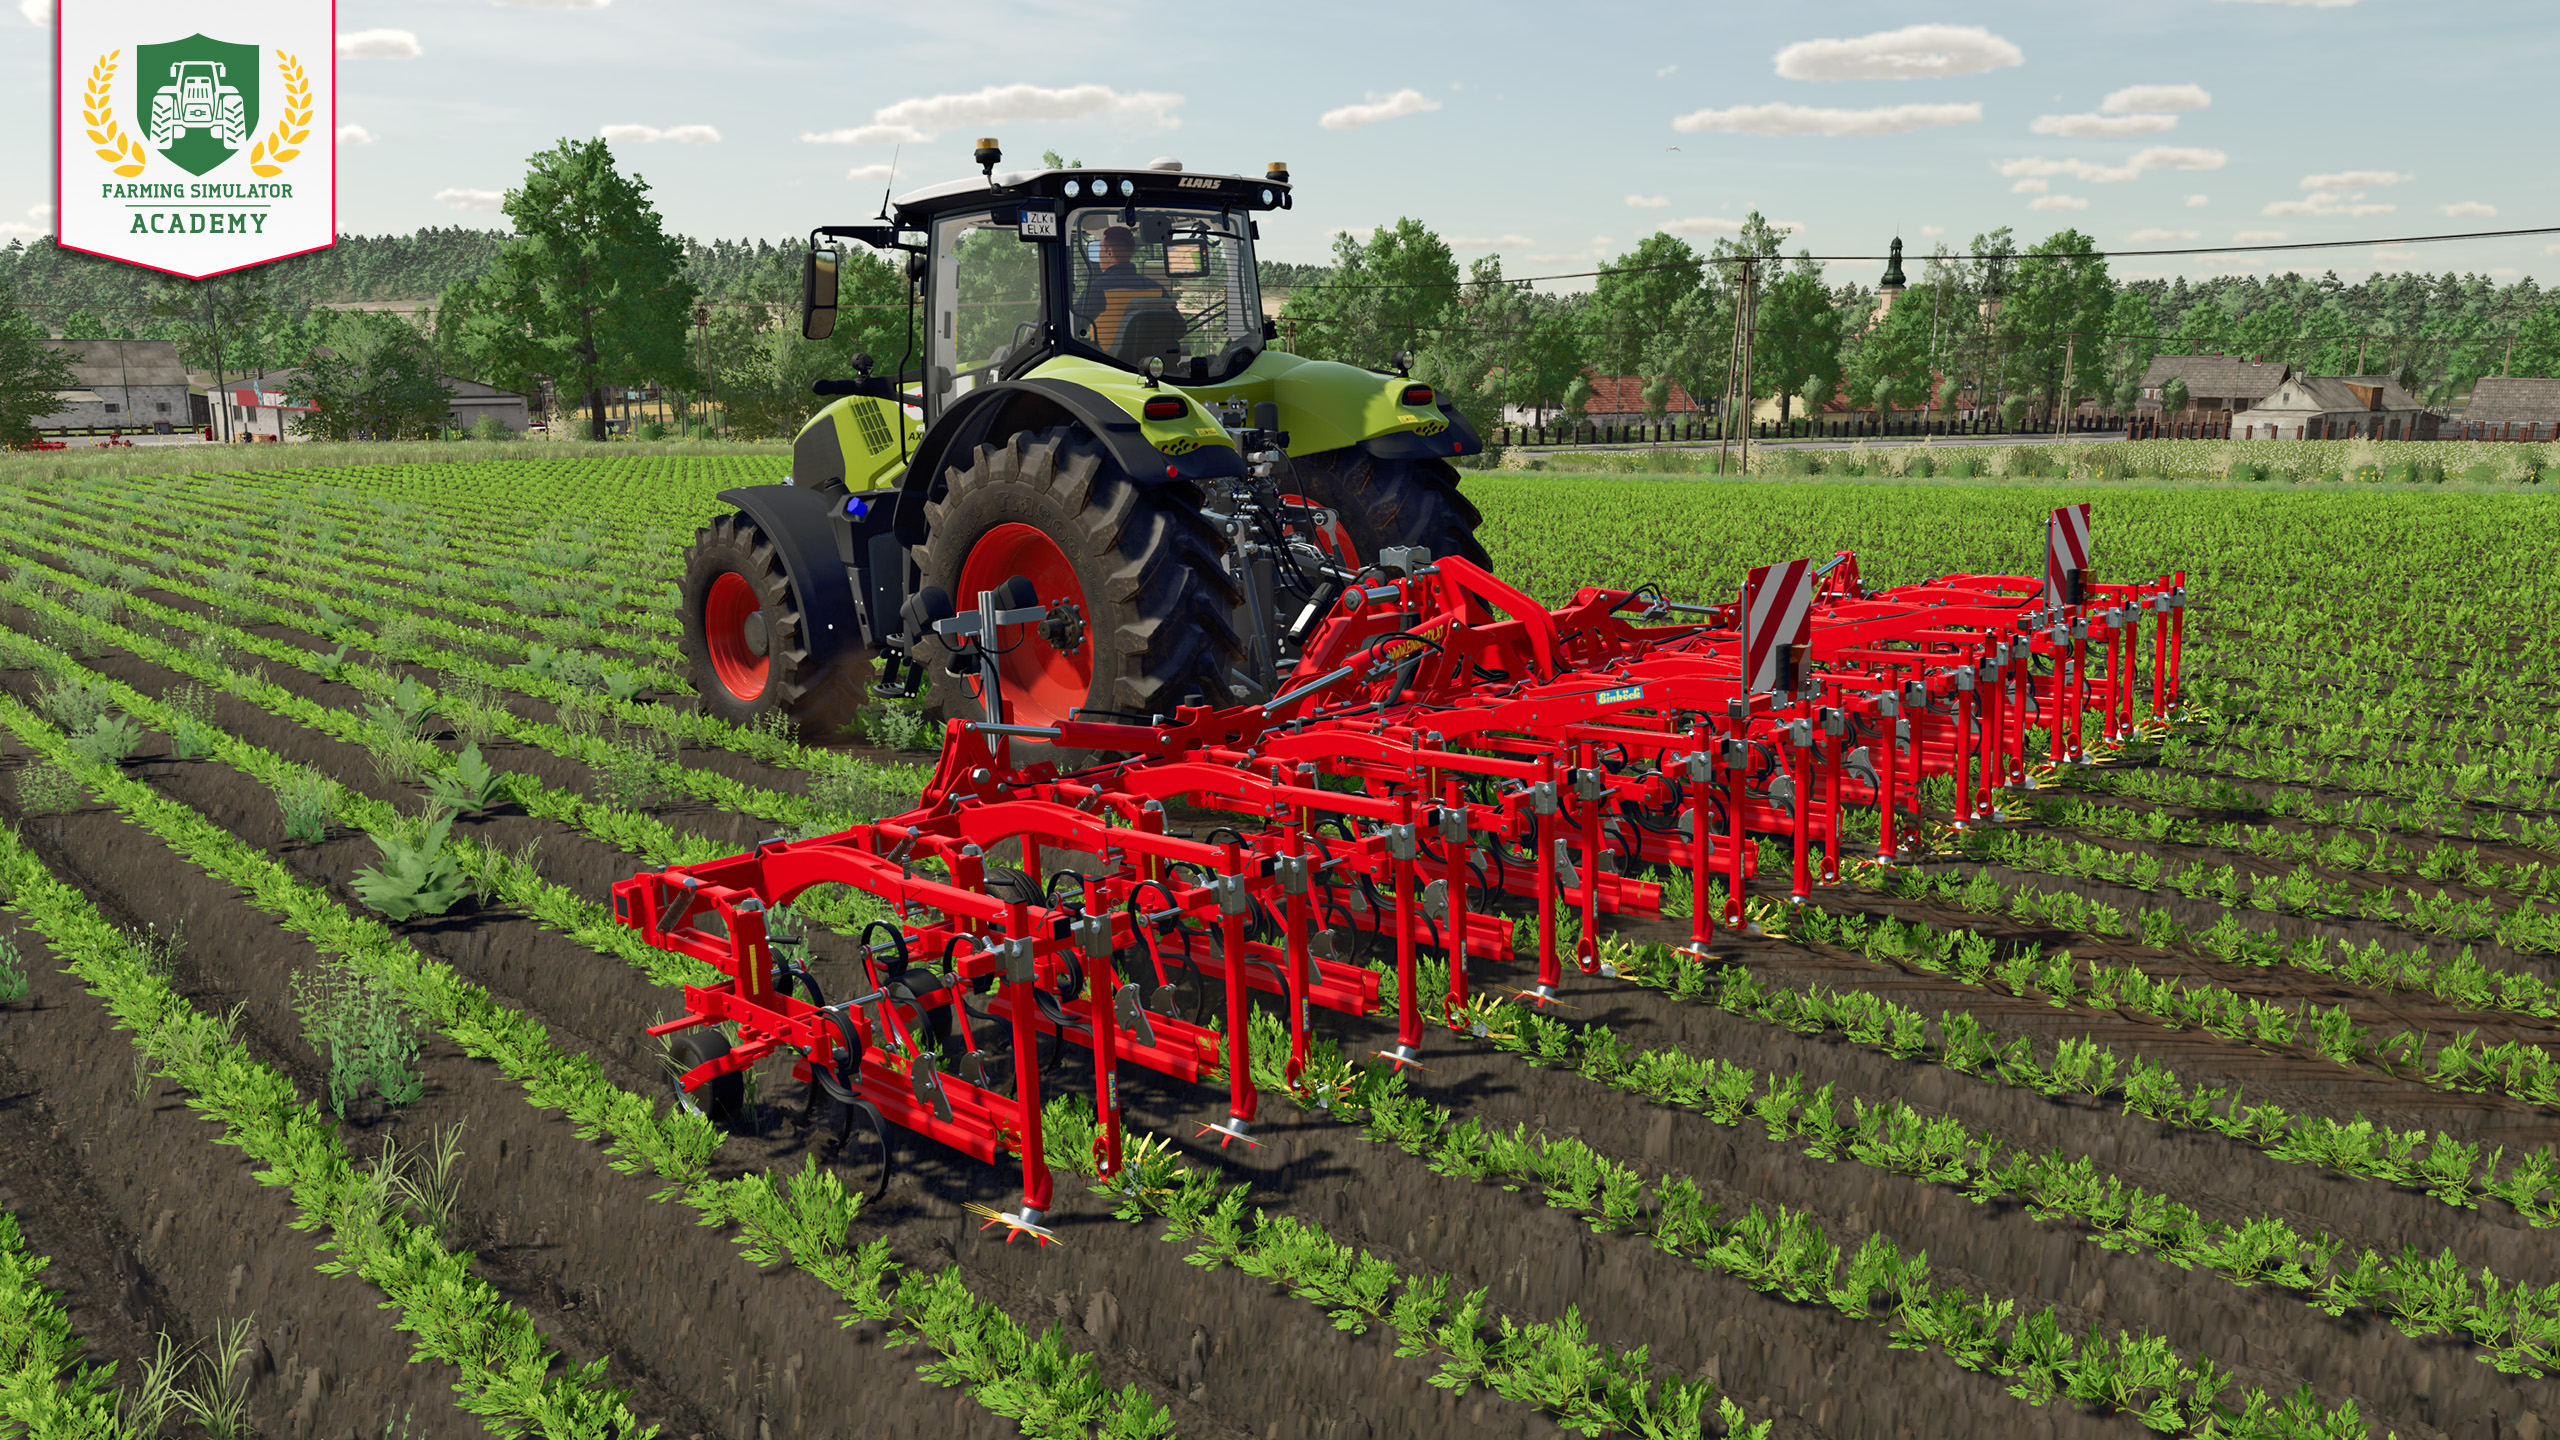
Soon the first weeds will grow on the field. Take your hoe to get rid of it before they grow too high. After that, you will need a field sprayer and herbicide - but you want to avoid this for cost reasons. Then wait until the crops are fully grown.
Tip! You can (carefully) speed up the time it takes for the weeds to grow.
Step 6: Harvesting the carrots
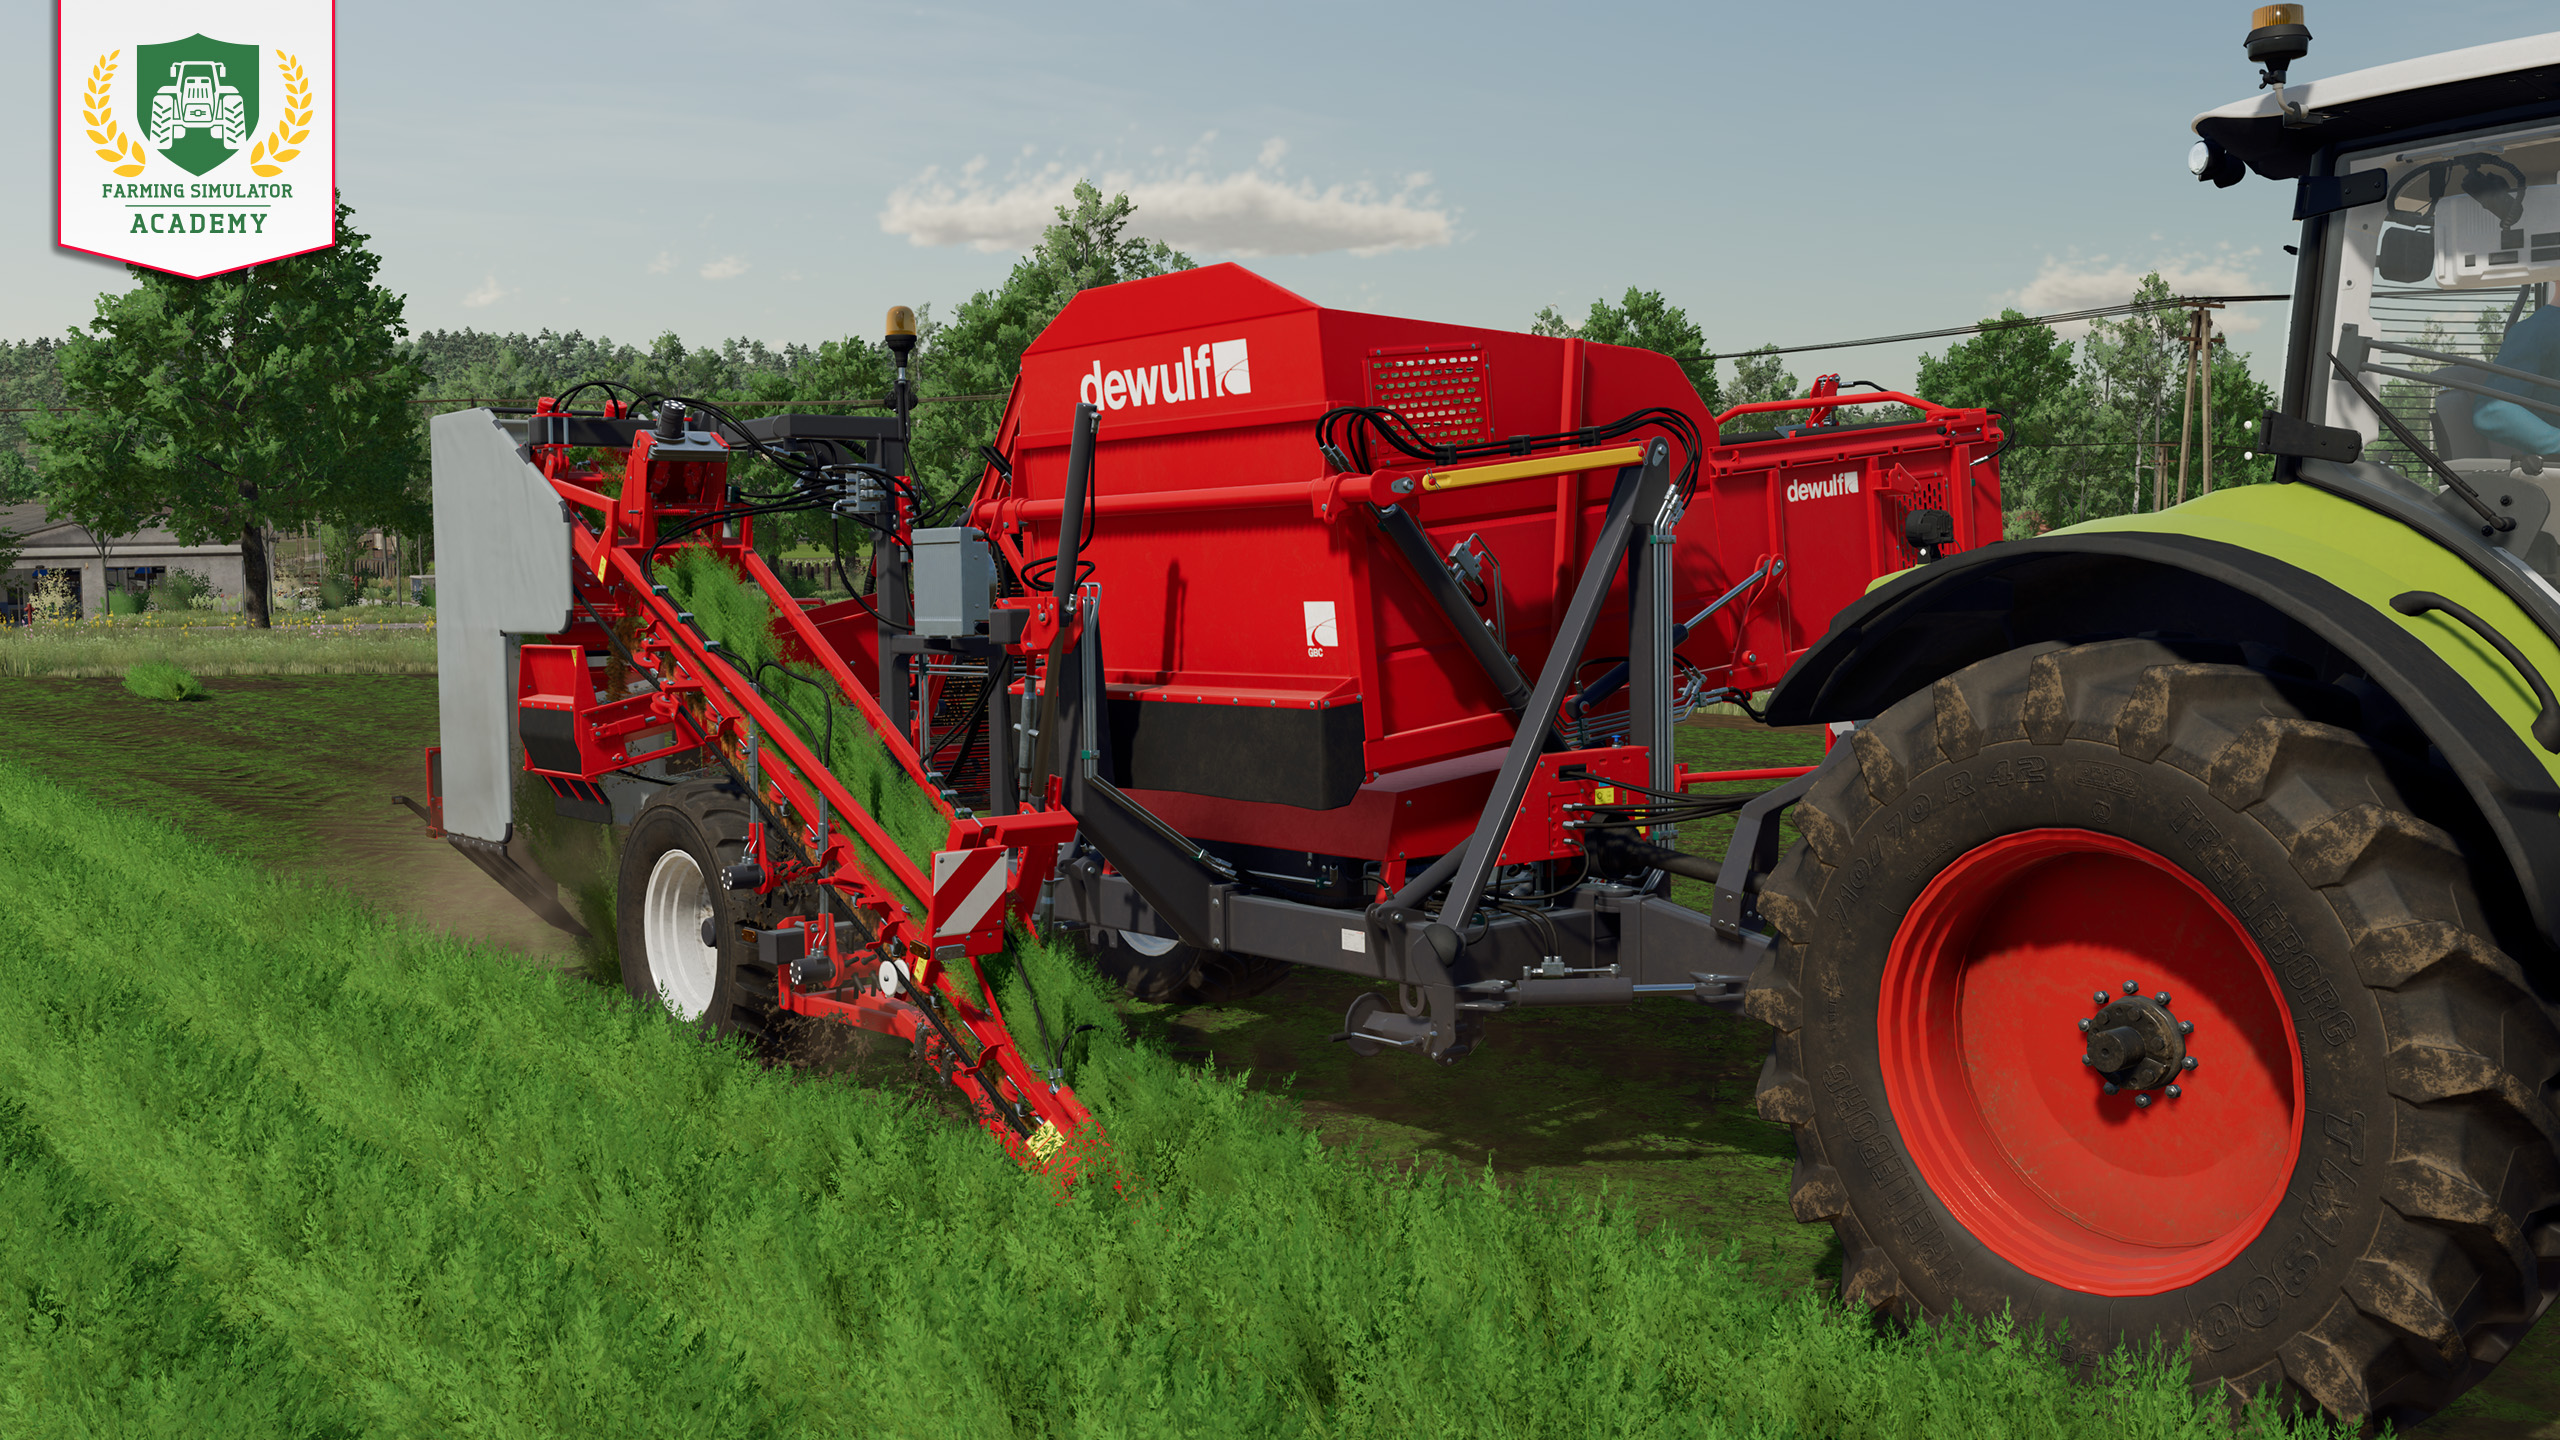
From August onwards, carrots are ready for harvesting. To harvest the yellow vegetable, you need to connect the harvester to your tractor. Once this is done, you have two options: Either you overload the harvester directly into the trailer or you need vegetable pallets. You can buy these directly in the vehicle or in the shop and load them manually onto the vehicle.
Once you have done this, the real work can begin. Position yourself at a corner of the field and start working.
Step 7: Selling the carrots
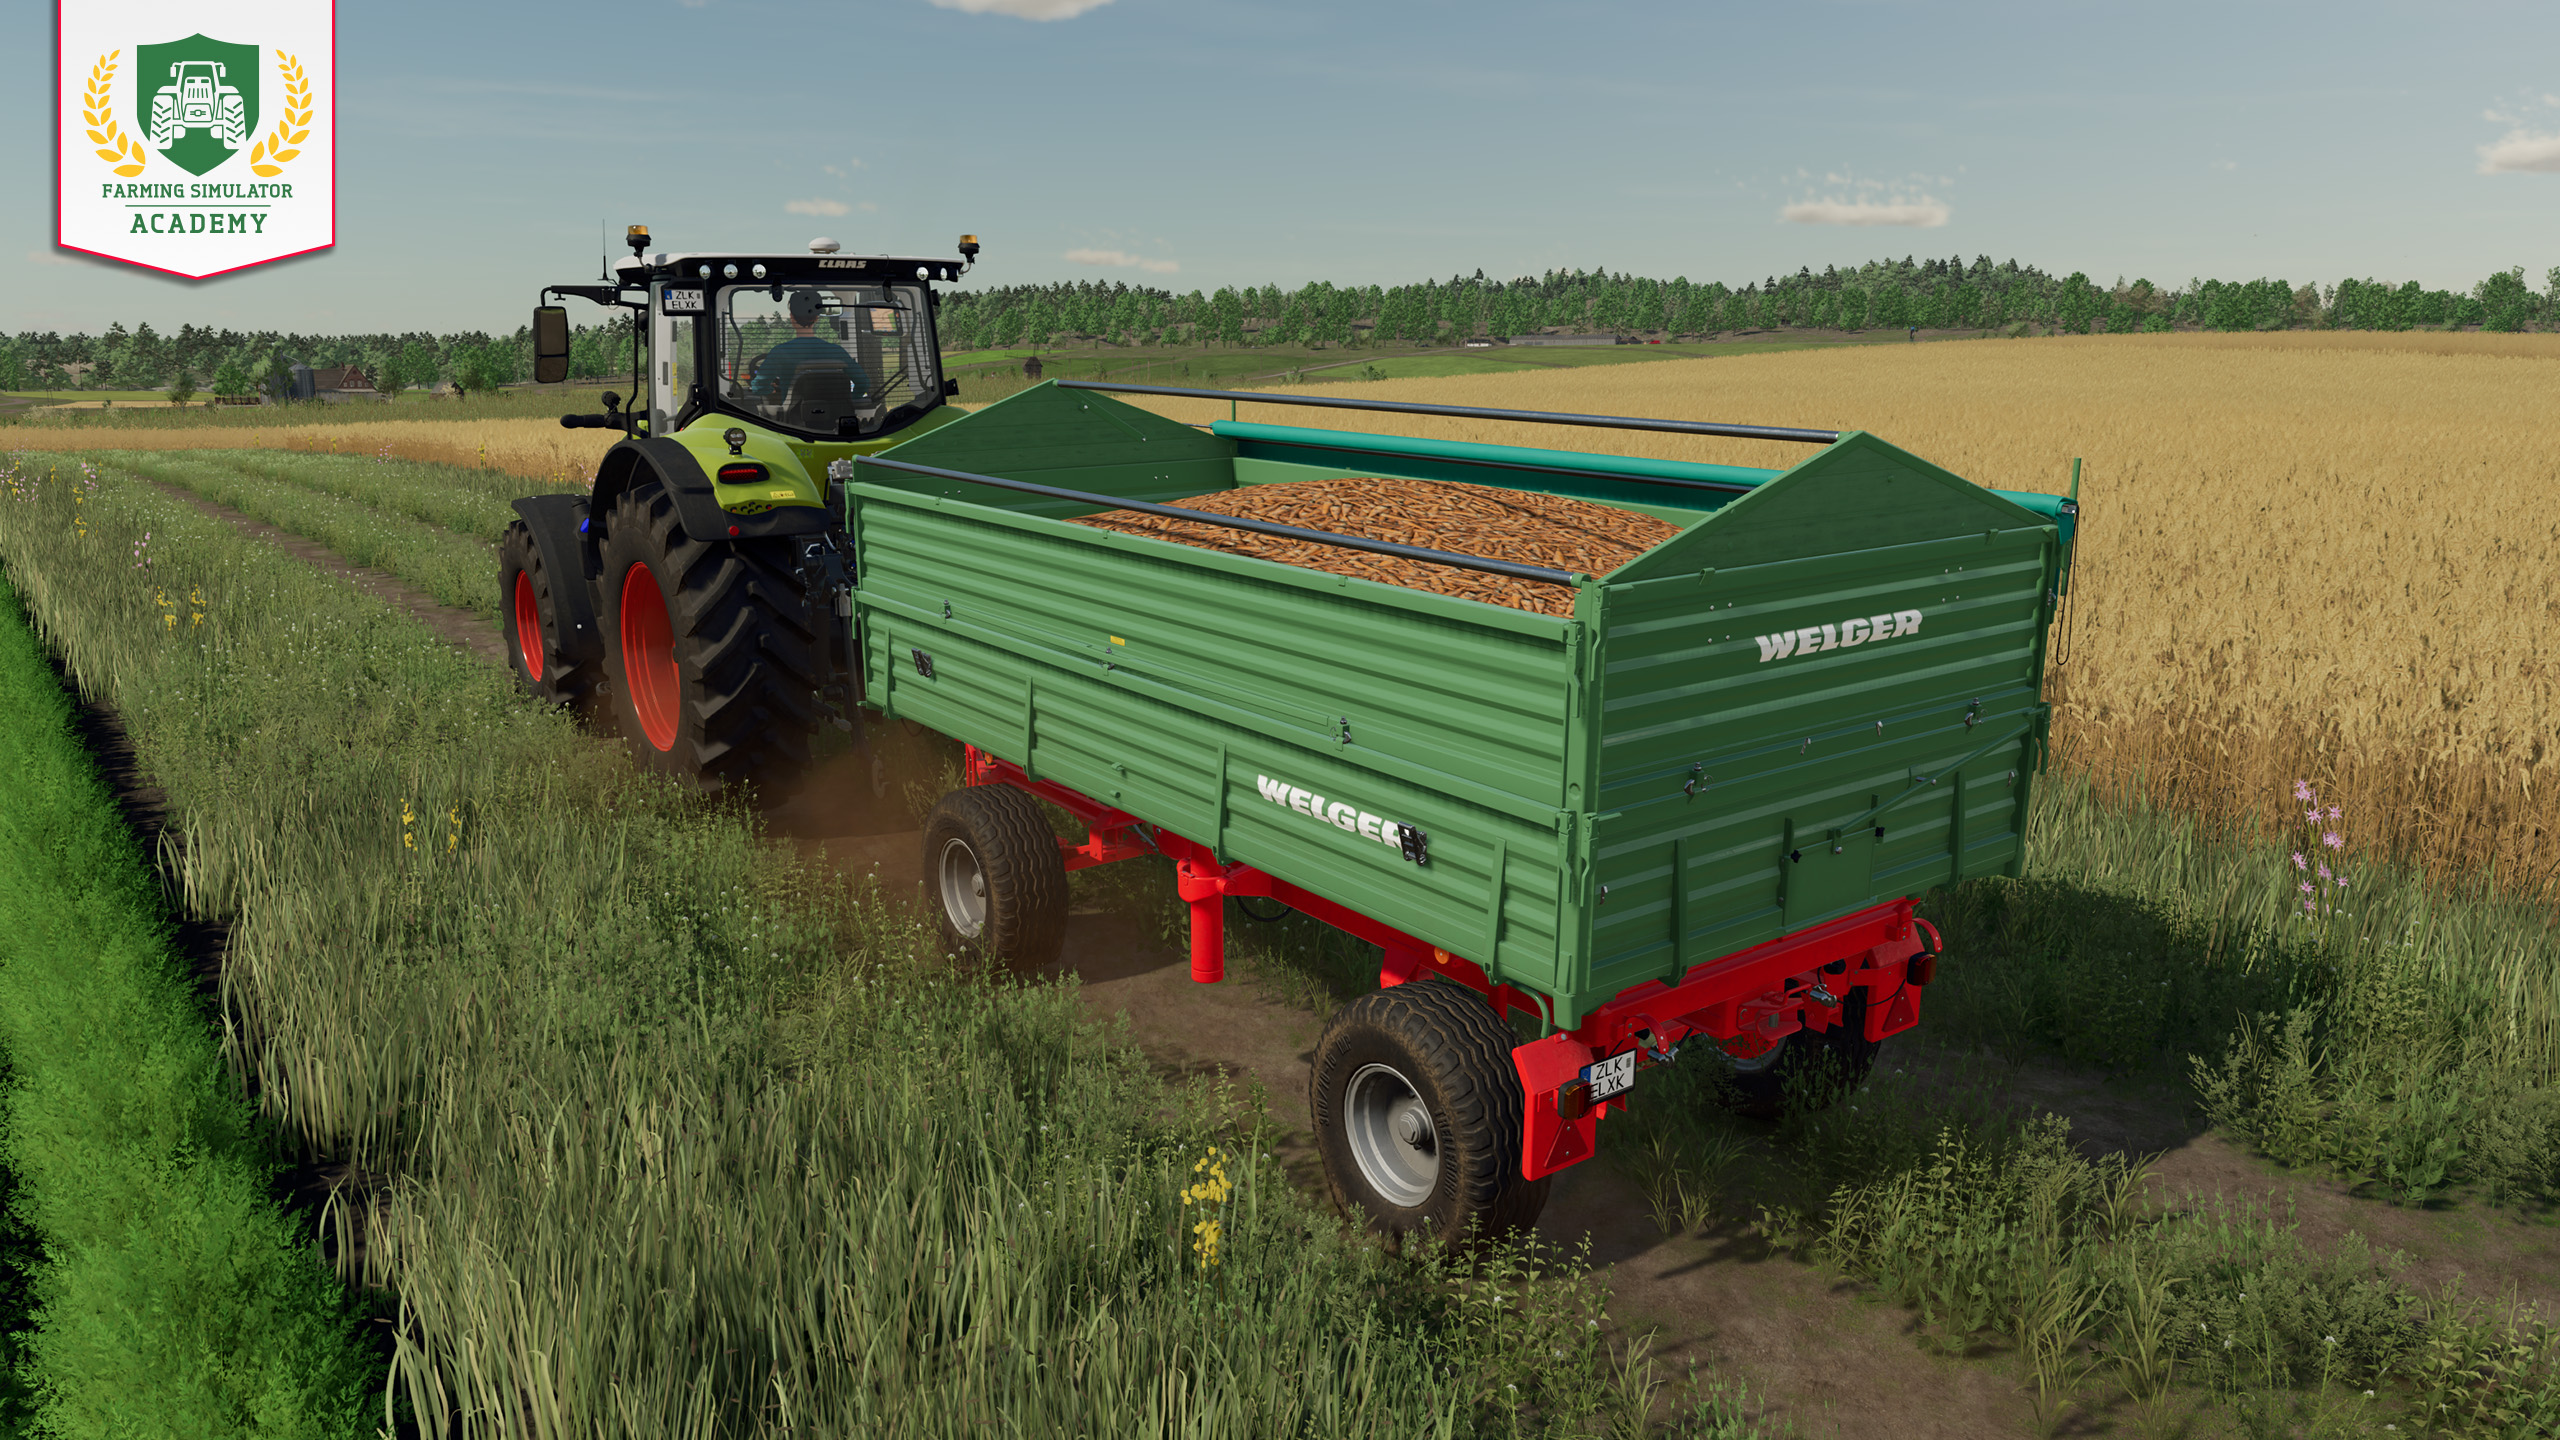
Now look for the best selling point on the price chart. Unload the trailer in the marked area. As prices fluctuate throughout the year, you should not necessarily sell immediately and store for the time being. You can see the price change in the respective screen.
Tip! Carrots cannot be stored in a silo. If you want to sell them later, you will have to store them in the pallet store.
Well done!
Congratulations, you have successfully harvested your first crop! Take some time and start the next lesson when you are ready. And don't forget to clean your machines every now and then. Stay tuned, and you'll become a virtual farmer in no time with Farming Simulator Academy!

If you listen closely you can hear Jack making a homerun. #ThrowbackThursday https://t.co/6JgCSHiqXM
🚜 Happy Anniversary to the original Farming Simulator game! 🎉 Whether you're a seasoned pro 👨🌾 or a newbie 👶, how did you first dive into the world of virtual farming? #FarmingSimulator #Gaming #Anniversary https://t.co/tMSXlbAA6U
Social Media
Winter Wonderland Times! #ThrowbackThursday https://t.co/gWdnIYZi95