-

-
 Argentina (en)
-
 Australia (en)
-
 Belgien (de)
-
Belgique (fr)
-
België (en)
-
 Brasil (en)
-
 Canada (en)
-
Canada (fr)
-
 Česko (en)
-
 Chile (en)
-
 Danmark (en)
-
 Deutschland (de)
-
 España (en)
-
France (fr)
-
 Hrvatska (en)
-
 Ireland (en)
-
 Italia (en)
-
 Magyarország (en)
-
 Nederland (en)
-
 Norge (en)
-
 Österreich (de)
-
 Polska (pl)
-
 Portugal (en)
-
 România (en)
-
 Schweiz (de)
-
 Slovenija (en)
-
 Slovensko (en)
-
 South Africa (en)
-
 Srbija (en)
-
Suisse (fr)
-
 Suomi (en)
-
 Sverige (en)
-
Svizzera (en)
-
 United Kingdom (en)
-
 United States (en)
-
 Россия (en)
-
 Україна (en)
-
 日本 (en)
-
[Crops 101] How to Sow & Harvest Olives
![[Crops 101] How to Sow & Harvest Olives](/cms/uploads/news_61a4b3c41083f.jpg)
Welcome to your next "Crops 101" lesson of the Farming Simulator Academy! Today, we’re focusing on olives. So, let's create some nice and lush groves on your farm!
What you need for olives

Because olive trees, like grape vines, need the proper distance between each other to get exactly the right amount of sun, water, and air, while saving as much space as possible, you need specialized equipment. You’ll work in narrow spaces between the vines. Let’s take a look at everything you need.
- You need an open space to plant your olive trees. Not necessarily a flat field used for your other crops, but a nice meadow on the hill, maybe.
- You need a tractor to attach the following tools and operate them.
- You need a subsoiler to loosen the soil between your olive trees.
- You need a mulcher to cut back the grass growing between the trees.
- You need a special fertilizer spreader and a pallet of liquid fertilizer. Without fertilizer, the income from your harvest will be lowered.
- You need a special olive harvester to harvest the olives.
- And you need a trailer to transport and sell the harvested olives.
Equipment Selection (recommendation)
To harvest olives, you require the following equipment. In the ‘Packs’ section of the shop, you find everything you need. As stated before, your usual tractor, and spraying machine won’t fit between the trees, and you need slim machinery.
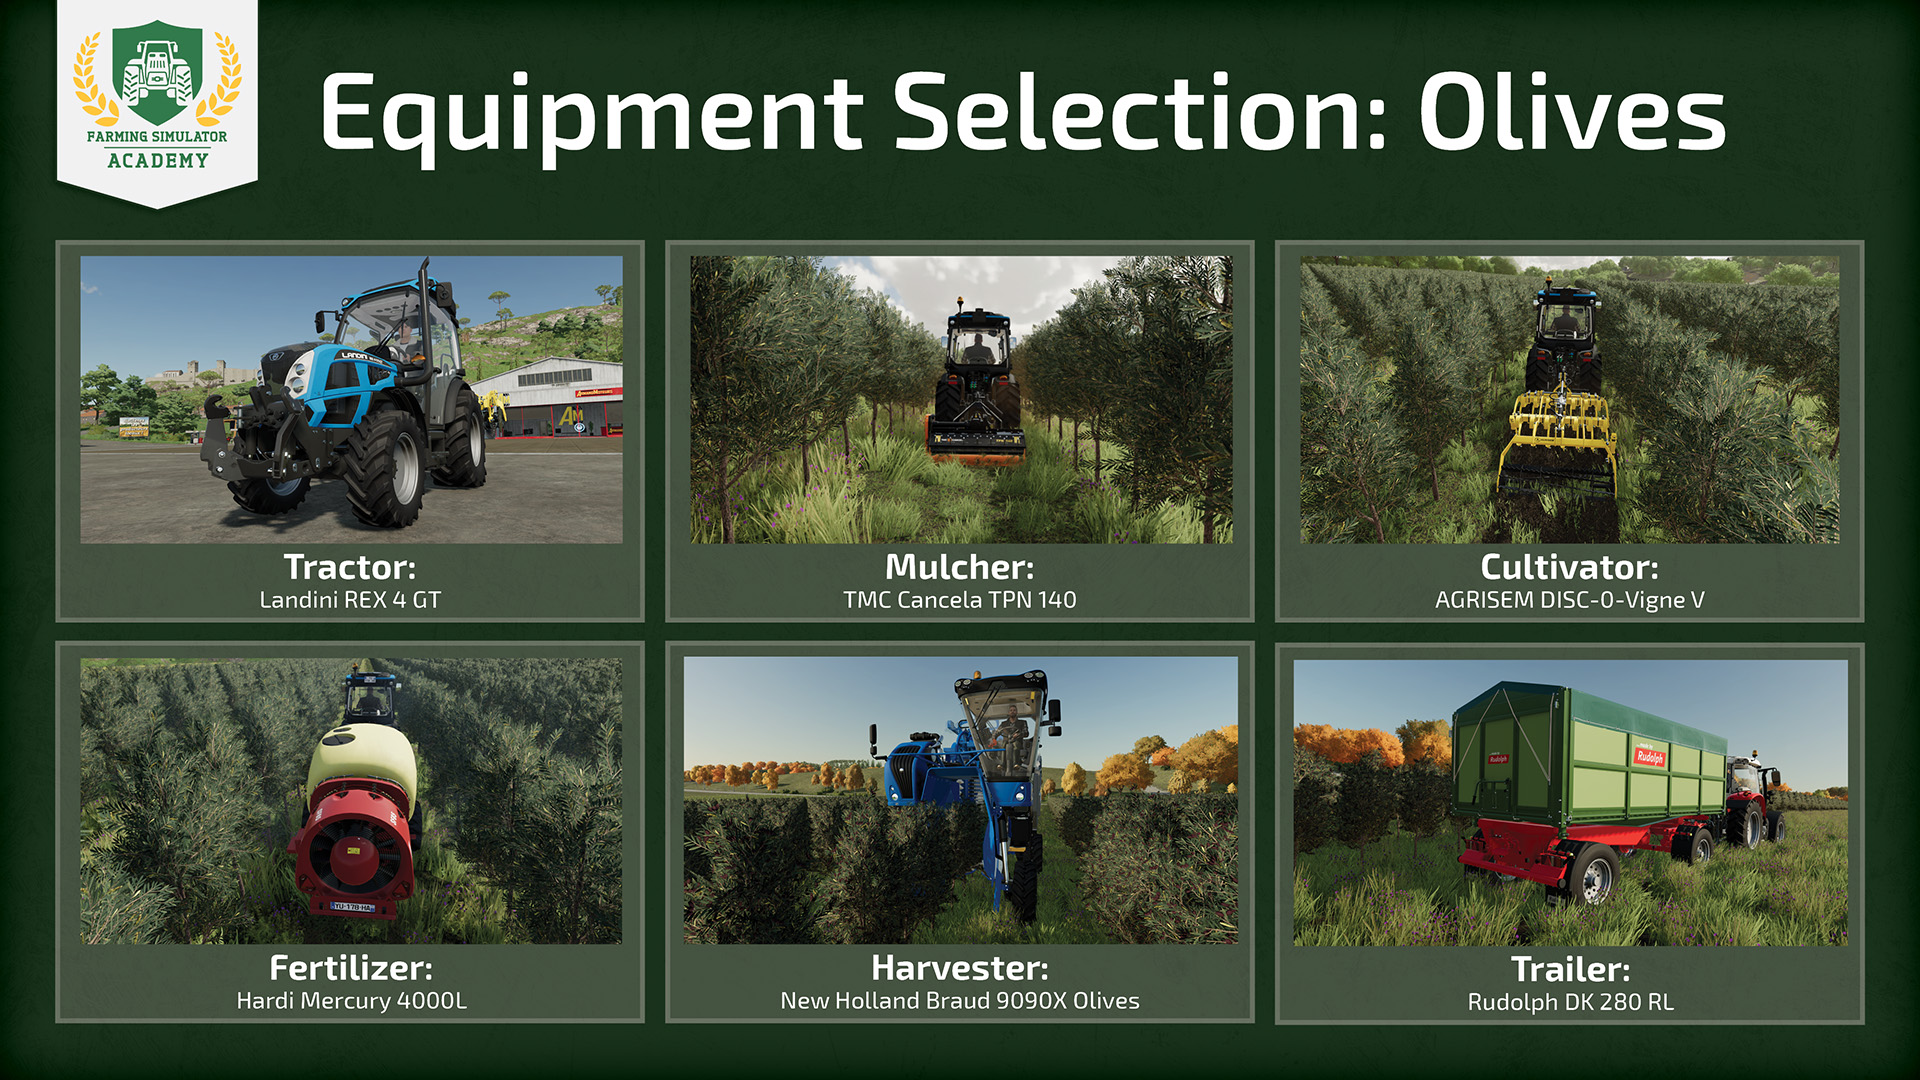
- Tractor: Landini REX 4 GT
- Cultivator: AGRISEM DISC-0-Vigne V
- Mulcher: TMC Cancela TPN 140
- Harvester: Braud 9090X Olive
- Fertilizer: Hardi Mercury 4000L
- Trailer: Rudolph DK 280 RL
Let’s go to work!
Got everything you need? Then let’s start on your assignment and place some olive trees. Open the build mode and click on ‘orchards’ section in the production tab. In there, you’ll find grapes, and olives. Note, that you can only plant the trees between the beginning of August and the end of September if seasonal growth is enabled.
Step 1: Placing olive trees
Place the trees by clicking on free space on your land to put down the first tree. Then, you just drag the tree line across the field and put down another one at the end. Now, we have one row of trees.
Since the tree lines should be as close together as possible, zoom in, and move the cursor away from the first row until you see the silhouette turn up again. That’s the ideal distance between two rows. Put down the next tree, drag them across the field, and put down the final tree, again. Repeat this procedure until you got enough olive trees on your field.
Step 2: Mulching the ground
Since we want to keep the spaces between the trees clear, we’ll attach the mulcher to the tractor, as soon as grass begins to grow higher. Lower the mulcher, turn it on, and mulch row after row. Make it look nice and tidy, and immediately continue with the next step.
Step 3: Cultivating the field with a subsoiler
Since the trees are close together, we’ll use a slim subsoiler for this task. We’re cultivating between the trees to loosen the soil, so that they can be supplied with more water and nutrients. Maneuver your tractor with the subsoiler attached between the trees, carefully, lower it into the ground, and start cultivating one row after another.
Step 4: Applying Fertilizer
As soon, as the trees reach the first stage of growth, fertilizer will improve the yield. Click on the objects' category in the shop, and buy the liquid Fertilizer container or pallet. Then, hook up your spreader to your tractor, position it right next to the Fertilizer and click the button to refill.
Back at the field, you drive carefully in between the trees, turn the sprayer on and cover one row at a time in fertilizer.
Step 5: Harvesting the olives
Now, the real fun begins - let’s harvest the ripe olives, using our special harvester. With seasonal growth activated, the olives will wither after October. Unfold it and turn it on. Position the harvester centered in front of the first row. Since the trees go through the center of the harvester, you can zoom in a bit to check if you’re centered. Are you? Then go ahead, and harvest until the tank is full. Try to drive in a straight line.
Step 6: Selling the olives
To unload the harvester, drive it up to your trailer, facing it rearward, since it unloads in the back. Press the button to start overloading, and all harvested olives will be unloaded into your trailer until it’s full.
Now, look at the prices screen in the menu to see where you can get the best prices for your harvest. By delivering it to the oil mill, you can also choose to process the olives, and turn them into olive oil. You can sell oil for an even higher price. Depending on, if you want to sell or process, unload in the respective designated area, and you’re done.
Well done!
Congratulations, you finished another lesson and added lush groves of olives to your farm, and with that, some Mediterranean charm. Stay with the Farming Simulator Academy, and you’ll become a top-notch virtual farmer in no time!

Make every resource count! 🌾 In FS25, consumables keep your farm running – from seeds & fuel to spare parts. Manage them wisely to stay efficient and keep your machines in top shape! 🛢️🌱 👉 https://t.co/USuO4Wnnyo https://t.co/AHHZQ09uhz

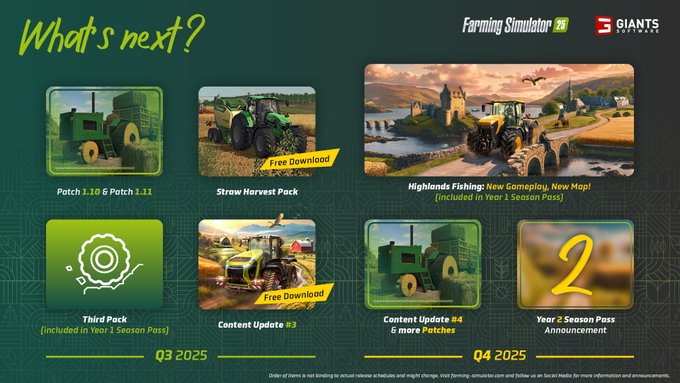
🧑🌾 At FarmCon 25, we revealed our roadmap for Q3 & Q4 2025! 🛣️🗺️ Look forward to the Straw Harvest Pack, Highlands Fishing DLC, content updates, new patches & more coming to Farming Simulator 25 this year! 🚜 Check our blog for more infos! 👇 https://t.co/DYkrLWbJo2 https://t.co/8y2VDvoFuk
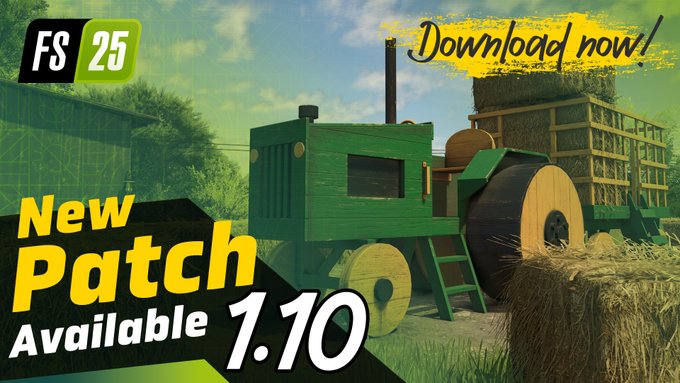
📢 Patch 1.10 is now live with performance boosts & fresh machines! - Fendt Rotana 160 V Combi, JCB 547-70 AGRI PRO 🚜 - Better foliage alignment, steering assist & multiplayer fixes 🌾 - XeSS 2 support & many more! 🧑🌾 Check the full changelog! 🔧 👉 https://t.co/tgMi706gkj https://t.co/Yo5fJzyDSN
🚜 We were live at FarmCon 25 and we didn’t come empty-handed! 🎁 As announced at the event, the Lindner Geotrac 134 EP is now available to download from ModHub. 🧑🌾🌾 Have you already taken it for a spin? 👇 https://t.co/N4rxFCs2wt https://t.co/9iW0zGtHU6

Social Media
Make every resource count! 🌾 In FS25, consumables keep your farm running – from seeds & fuel to spare parts. Manage them wisely to stay efficient and keep your machines in top shape! 🛢️🌱 👉 https://t.co/USuO4Wnnyo https://t.co/AHHZQ09uhz