-

-
 Argentina (en)
-
 Australia (en)
-
 Belgien (de)
-
Belgique (fr)
-
België (en)
-
 Brasil (en)
-
 Canada (en)
-
Canada (fr)
-
 Česko (en)
-
 Chile (en)
-
 Danmark (en)
-
 Deutschland (de)
-
 España (en)
-
 France (fr)
-
 Hrvatska (en)
-
 Ireland (en)
-
 Italia (en)
-
 Magyarország (en)
-
 Nederland (en)
-
 Norge (en)
-
 Österreich (de)
-
 Polska (pl)
-
 Portugal (en)
-
 România (en)
-
 Schweiz (de)
-
 Slovenija (en)
-
 Slovensko (en)
-
 South Africa (en)
-
 Srbija (en)
-
Suisse (fr)
-
 Suomi (en)
-
 Sverige (en)
-
Svizzera (en)
-
United Kingdom (en)
-
 United States (en)
-
 Россия (en)
-
 Україна (en)
-
 日本 (en)
-

[Crops 101] How To Sow & Harvest Spinach
![[Crops 101] How To Sow & Harvest Spinach](/cms/uploads/news_6a9edbb6be213.jpg)
Welcome to your next “Crops 101” lesson of the Farming Simulator Academy! In this tutorial, we’re focusing on spinach. We show you how to sow and harvest this nutritious plant.
What Is Special About Spinach?
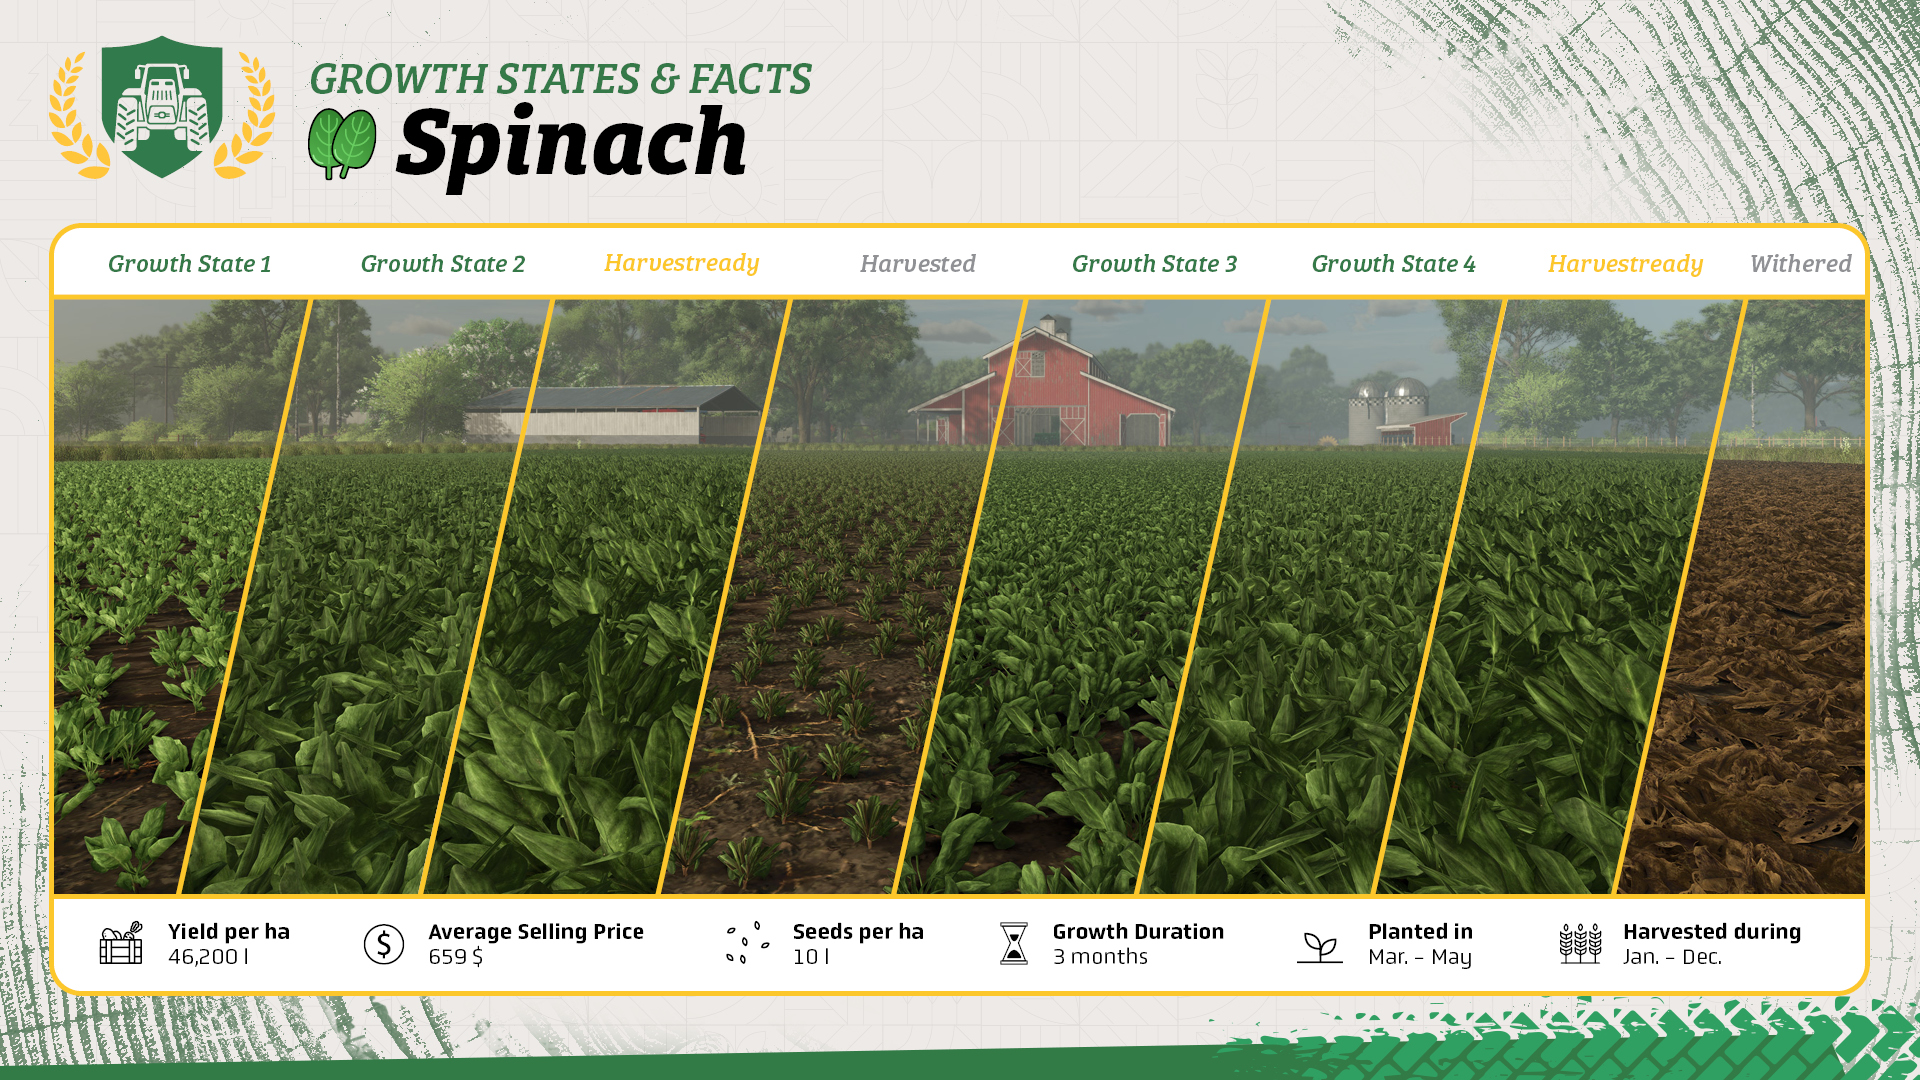
- Spinach has a special feature: You can harvest it twice. The plants automatically regrow, but keep in mind to start early in the year so you can get a second harvest.
- Spinach requires a special harvester. Since it is very expensive you can also lease one only for harvesting season.
- Harvested spinach cannot be stored, so you should sell or process it immediately after harvesting.
What You Need For Spinach
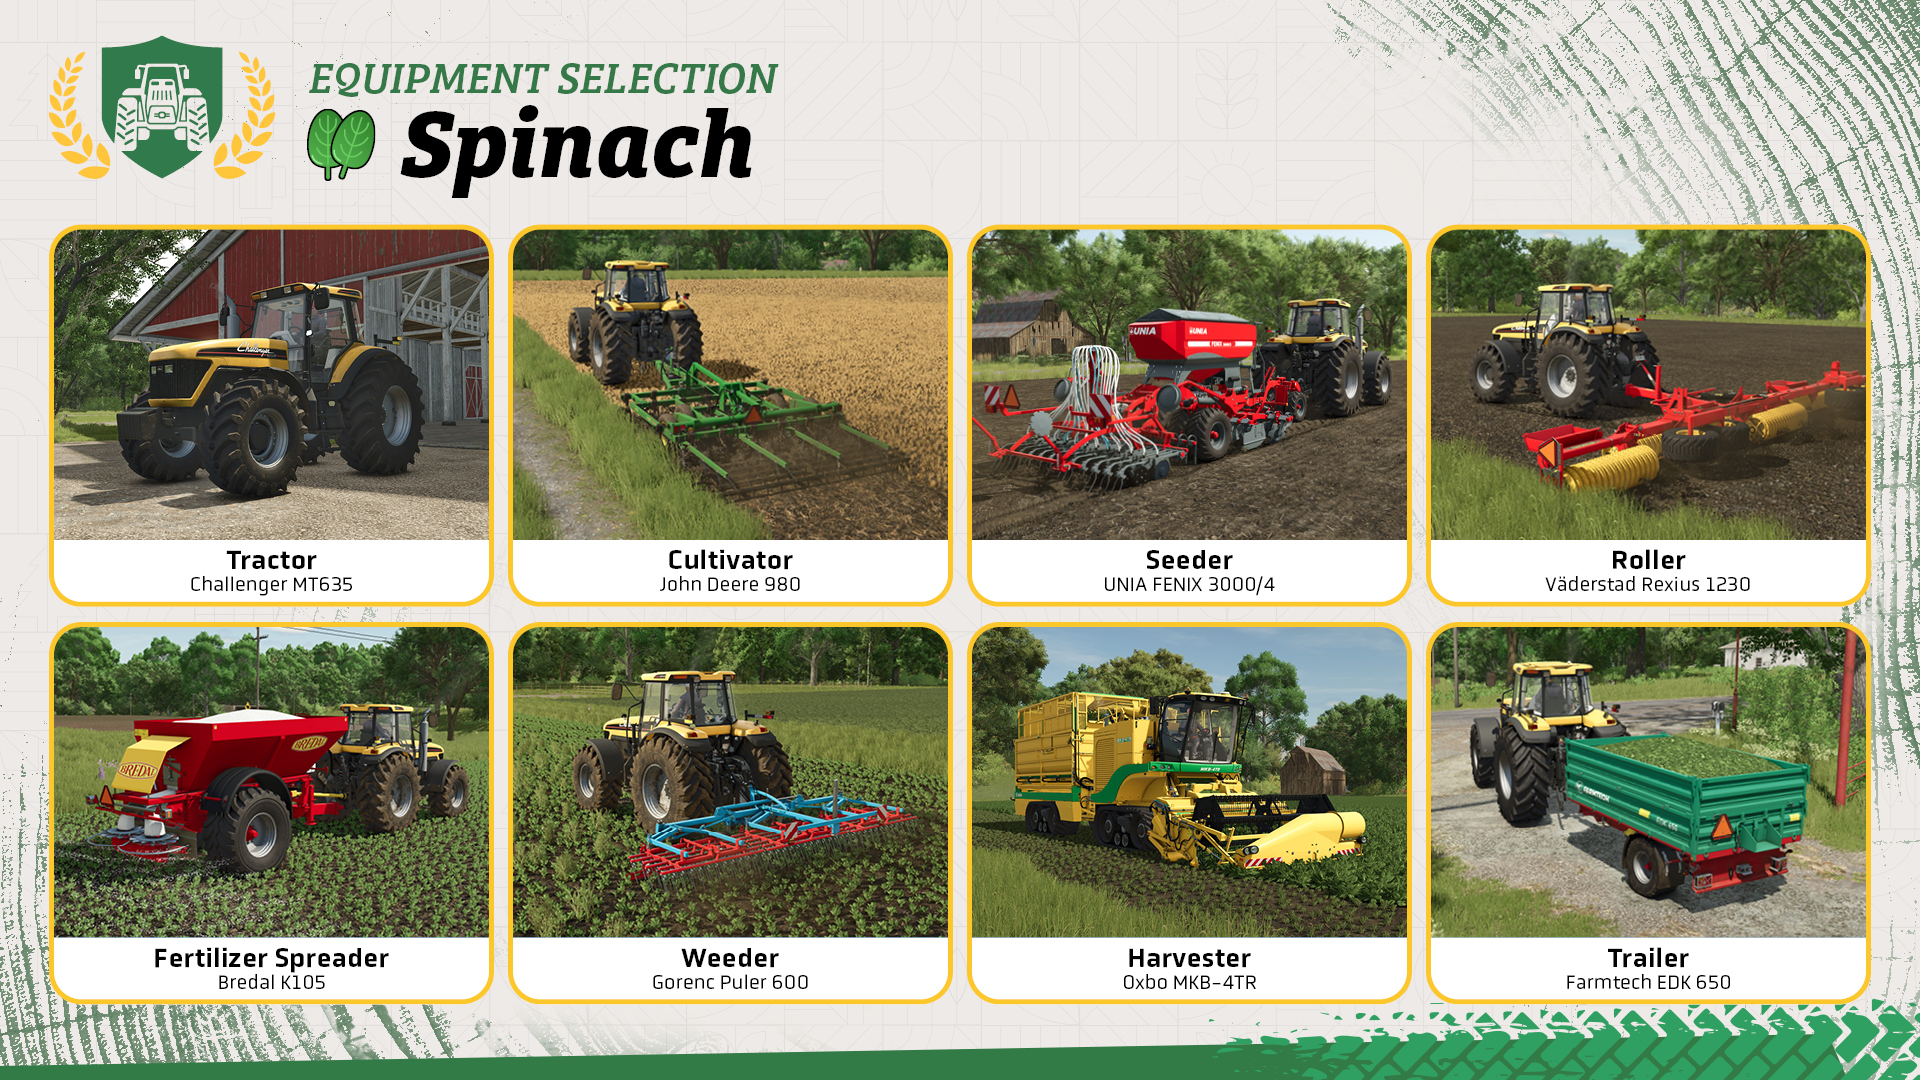
Let’s take a look at the equipment you need to grow spinach. Some additional machines help you improve your yield but are not strictly required.
- Tractor: Used to operate most of the following tools.
- Cultivator: Prepares the soil before sowing. You can skip this step when using a seeder that supports direct seeding.
- Seeder: Sows spinach and needs to be filled with seeds.
- Fertilizer spreader: Recommended to increase your yield. Some spreaders can also apply lime.
- Roller: Use it after sowing for a small yield bonus.
- Weeder: Removing weeds also increases your yield.
- Spinach harvester: A specialized machine is required to harvest spinach.
- Trailer: Transports the harvested spinach to a selling point or production facility.
Let’s Get To Work!
Got everything ready? With seasonal growth enabled, spinach can be sown from March until the end of May. If you want to get two harvests from the same sowing, start as early as possible!
Step 1: Applying lime
Before you start working the field, check the field information. If it says that lime is required, fill a suitable spreader with lime and cover the entire field. If no lime is required, you can simply skip this step.
Step 2: Cultivating the field
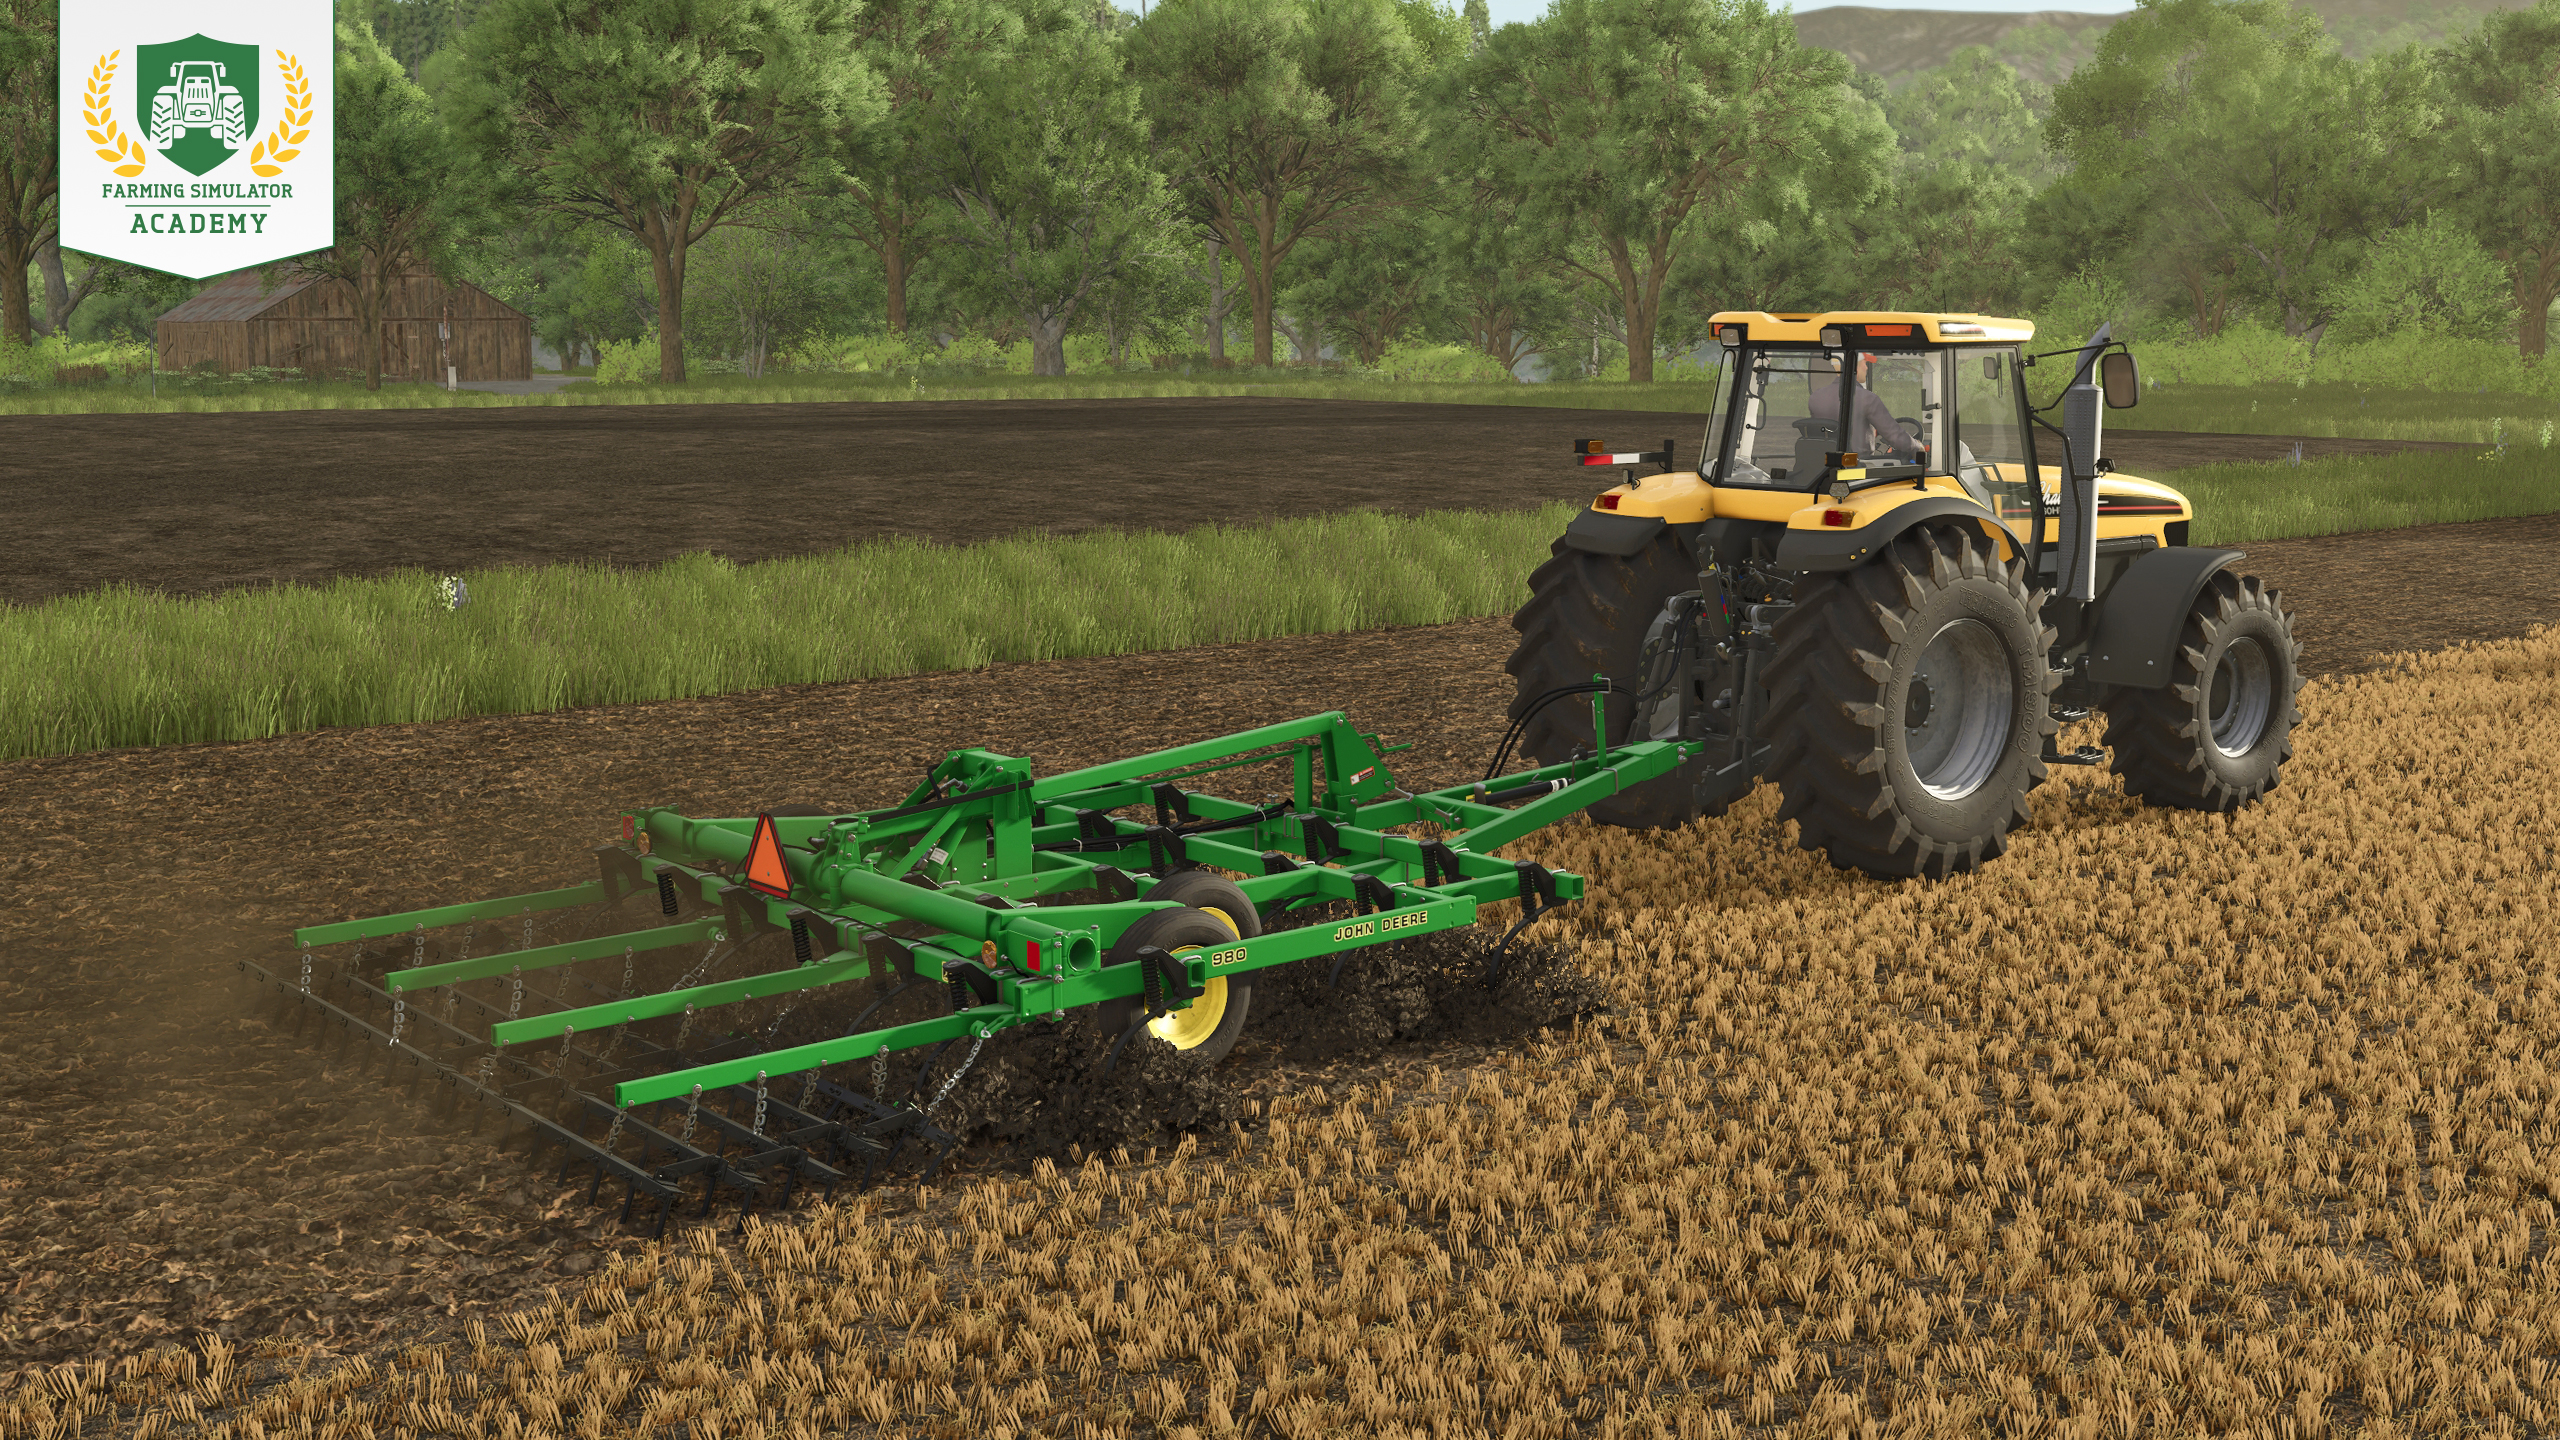
Check the field information before preparing the soil. Usually, cultivating is enough. If the field says that plowing is required, use a plow instead. Attach the appropriate tool to your tractor and work the field row by row until the entire area is prepared.
Not sure whether to cultivate or plow?
Step 3: Sowing spinach
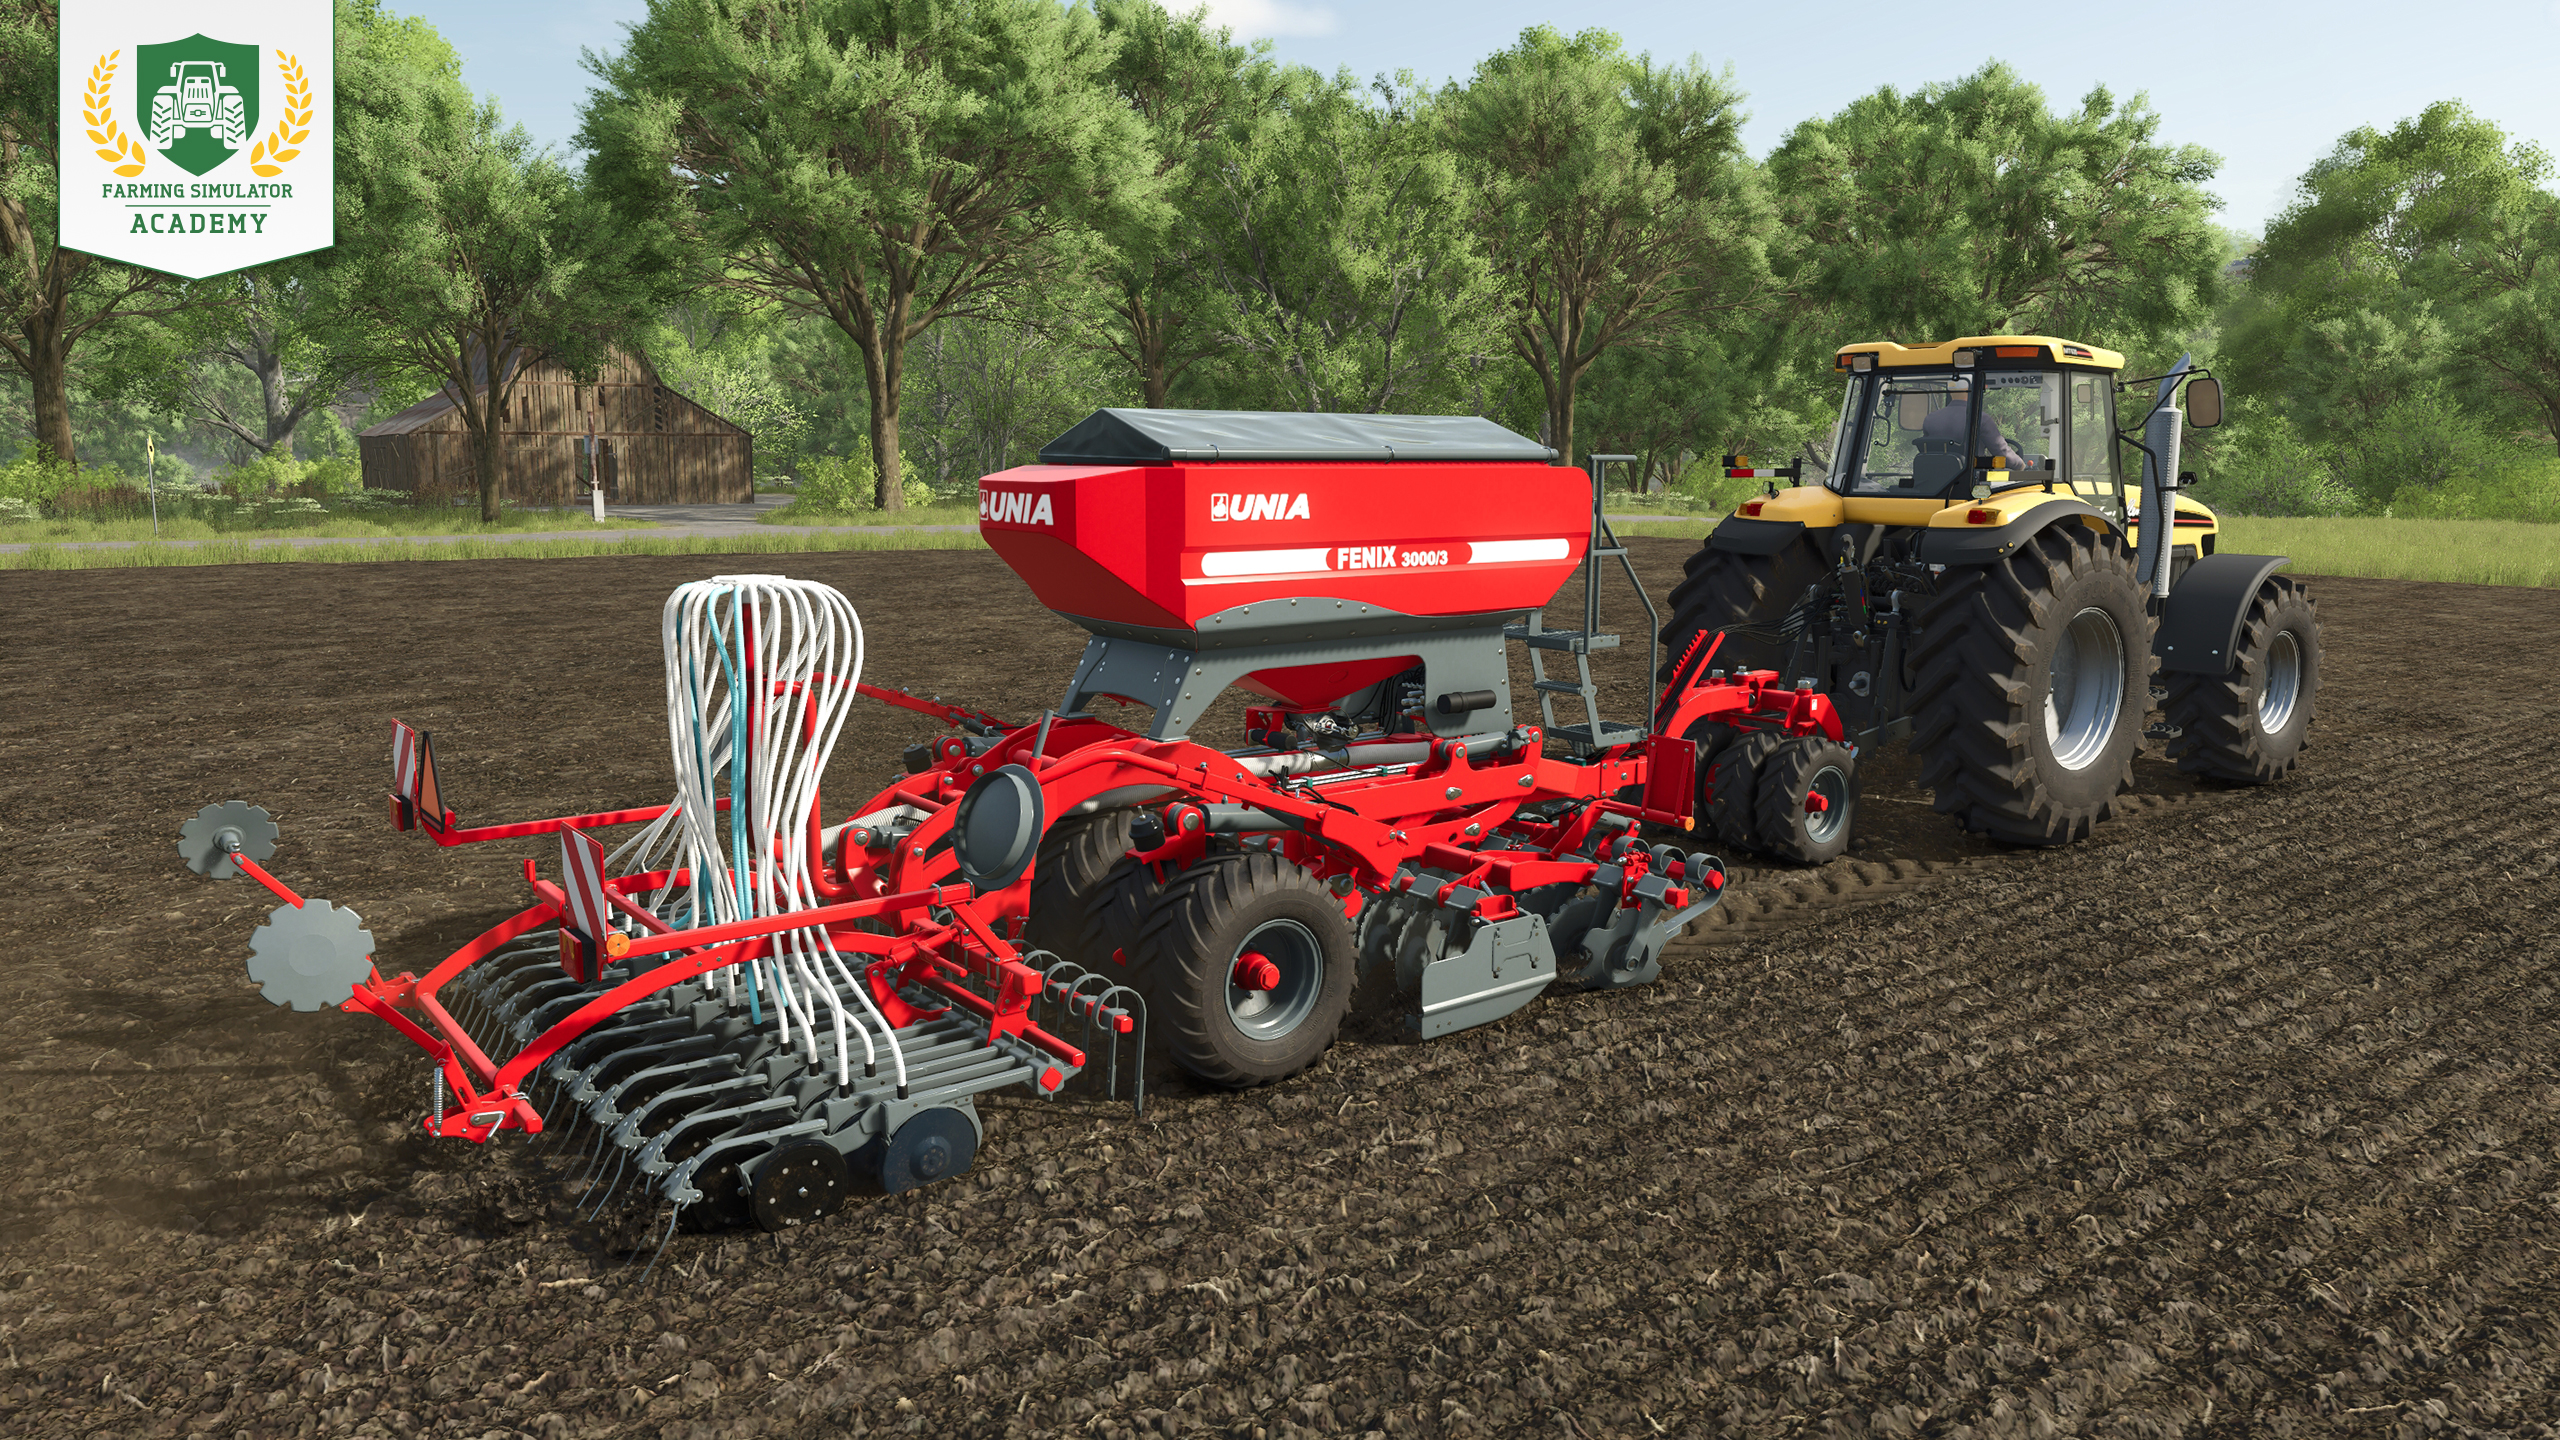
Connect the seeder to your tractor and fill it with seeds. Select spinach, drive to one corner of the prepared field, lower the seeder, and switch it on. Work your way across the field one row after another until everything is sown.
Take a closer look at seeders and planters in our dedicated guide.
Step 4: Fertilizing
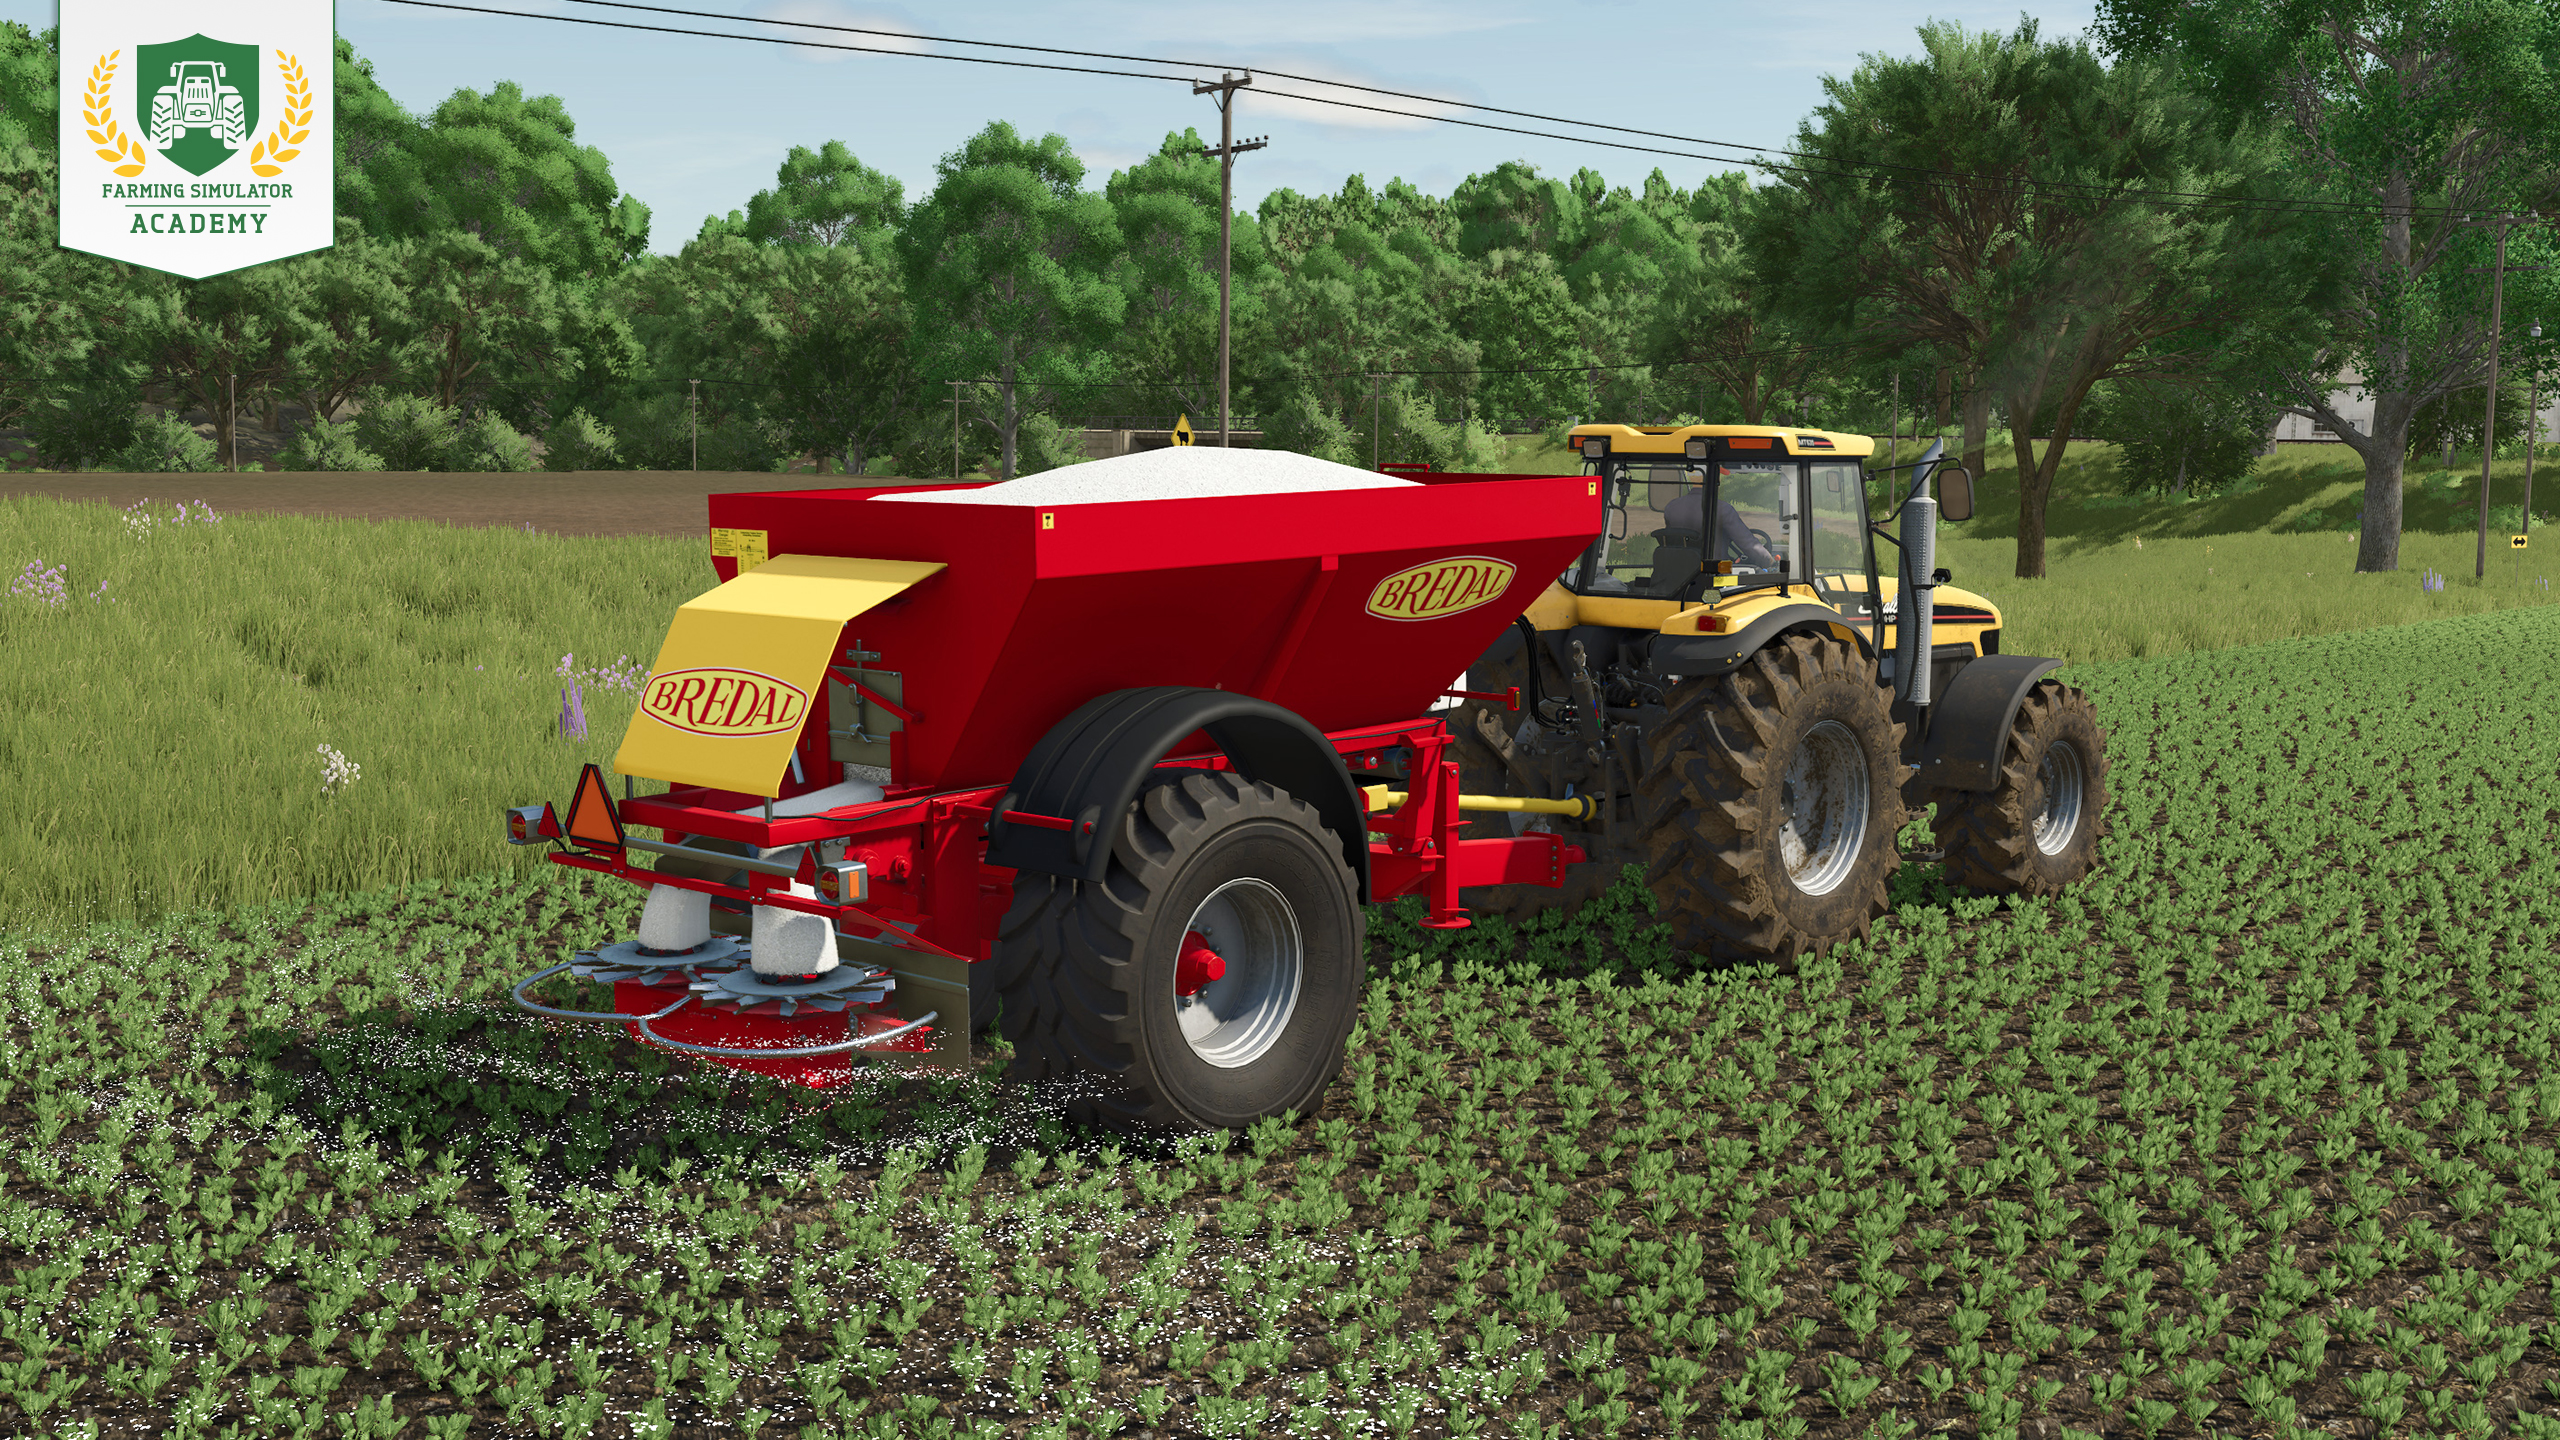
Fill your fertilizer spreader and apply fertilizer across the entire field. If you used the same spreader for lime beforehand, unload the remaining lime first before filling it with fertilizer.
Tip! Repeat the fertilizing process after your plants grow to increase the fertilization to 100%. The yield will be even higher. With a manure or slurry spreader, you can activate double activation rate to fertilize only once.
All fertilizer types are explained in this lesson.
Step 5: Rolling
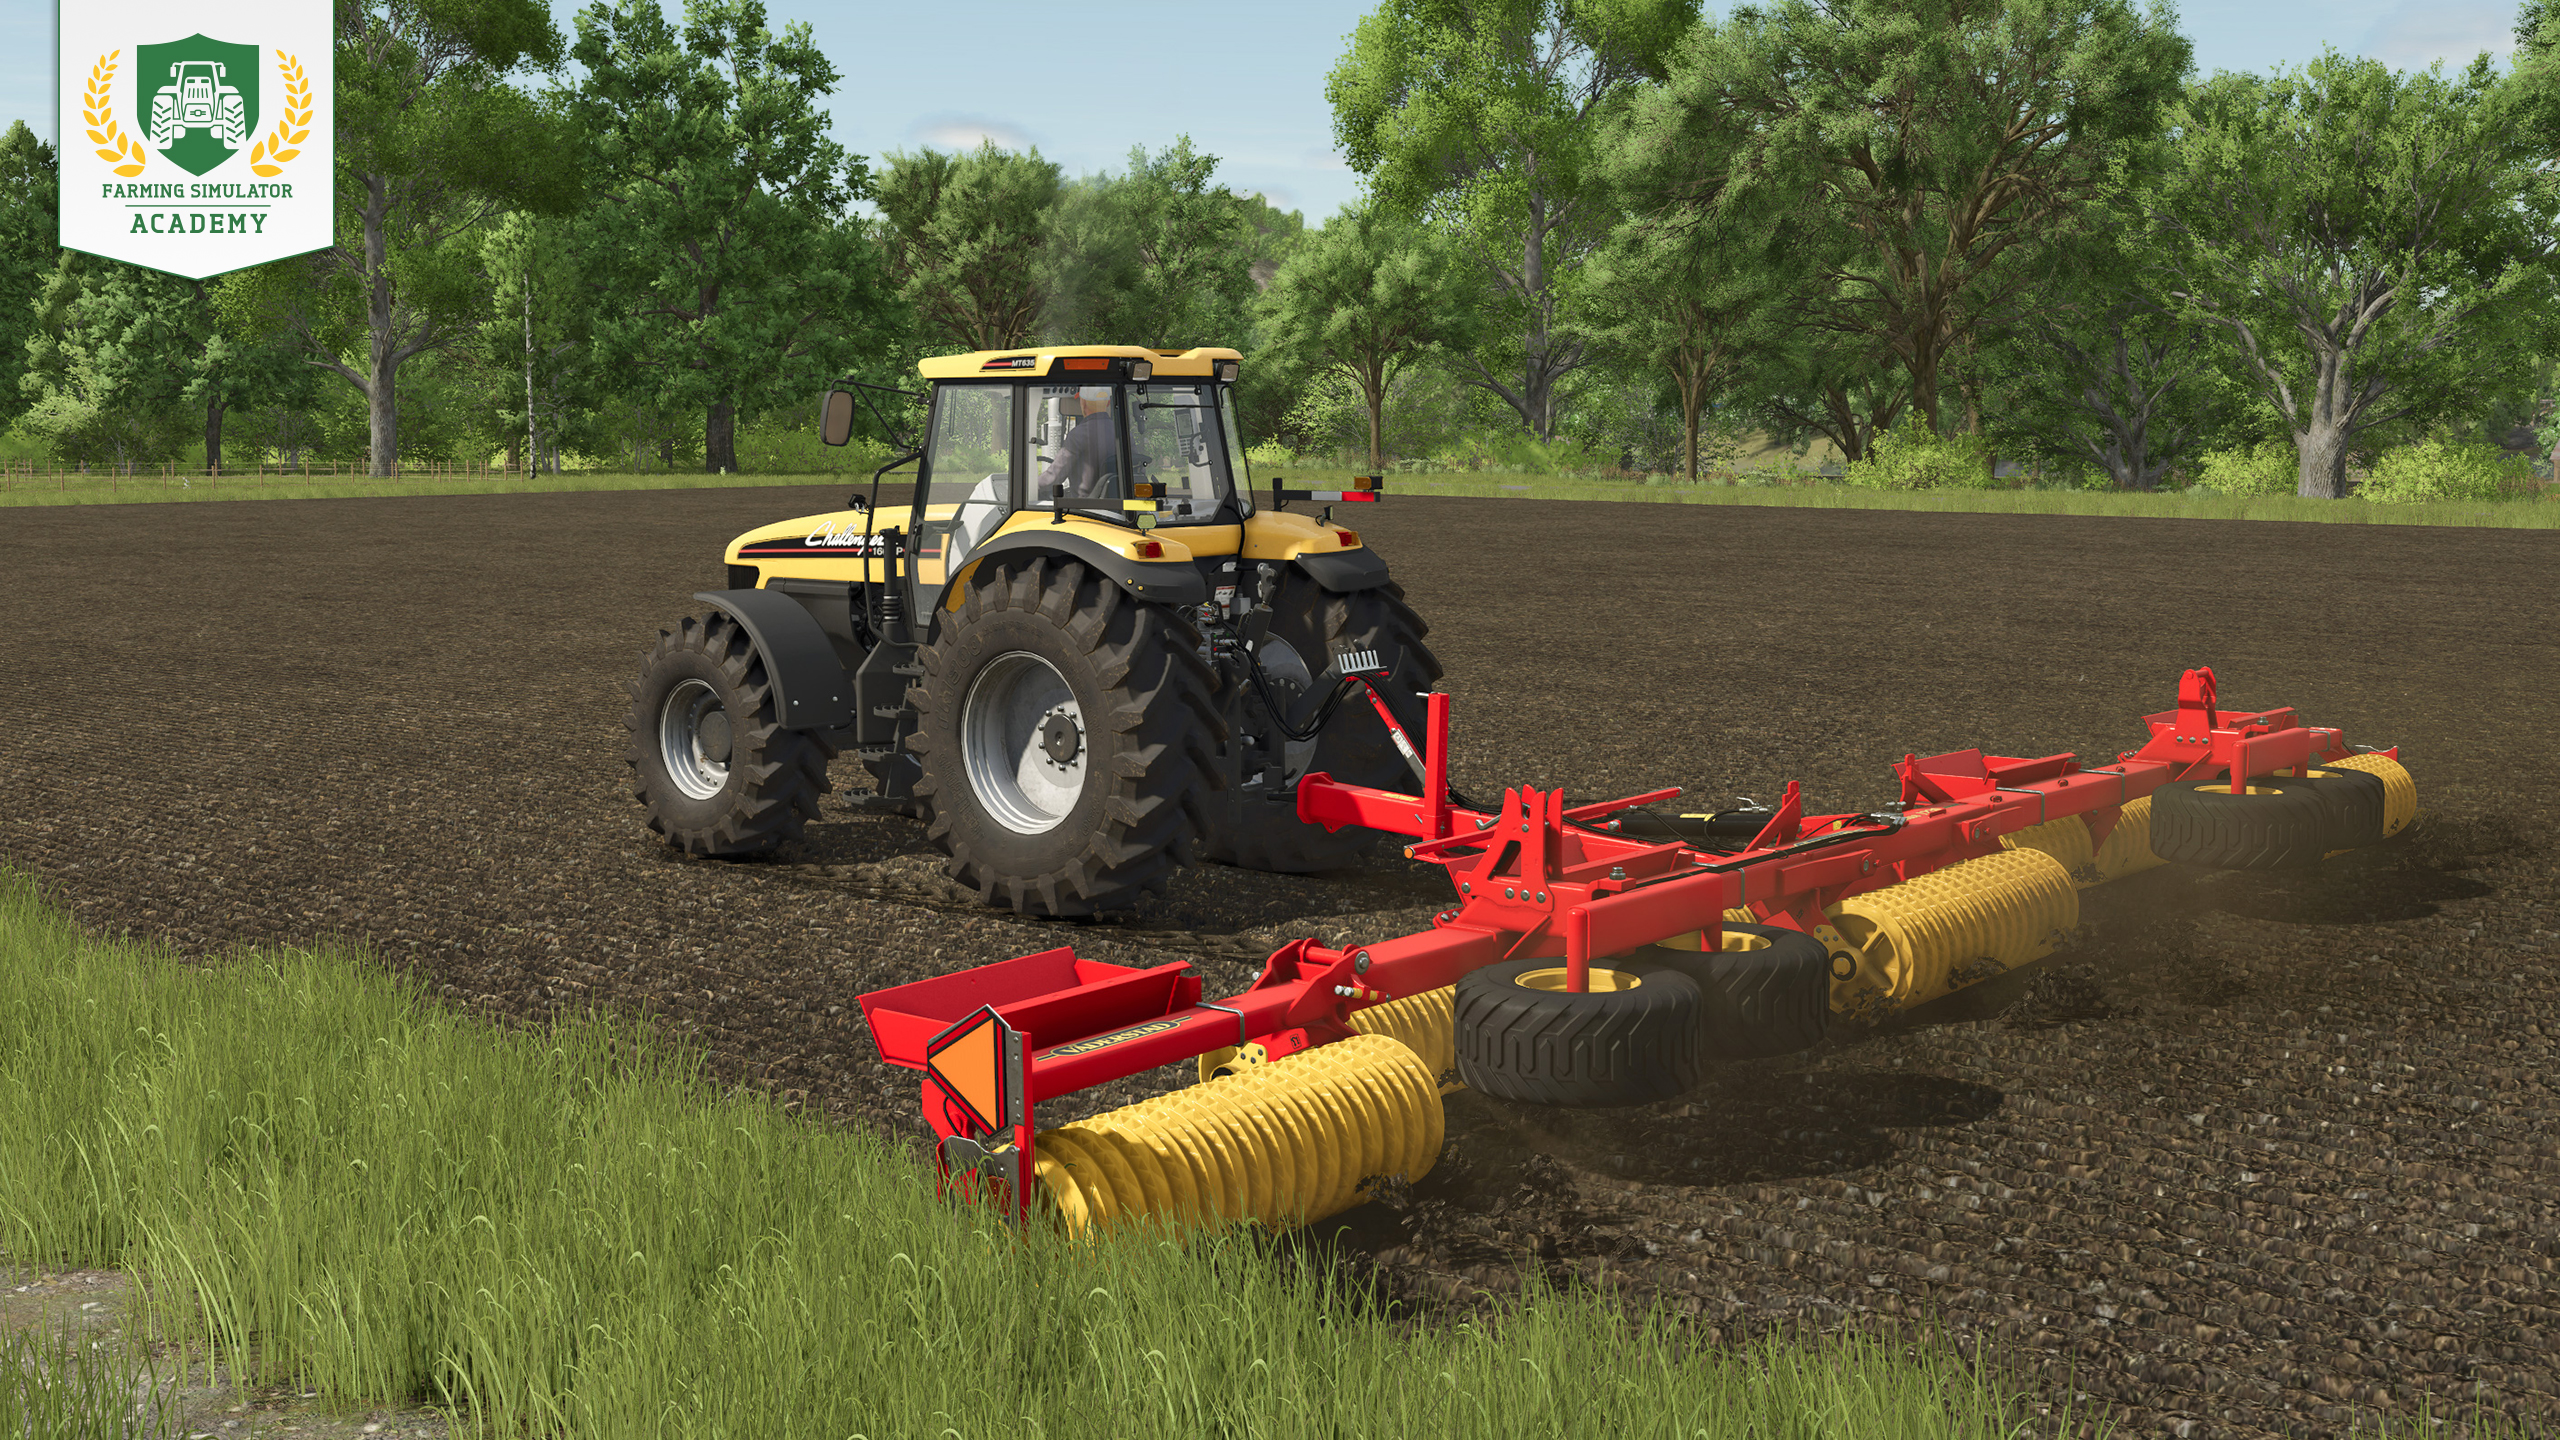
After sowing, you can roll the field to increase your yield by another 2.5 %. Attach a soil roller to your tractor and cover the freshly sown field. Rolling can also push small stones back into the soil.
Want to know more about soil rollers? Continue here.
Step 6: Getting rid of weeds
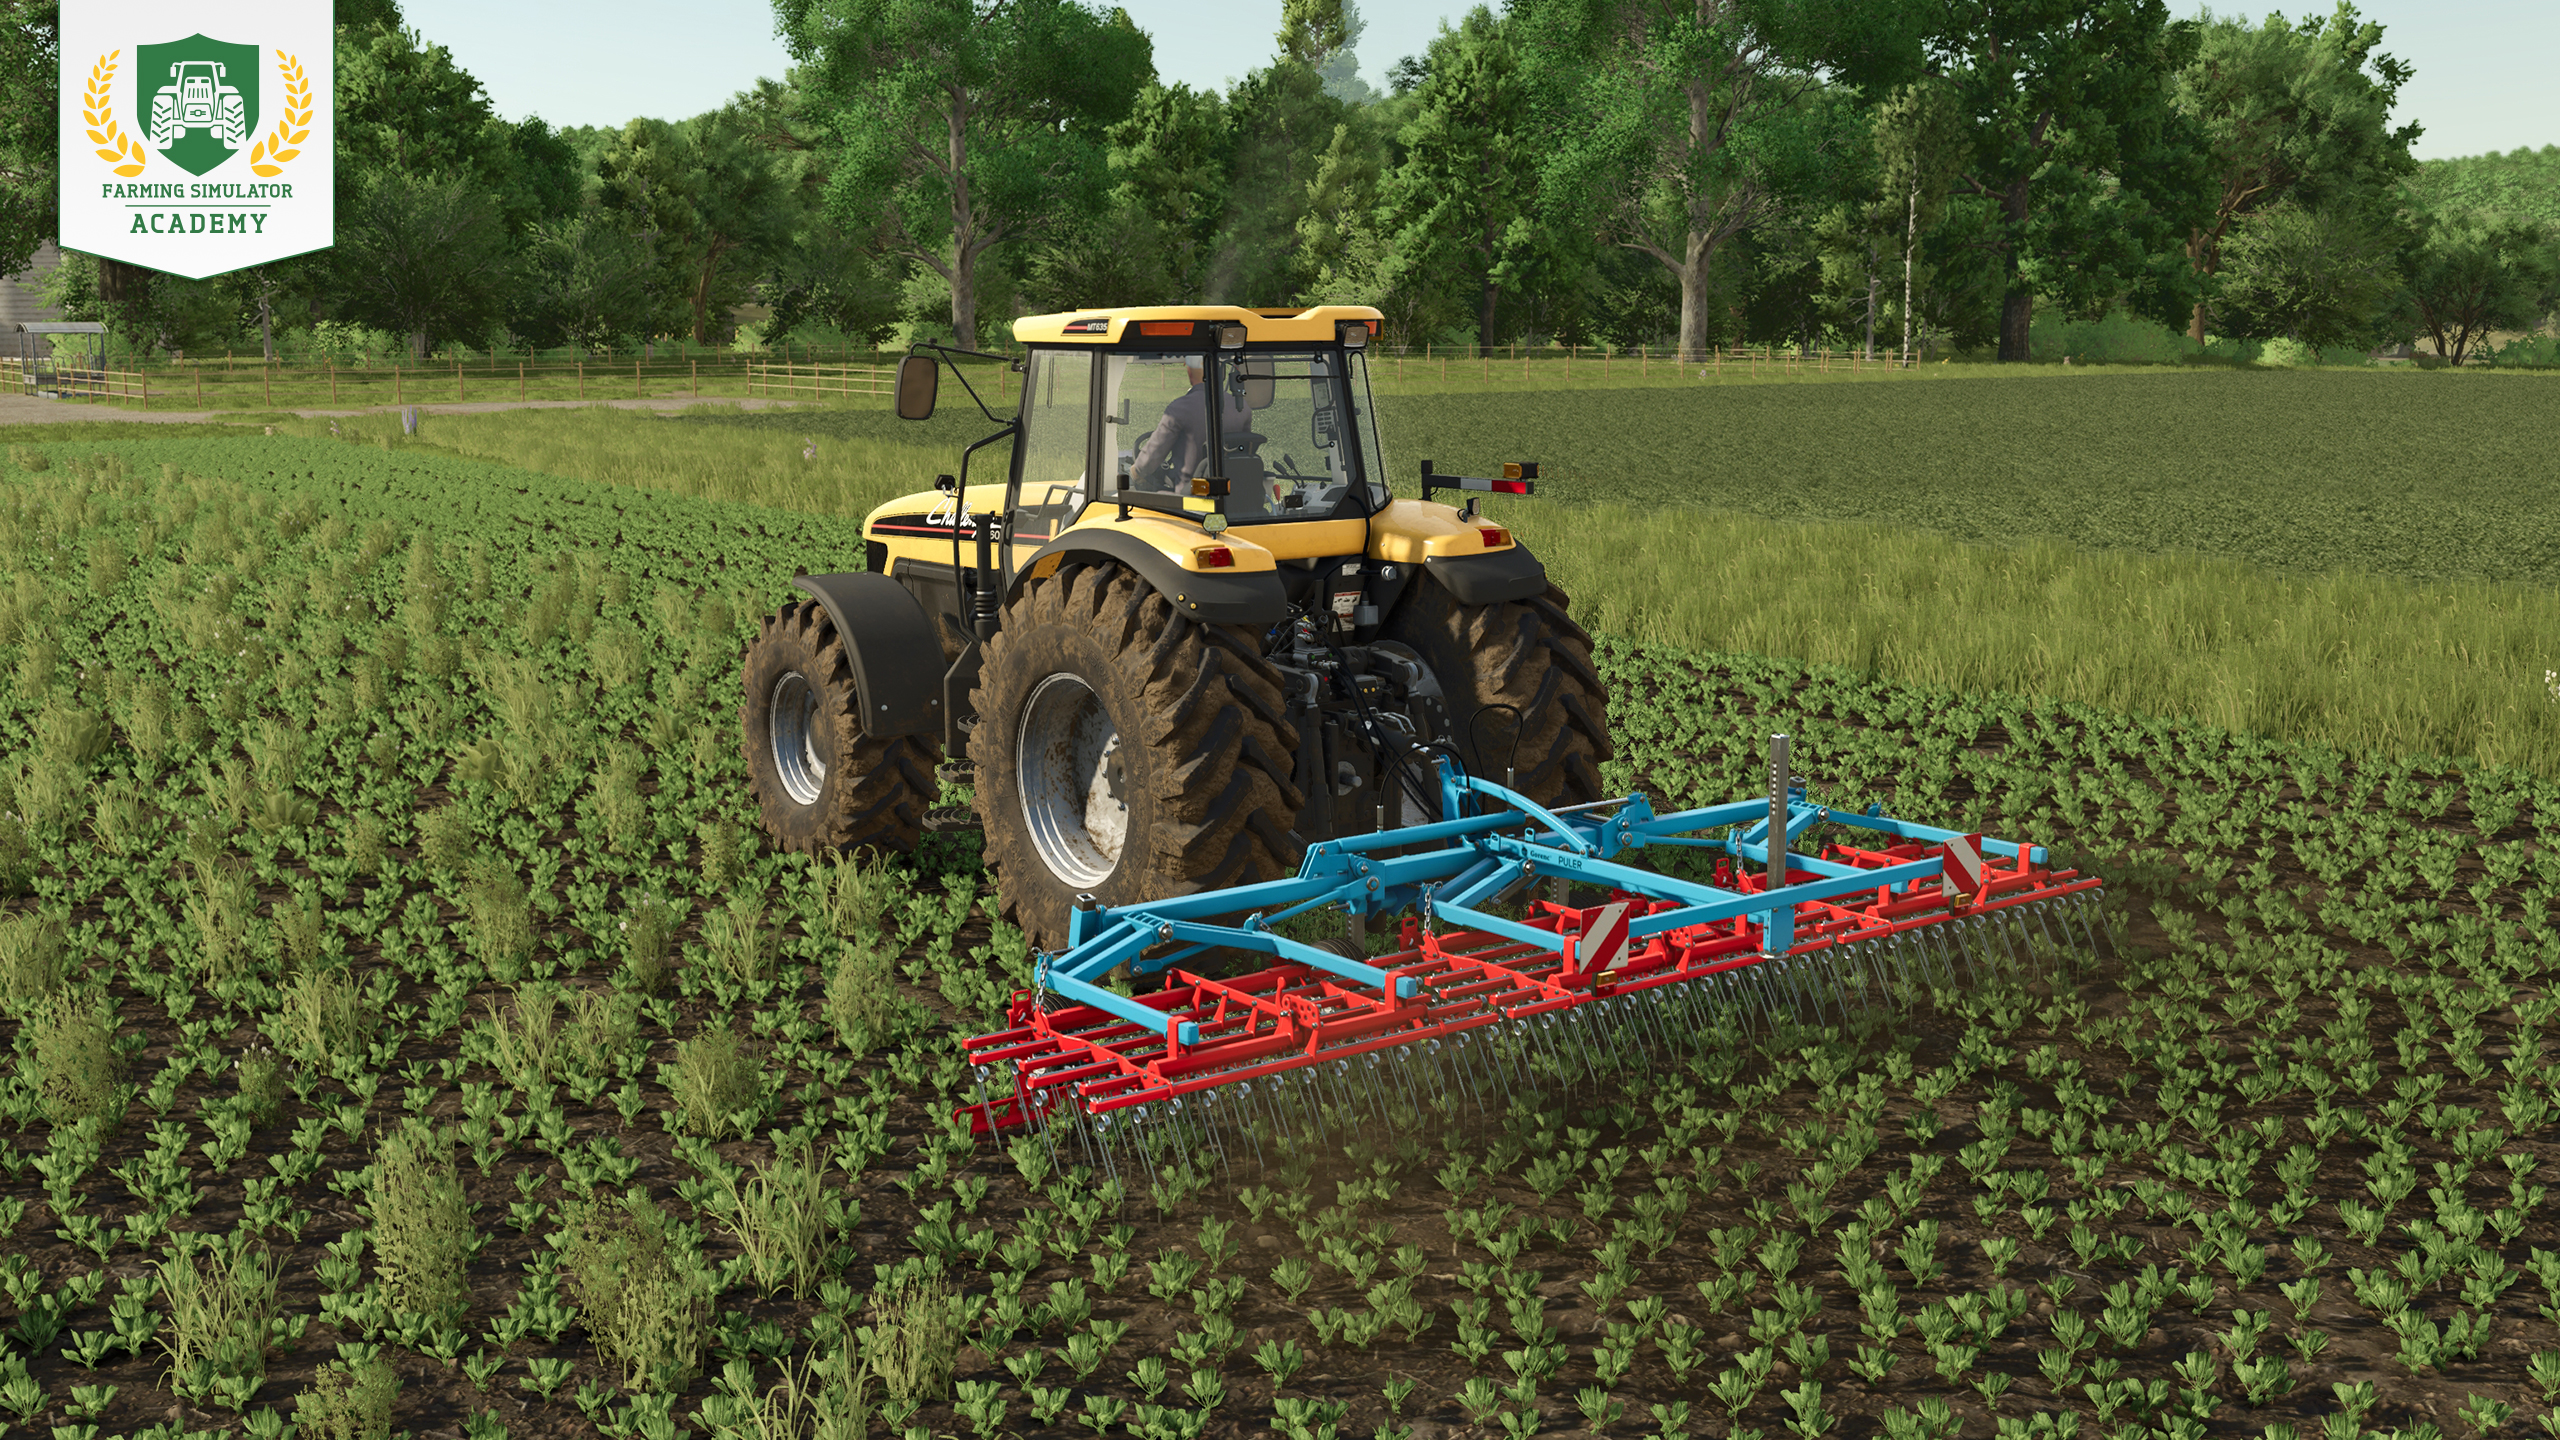
Once small weeds appear, remove them with a weeder before they grow larger. If you wait too long, you will need a hoe or field sprayer instead. Removing weeds prevents them from reducing your yield. If crop destruction is enabled and the spinach has already started to grow, use a tractor with narrow tires when driving across the field. Otherwise, you may destroy some of your plants.
Find the right machine for every weed growth stage.
Step 7: Harvesting spinach
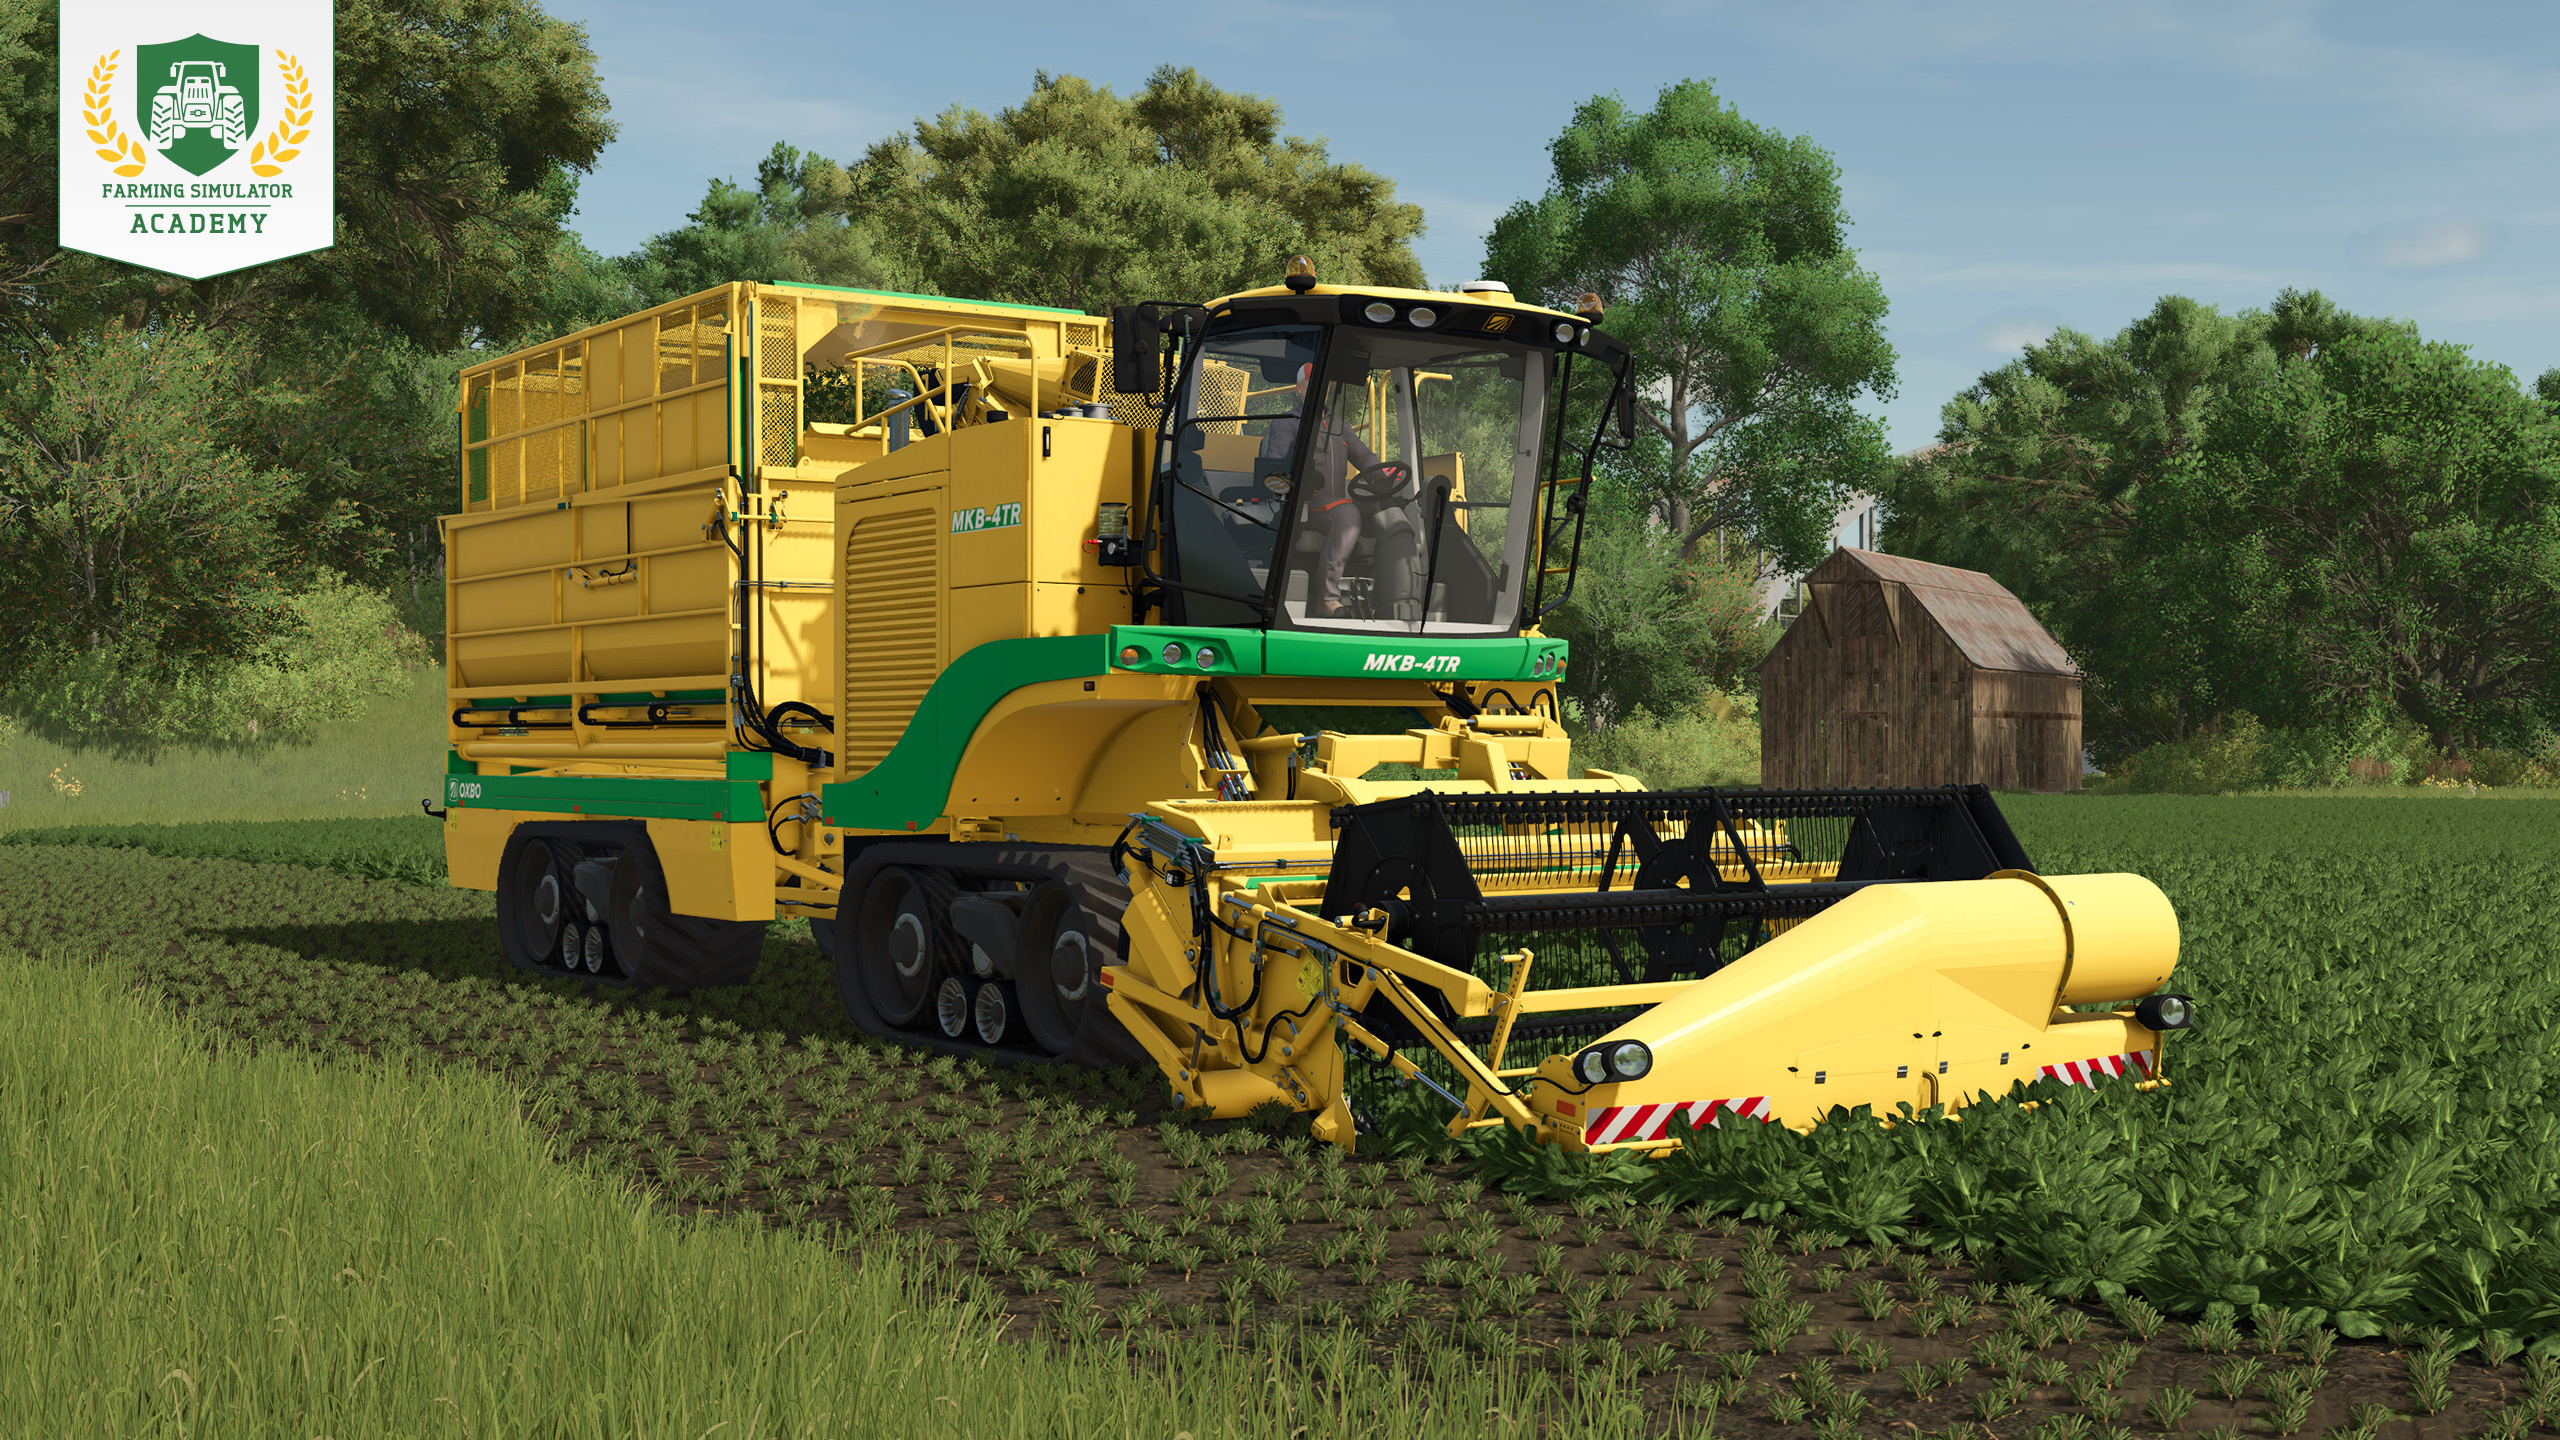
As soon as the spinach is ready, get your special harvester and head to the field. Lower the header, switch on the machine, and start harvesting. If you are aiming for a second harvest, do not wait longer than necessary before completing the first one.
When the harvester is full, bring a trailer alongside it and raise the bunker. Start overloading to transfer the spinach into the trailer. Continue until the whole field has been harvested.
Step 8: Selling or processing your harvest
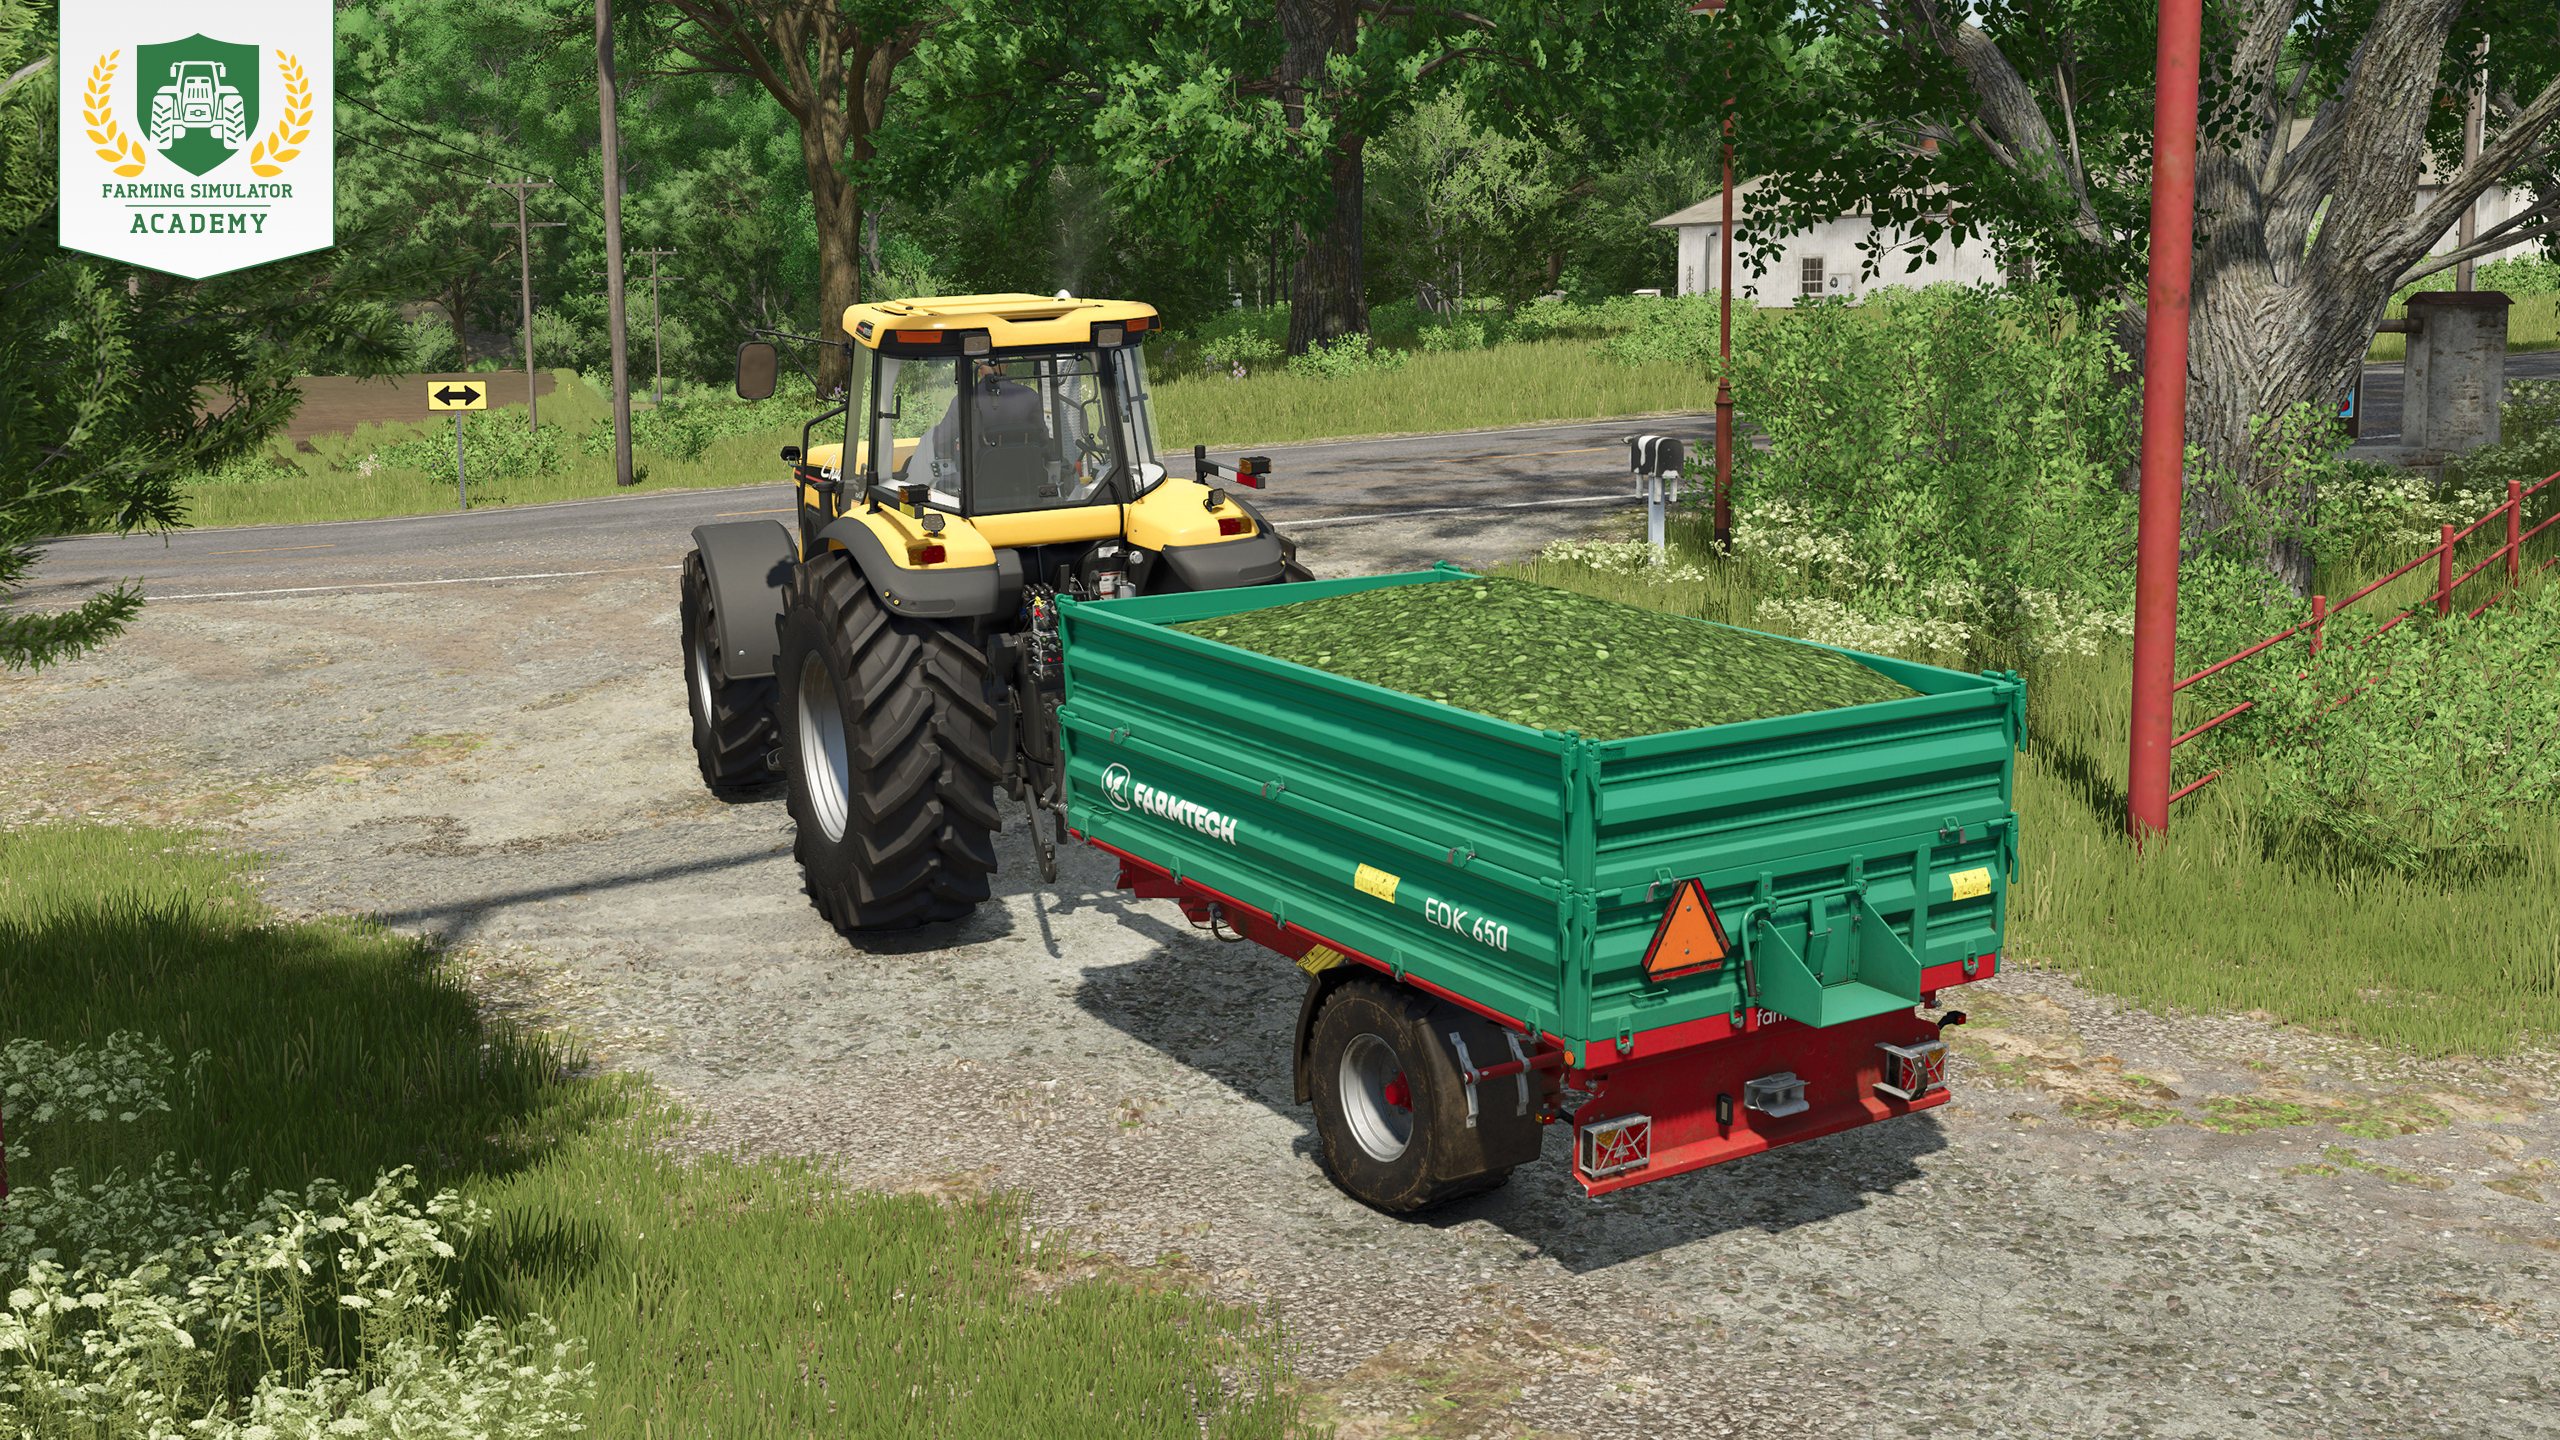
Spinach cannot be stored, so you need to sell or process it after harvesting. Check the prices screen for a suitable selling point and unload the trailer in the designated area, or take the spinach to a production point that accepts it.
Step 9: Harvesting spinach a second time
Wait until the regrown spinach is harvestready again. Then return with the same harvester and harvest the field exactly as before. This gives you a second harvest from the same sowing.
Spinach only regrows once. After the second harvest, it will not grow back again. If you want to grow spinach again next year, prepare the field and sow a new crop.
Processing Spinach: Products
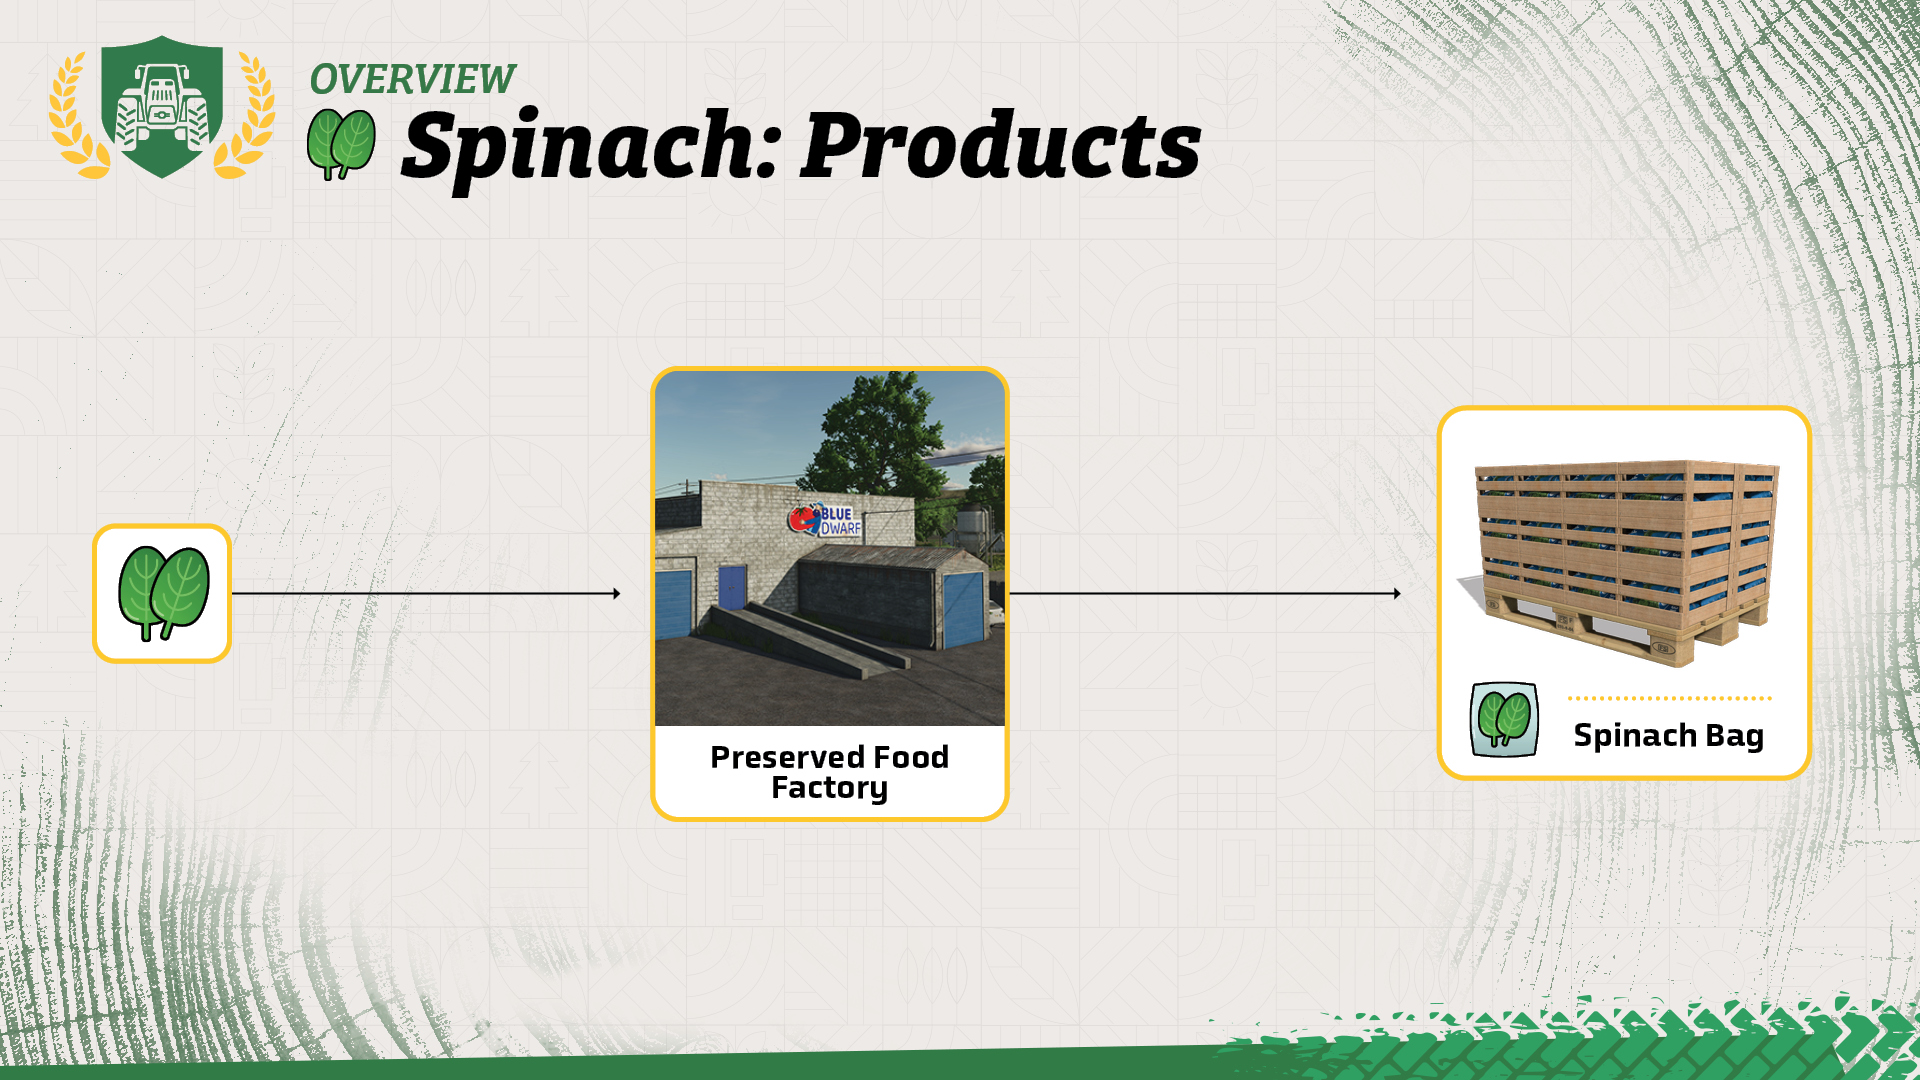
Instead of selling spinach directly, you can also deliver it to the preserved food factory and process it to spinach bags.
Well Done!
Congratulations! You now know the basics of spinach in Farming Simulator. When you’re ready, continue with the next Farming Simulator Academy lesson!


☕ Coffee, construction & a dinosaur? Build new production chains, help transform Catuaí and uncover dinosaur bones in Farming Simulator 25: Beans & Alpacas! 🦖 Check our blog for more infos! 👇 🔗 https://t.co/ECshBYcKB5 https://t.co/VPkPxsLviS

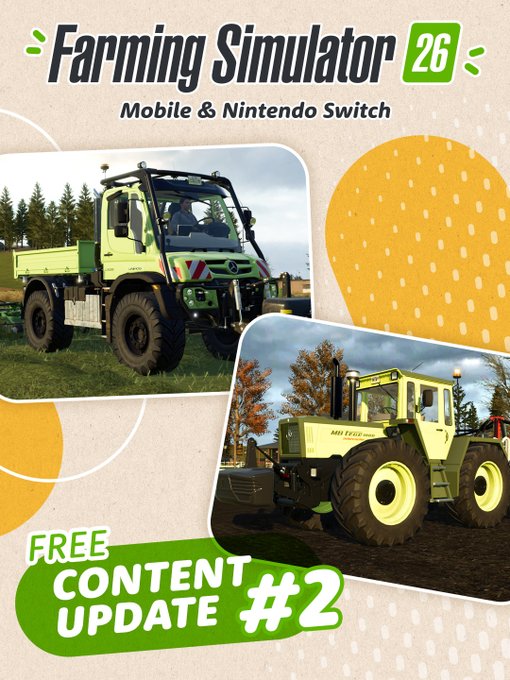
More machines are rolling into Farming Simulator 26! 🚜 Free Content Update #2 is out now with Patch 1.5, adding three new machines from Lode King and Mercedes-Benz Trucks completely free. Check our blog for more infos! 👇 🔗 https://t.co/O6fJoLVkcd https://t.co/RUwAcluuKw
Pumps N' Hoses by @CreativeMesh is available NOW & FREE for Farming Simulator 25! Enjoy new content, 40+ items, manure separation, biogas & more. Also available: Patch 1.23 with bug fixes, improvements & some new additions for modding. 🛠️ https://t.co/G86wgFzbnb

Beans, Alpacas… and Brahman cattle! 🐄🌱 Meet another new animal coming with the Farming Simulator 25: Beans & Alpacas Expansion and learn what makes Brahmans special. 👉 Check out the full preview: https://t.co/b7DzQD6tSZ https://t.co/s19RzlKD0B

Social Media


☕ Coffee, construction & a dinosaur? Build new production chains, help transform Catuaí and uncover dinosaur bones in Farming Simulator 25: Beans & Alpacas! 🦖 Check our blog for more infos! 👇 🔗 https://t.co/ECshBYcKB5 https://t.co/VPkPxsLviS