[Feldfrüchte] Anbau und Ernte von Buschbohnen
![[Feldfrüchte] Anbau und Ernte von Buschbohnen](/cms/uploads/news_67346adbdfa3f.jpg)
Willkommen zu eurer nächsten Lektion im Einmaleins der Feldfrüchte der Farming Simulator Academy! Heute beschäftigen wir uns mit Buschbohnen. Wir zeigen euch, wie ihr diese gesunde Pflanze anpflanzt und erntet.
Was ihr für Buschbohnen benötigt
- Ihr benötigt einen Traktor, um die folgenden Geräte anzubauen und zu bedienen.
- Ihr benötigt einen Grubber, um den Boden für eure nächste Ernte vorzubereiten.
- Ihr benötigt eine Einzelkornsämaschine, um Buschbohnen einzupflanzen.
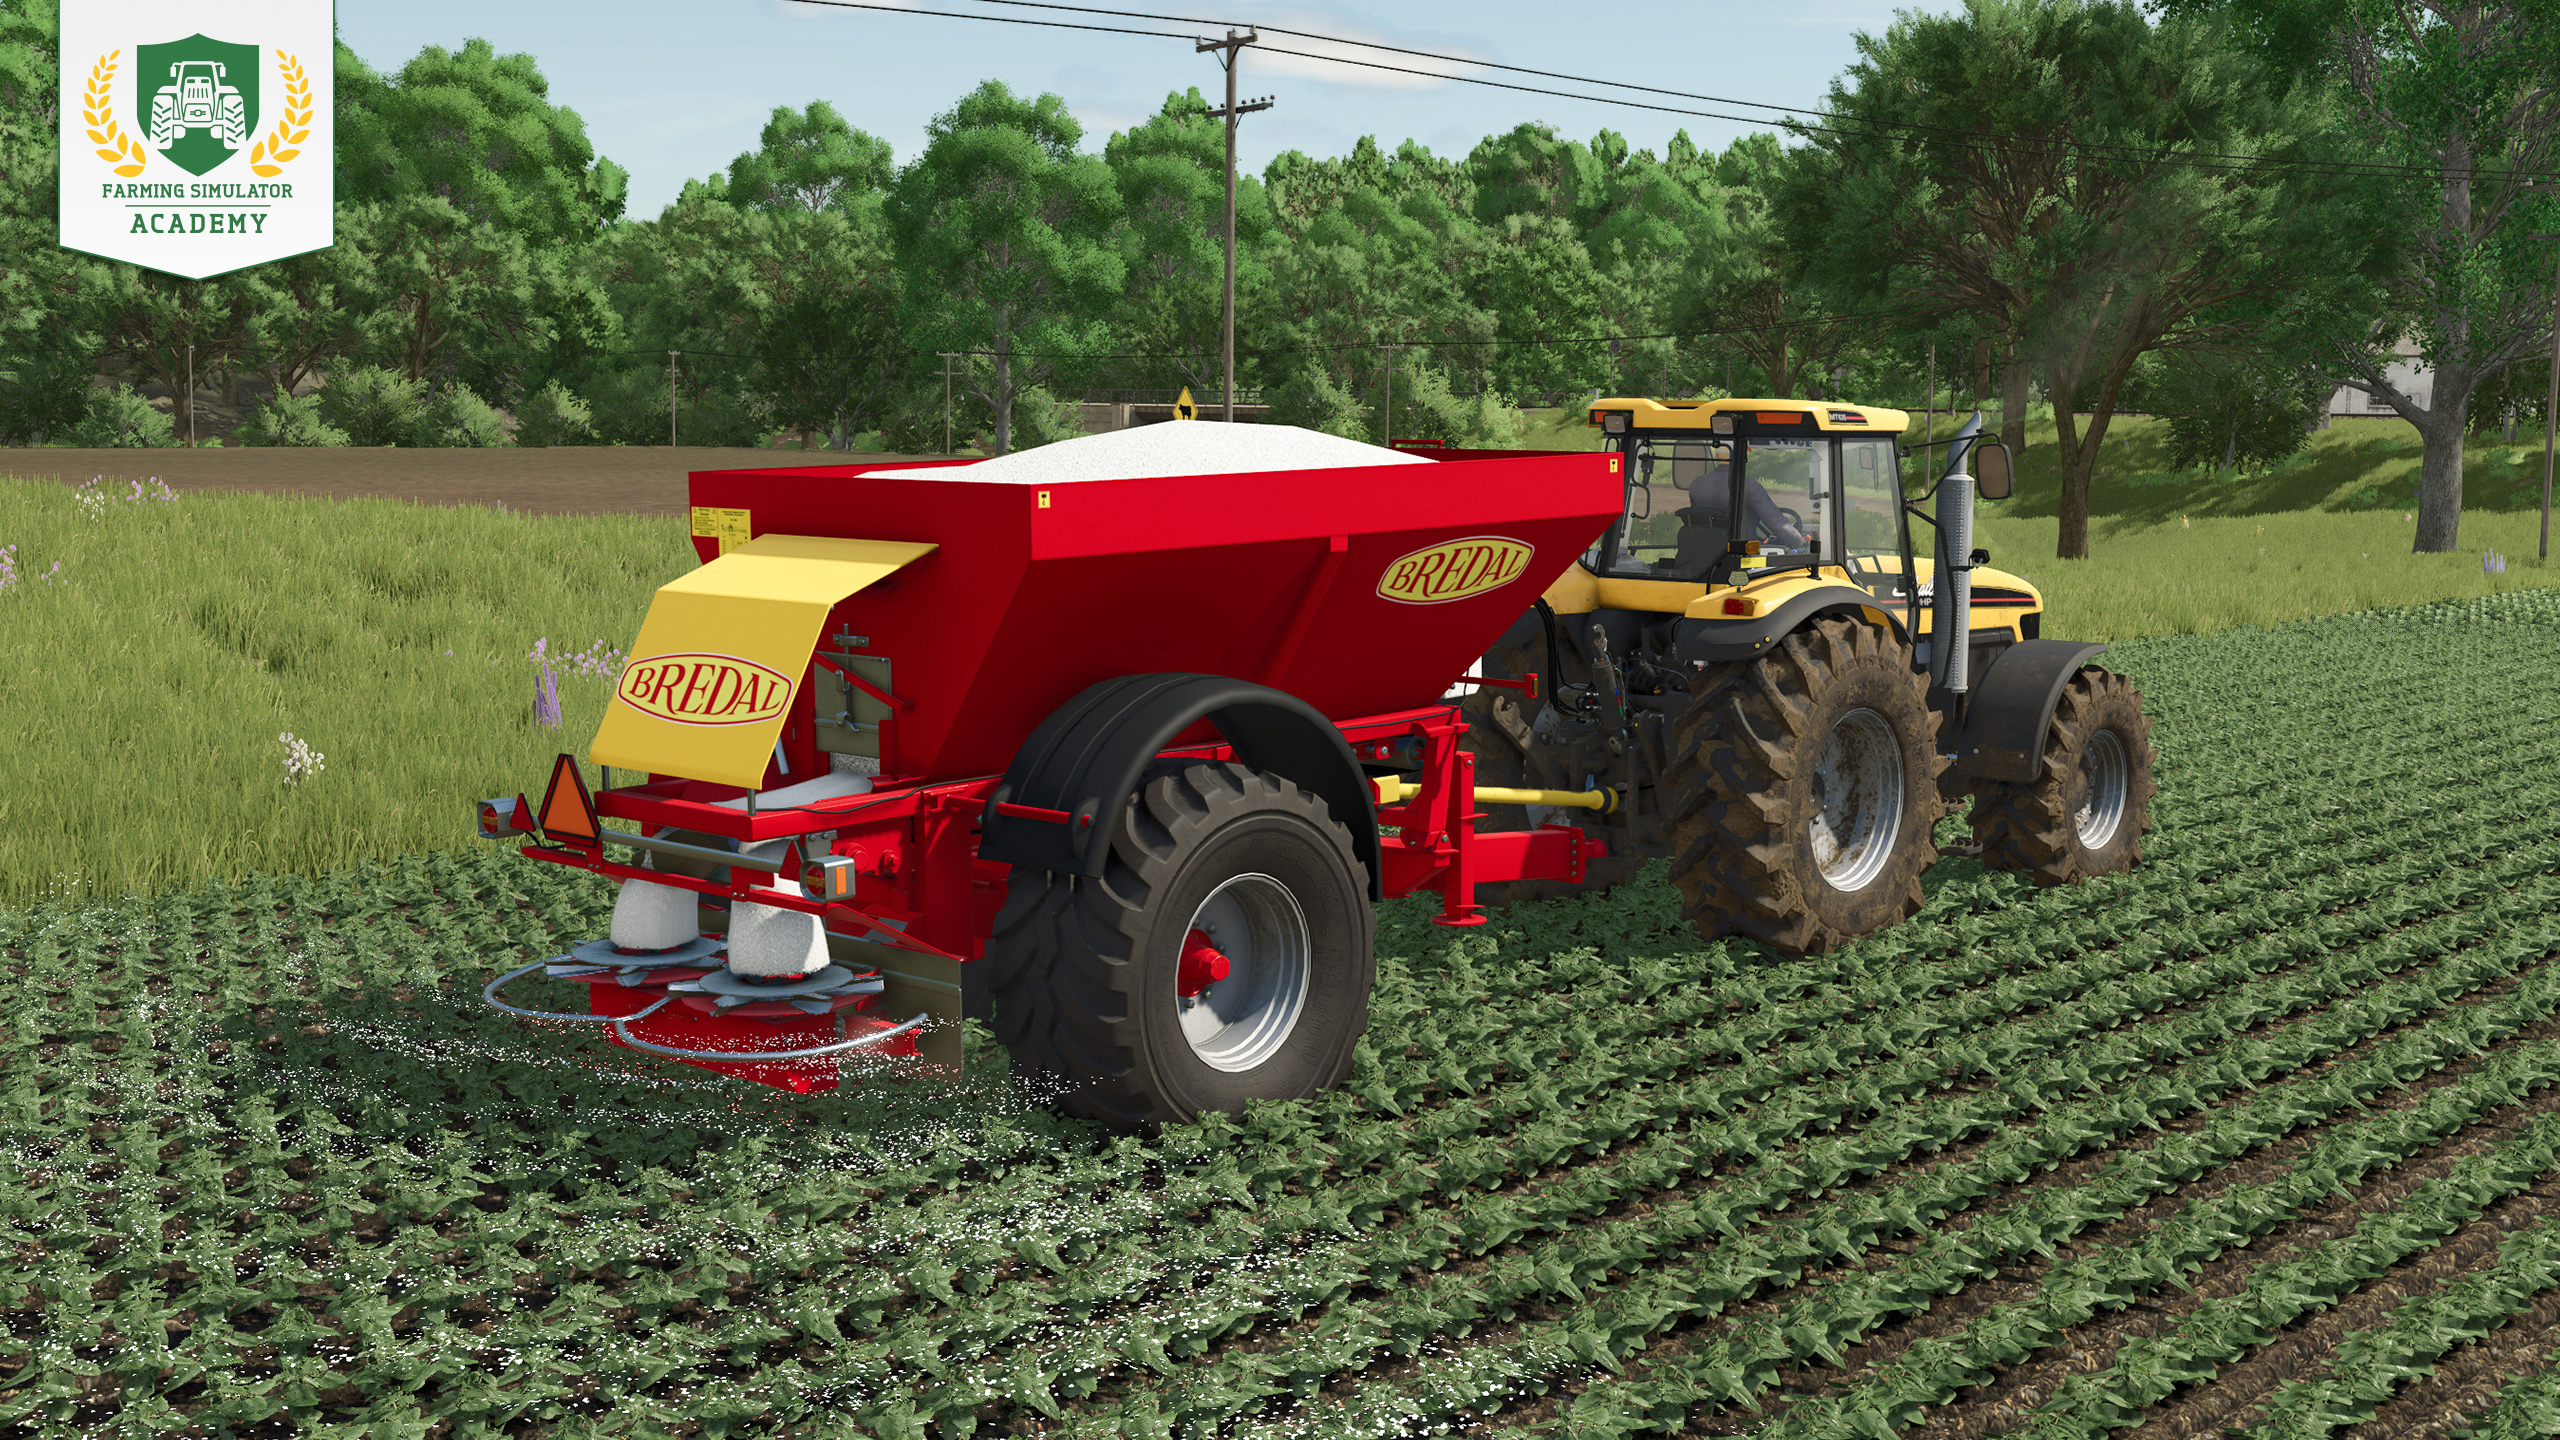
- Ihr benötigt einen Düngerstreuer, Dünger und Kalk, um eure Ernte zu verbessern.
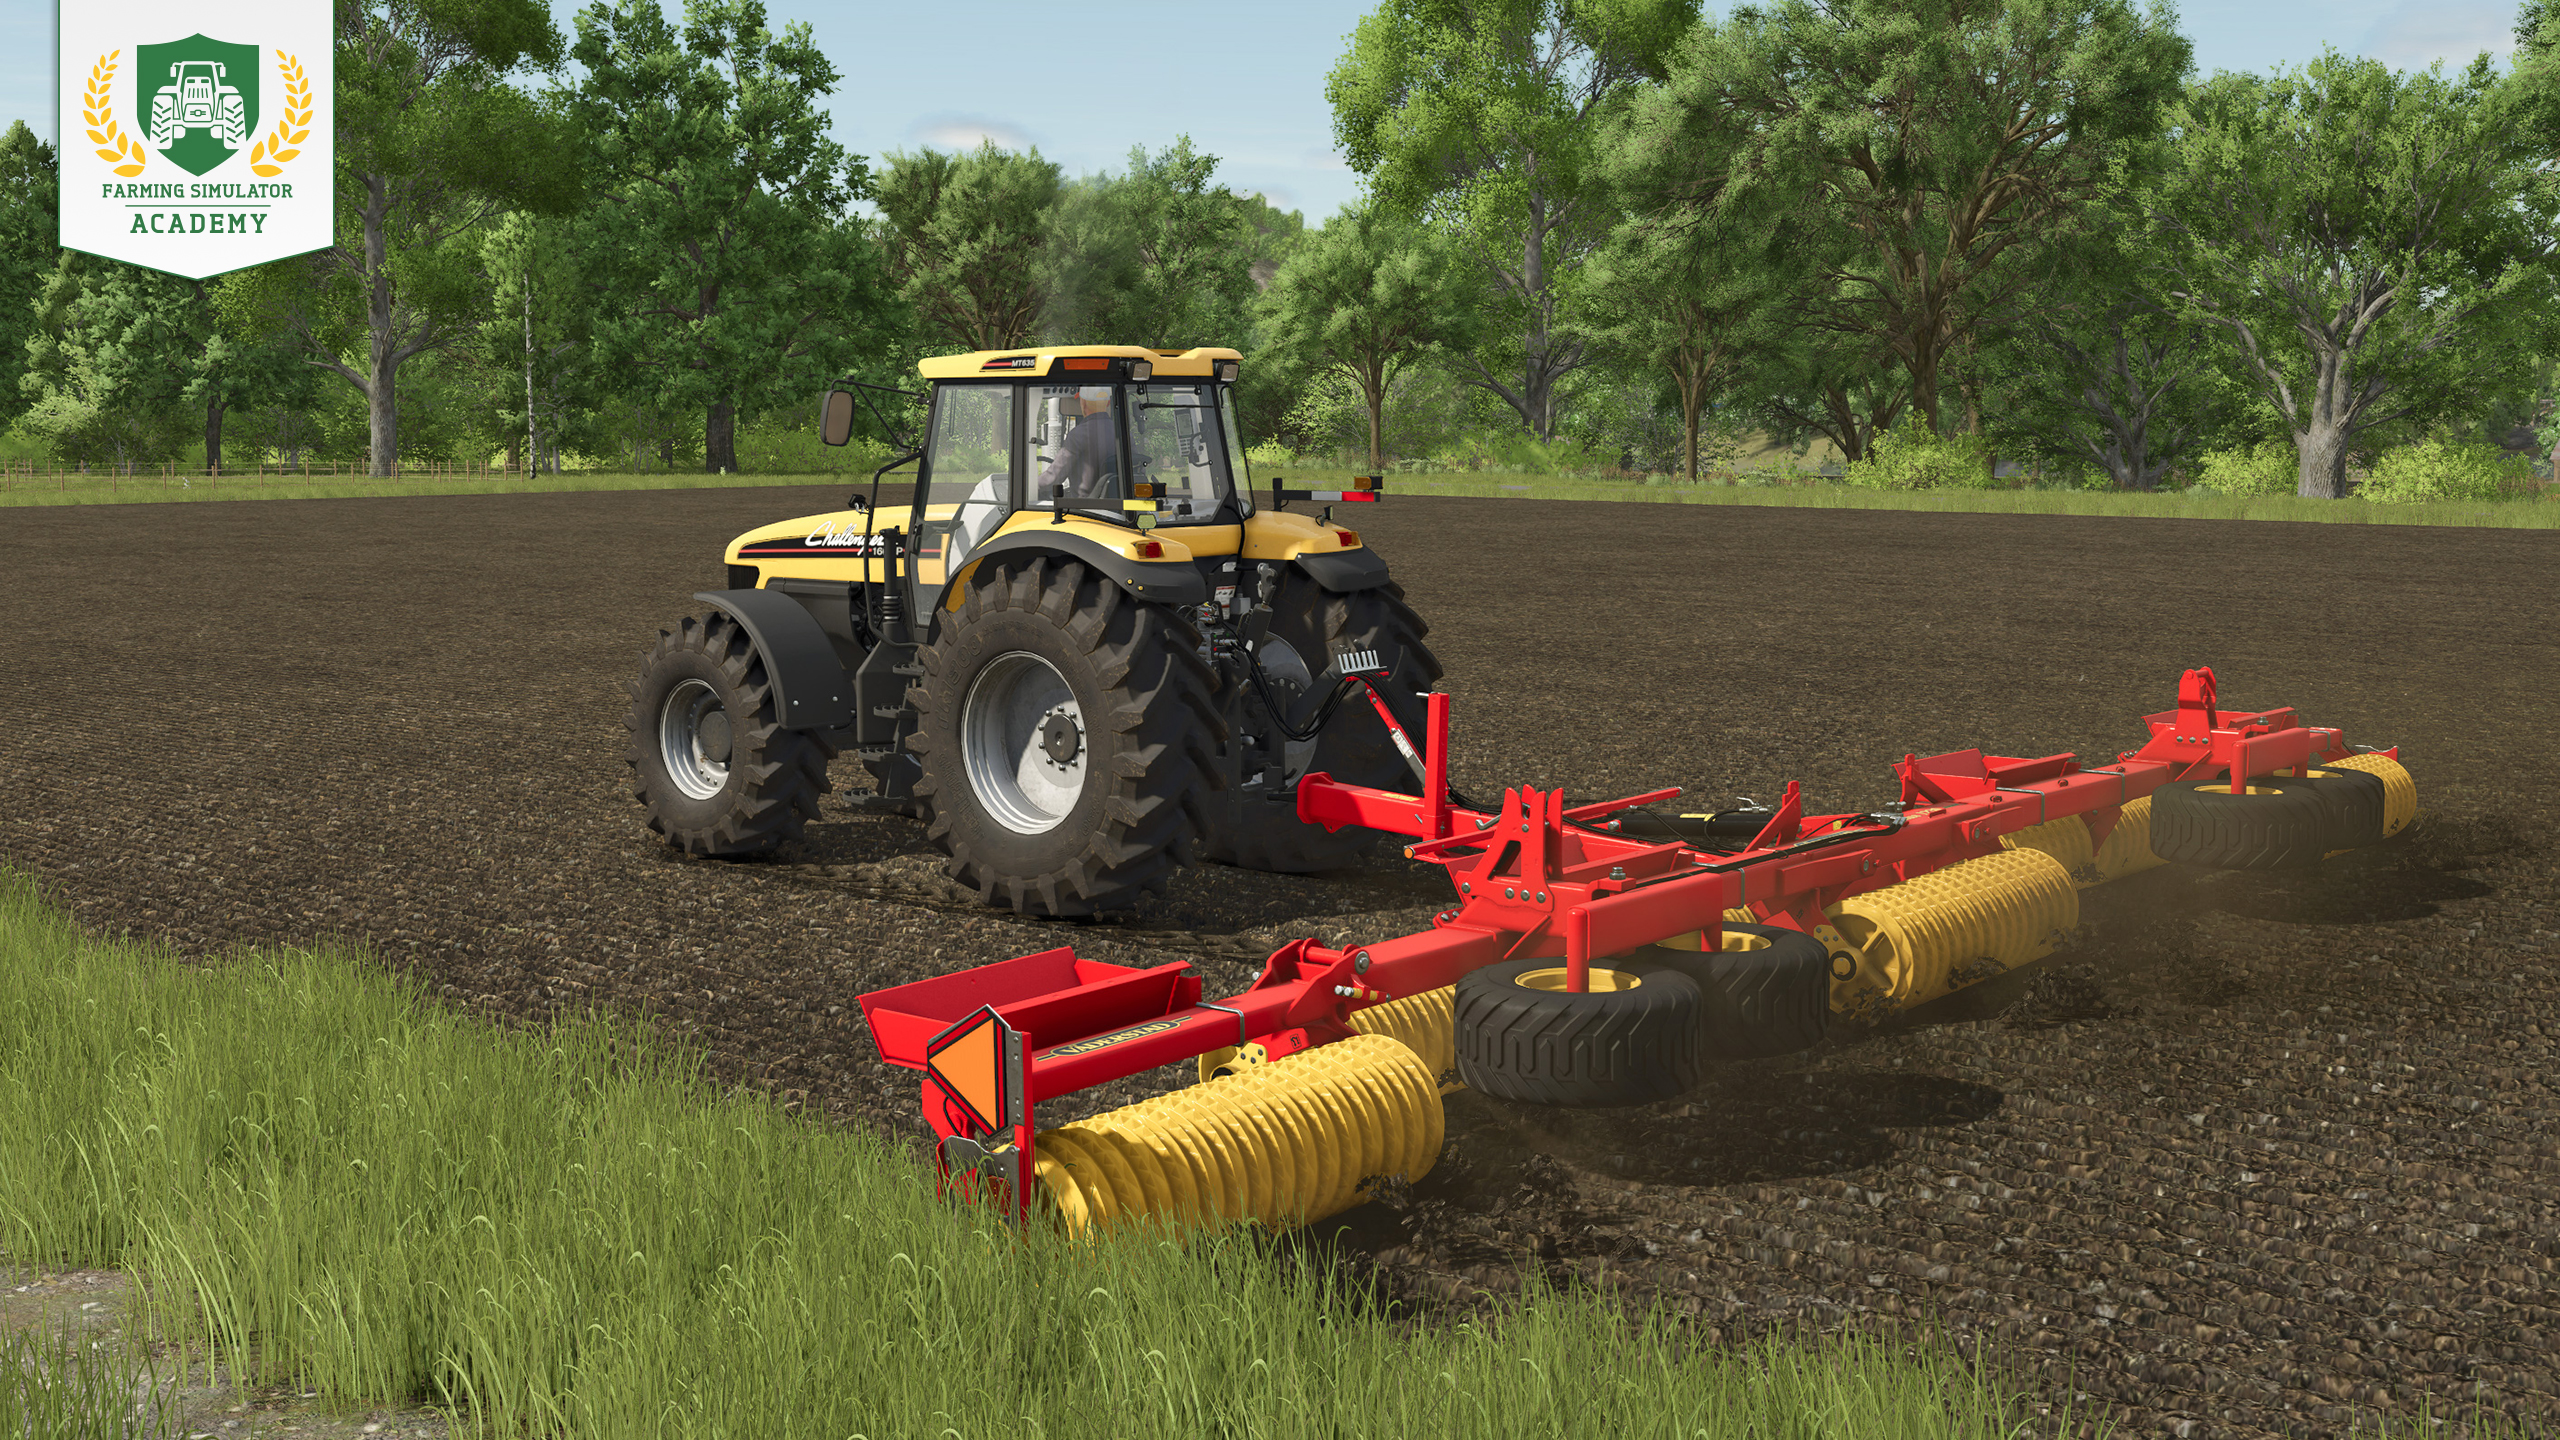
- Ihr braucht eine Walze, um den Boden zu verdichten und den Ertrag eurer Ernte zu steigern.
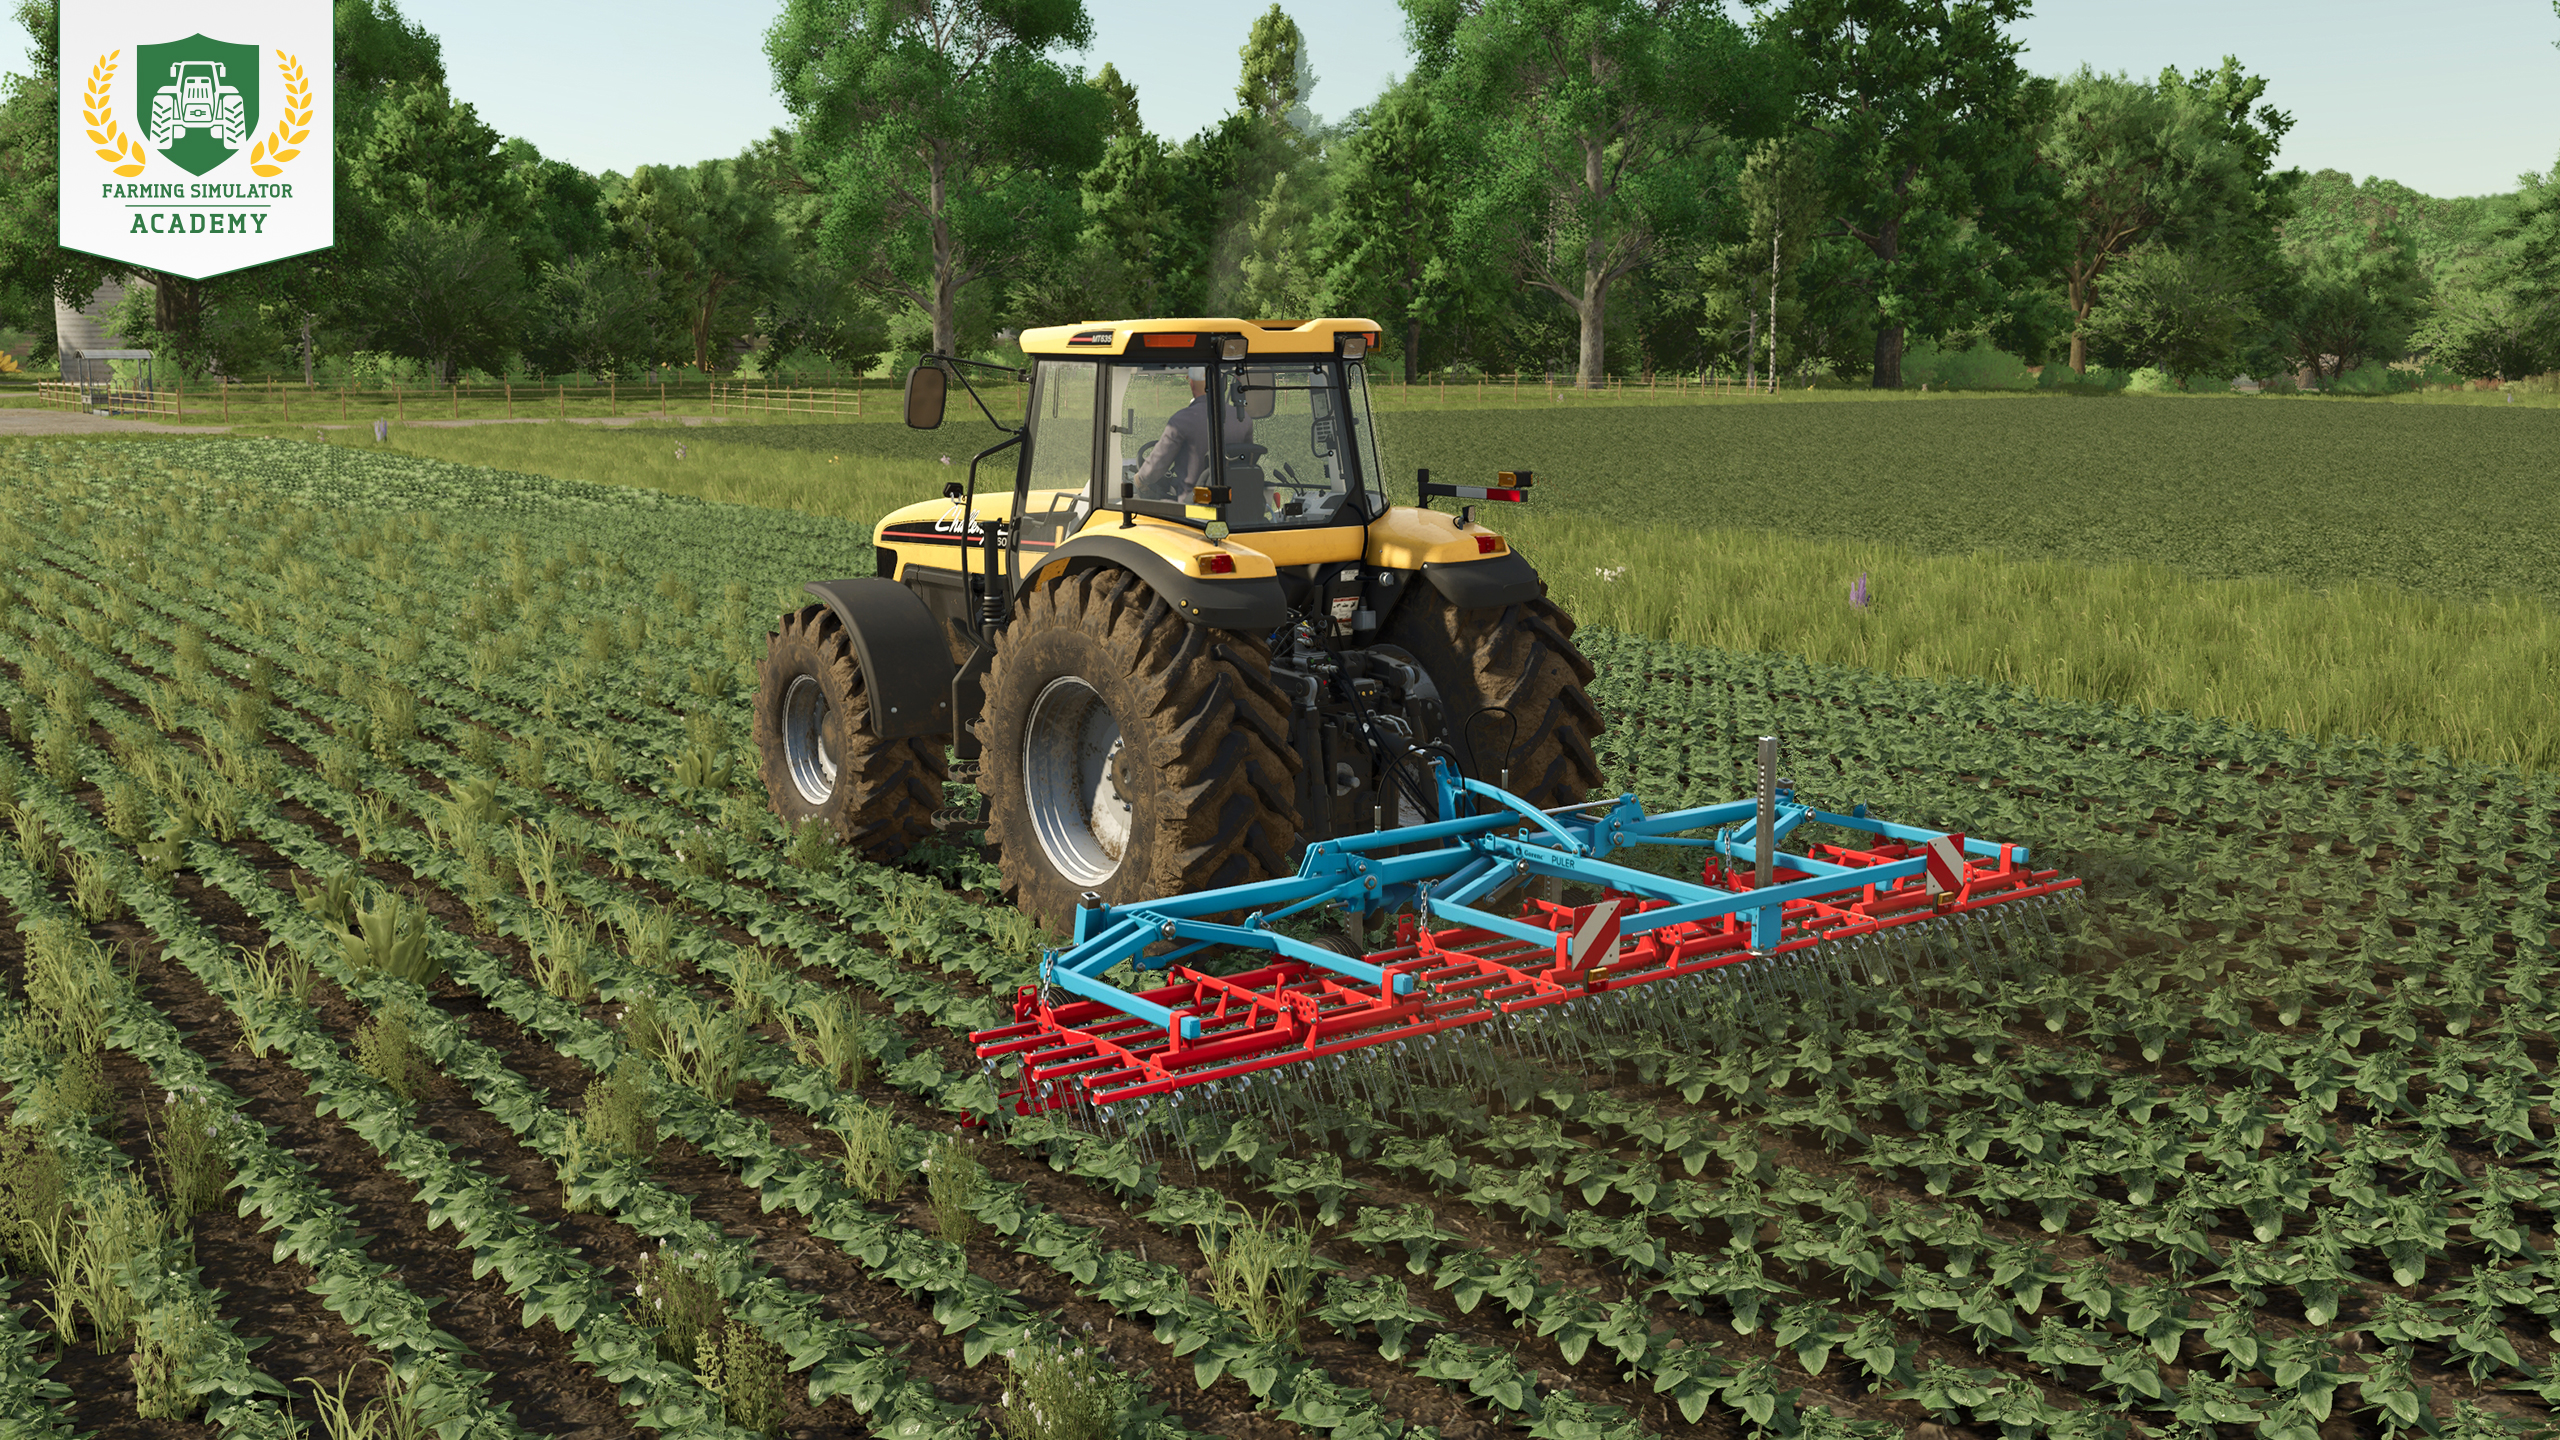
- Ihr benötigt einen Striegel, um Unkraut loszuwerden, das bald auftauchen wird. Andernfalls wird der Ertrag und somit euer Einkommen beim Verkauf der Ernte reduziert.
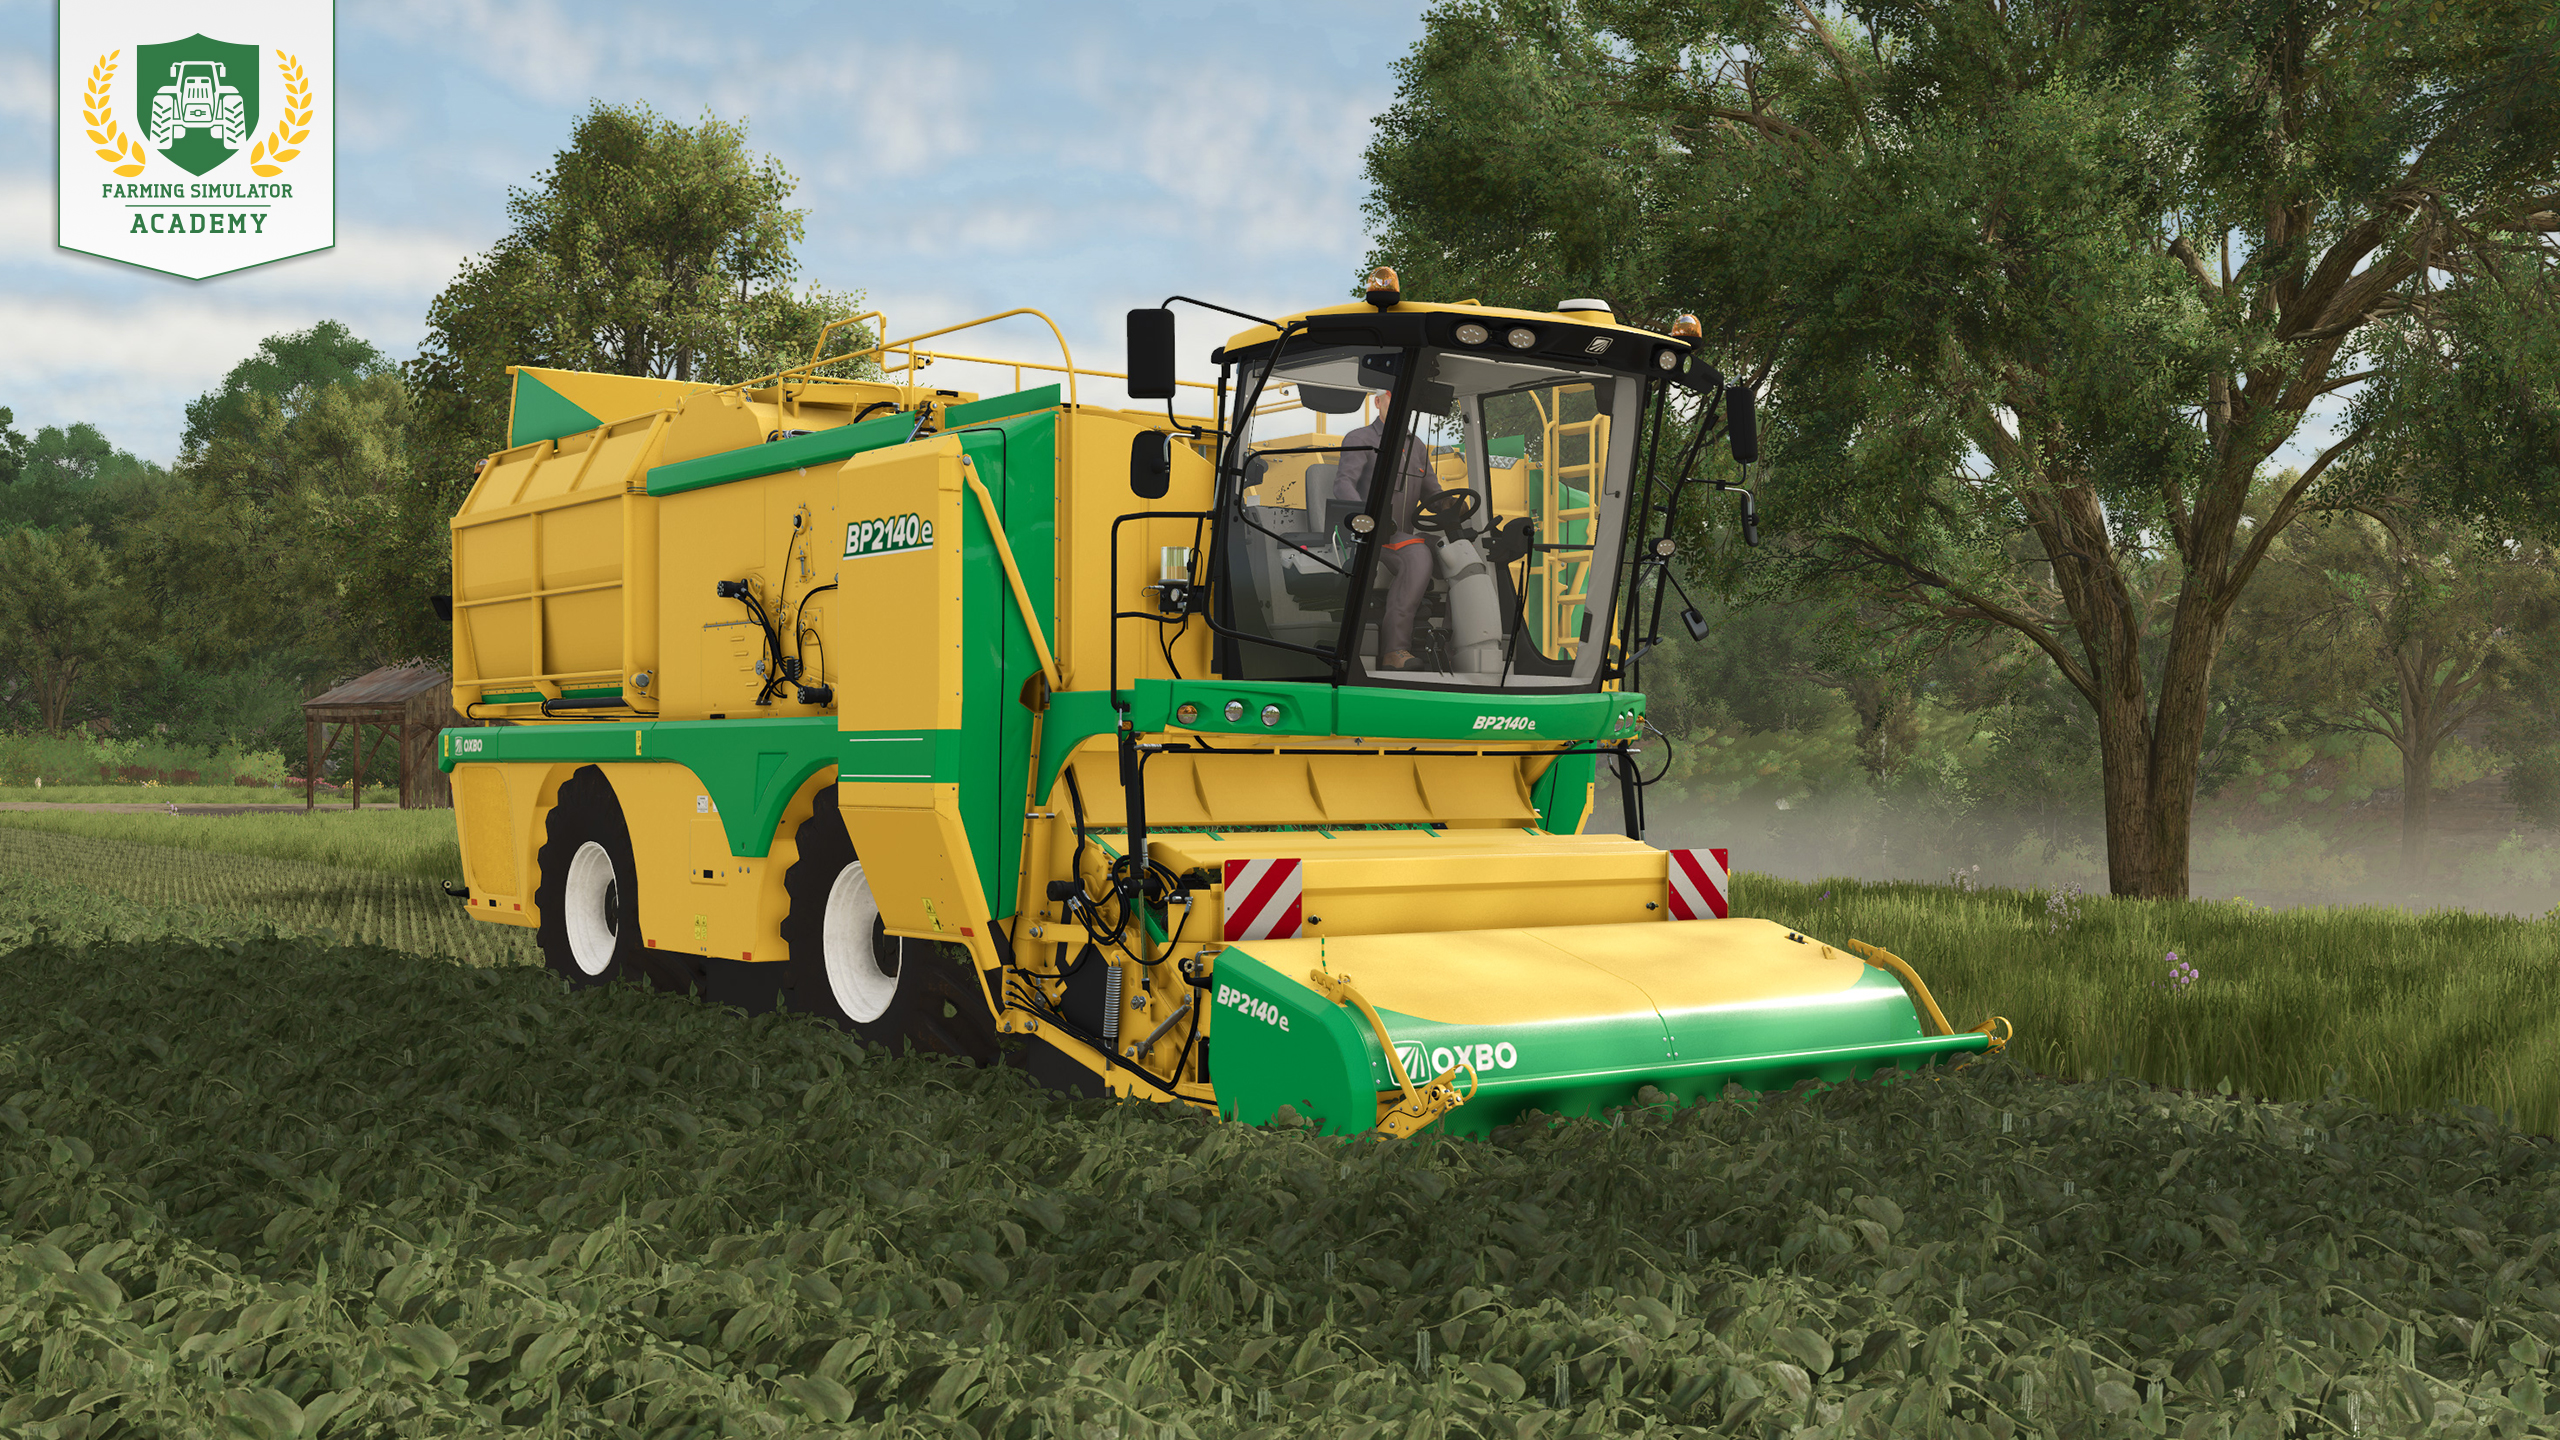
- Ihr braucht eine spezielle Erntemaschine, um eure Bohnen zu ernten.
- Und ihr benötigt einen Anhänger, um die geernteten Buschbohnen zu transportieren und zu verkaufen.
Auswahl des Equipments (Empfehlung)
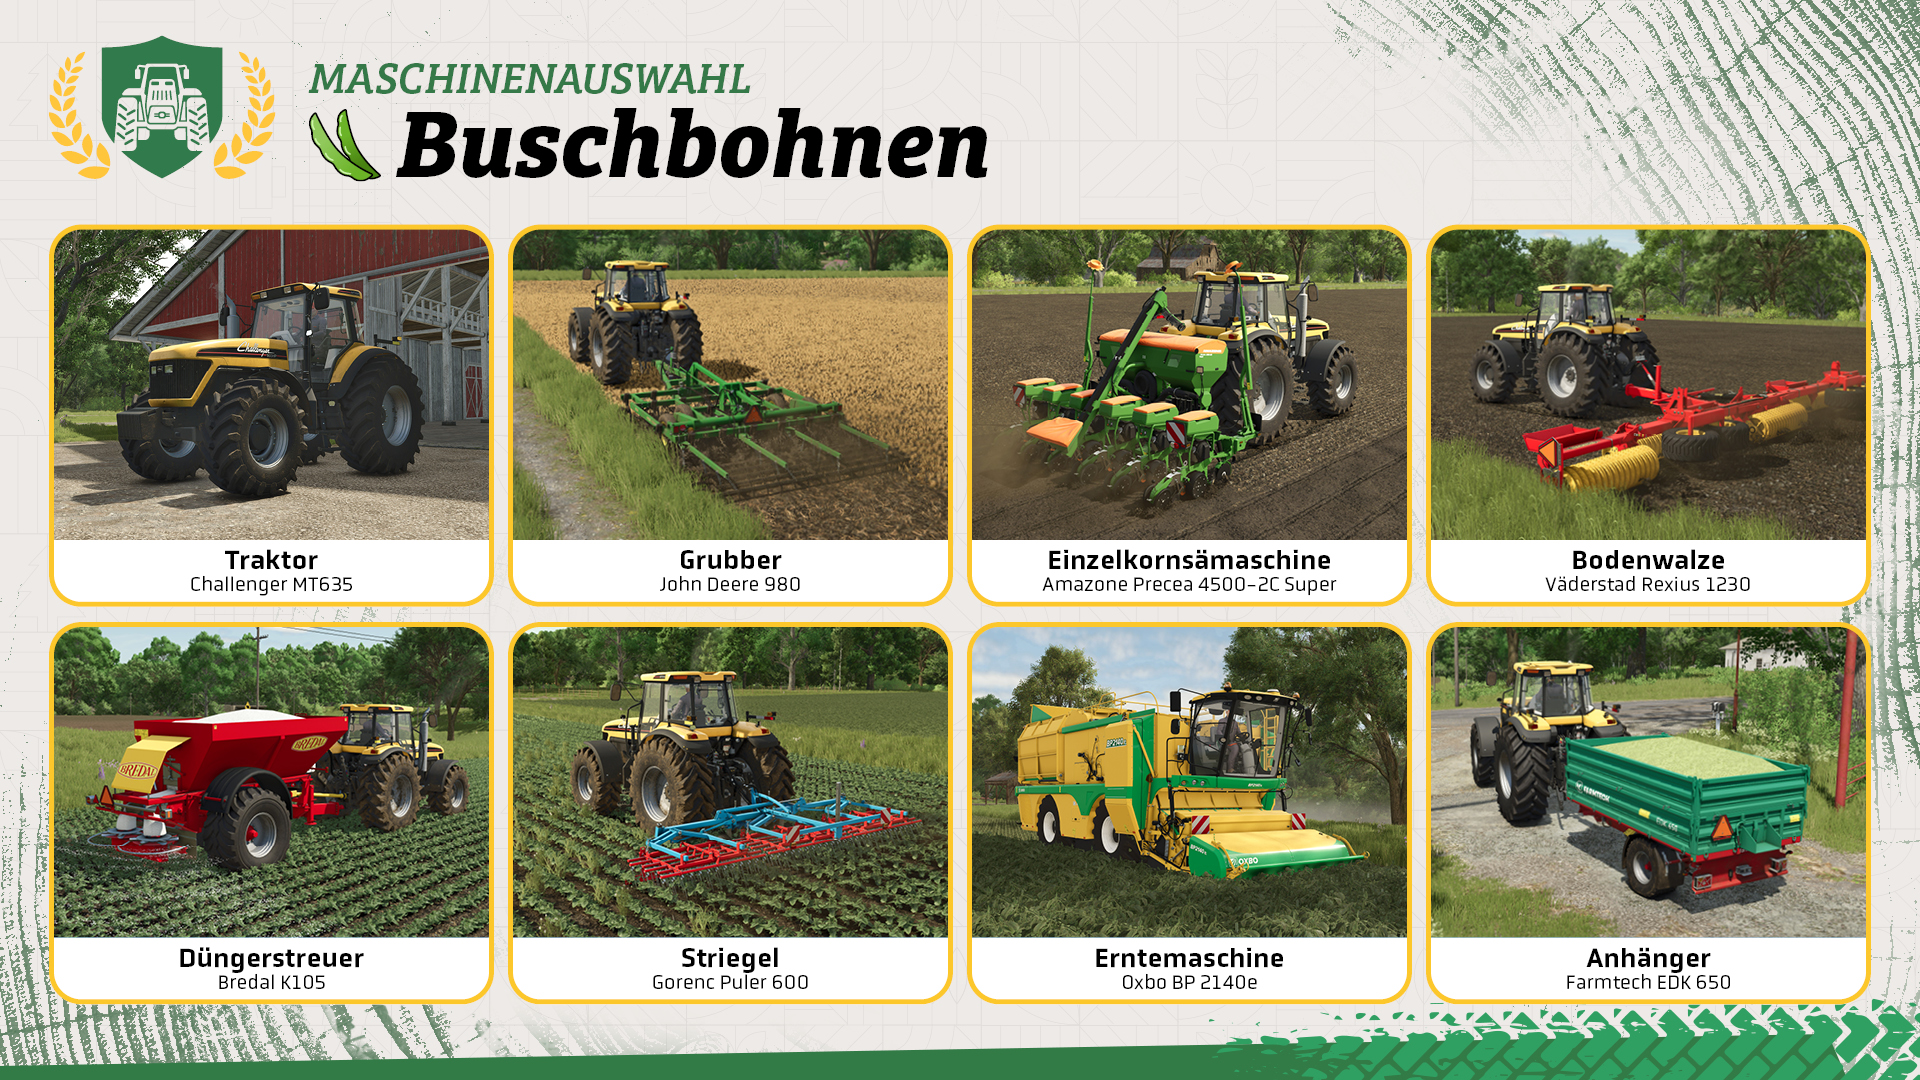
Wir haben die folgende Ausrüstung ausgewählt. Wählt ruhig andere Maschinen, aber beachtet Kompatibilitäten und Leistungsanforderungen, die per Icons und Spezifikationen beim Händler angezeigt werden.
- Traktor: Challenger MT635
- Grubber: John Deere 980
- Einzelkornsämaschine: Amazone Precea 4500-2C Super
- Düngerstreuer: Bredal K105
- Bodenwalze: Väderstad Rexius 1230
- Striegel: Gorenc Puler 600
- Erntemaschine: Oxbo BP 2140e
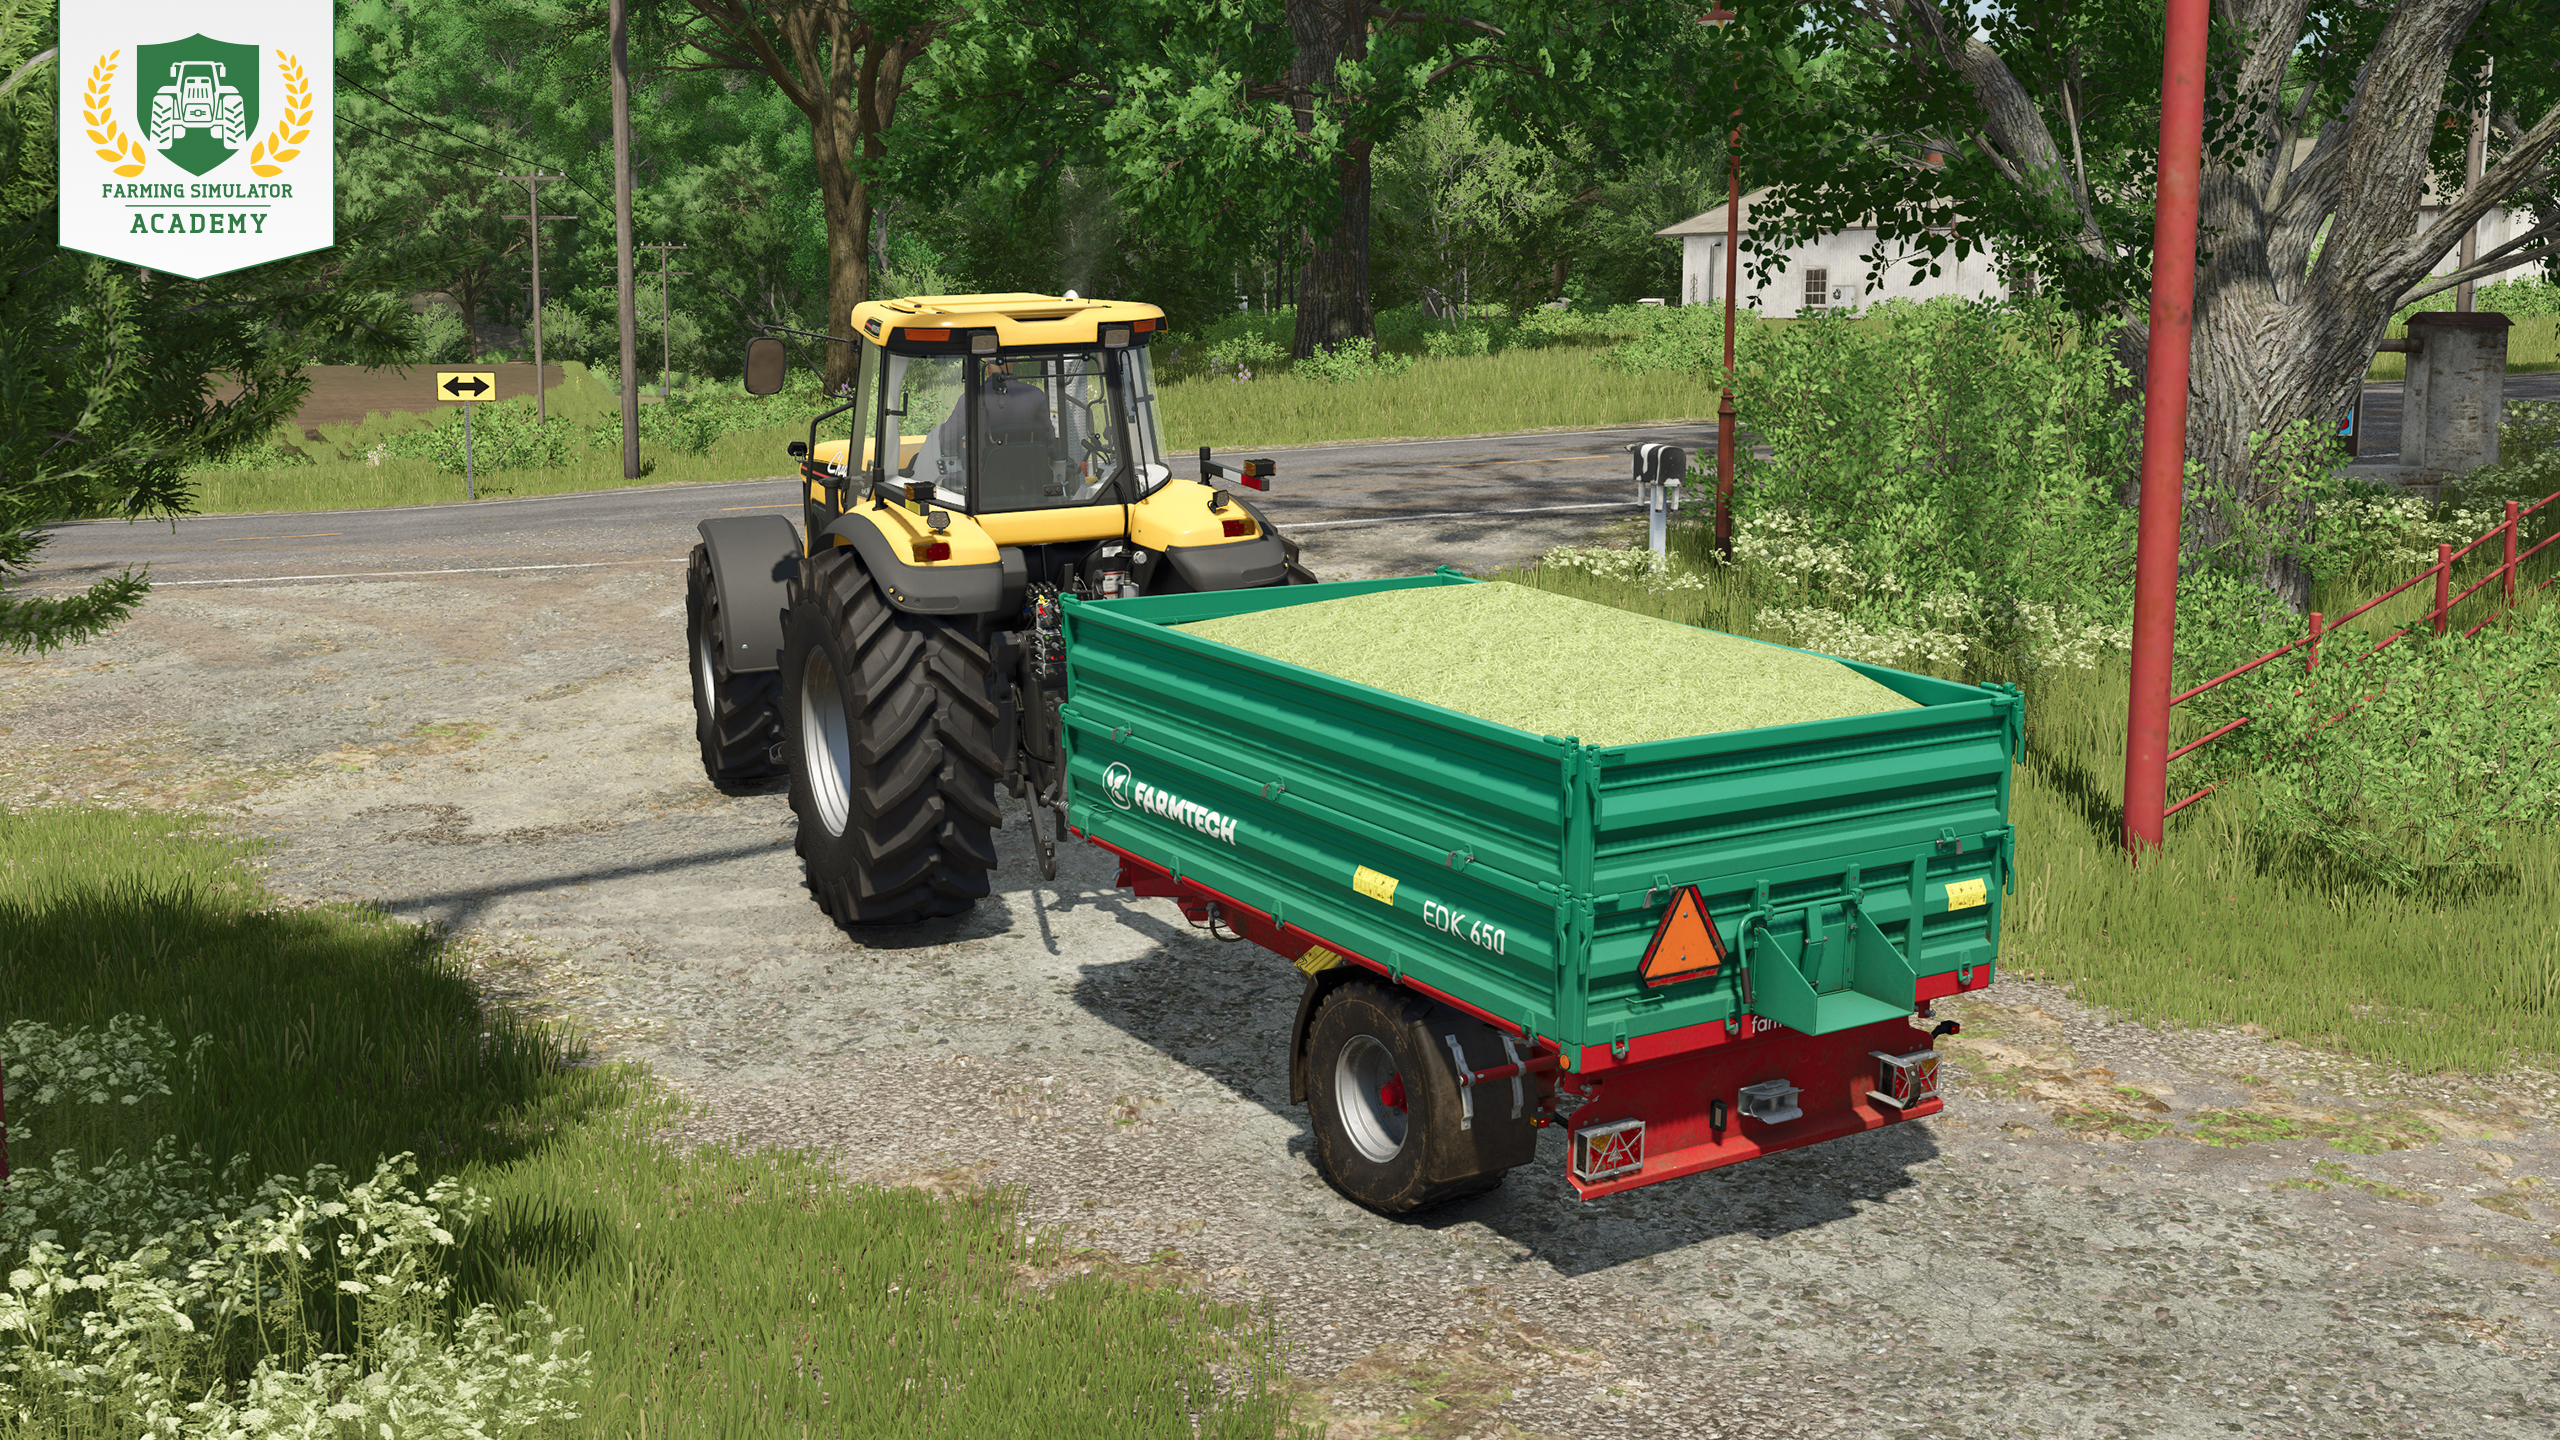
- Anhänger: Farmtech EDK 650
An die Arbeit!
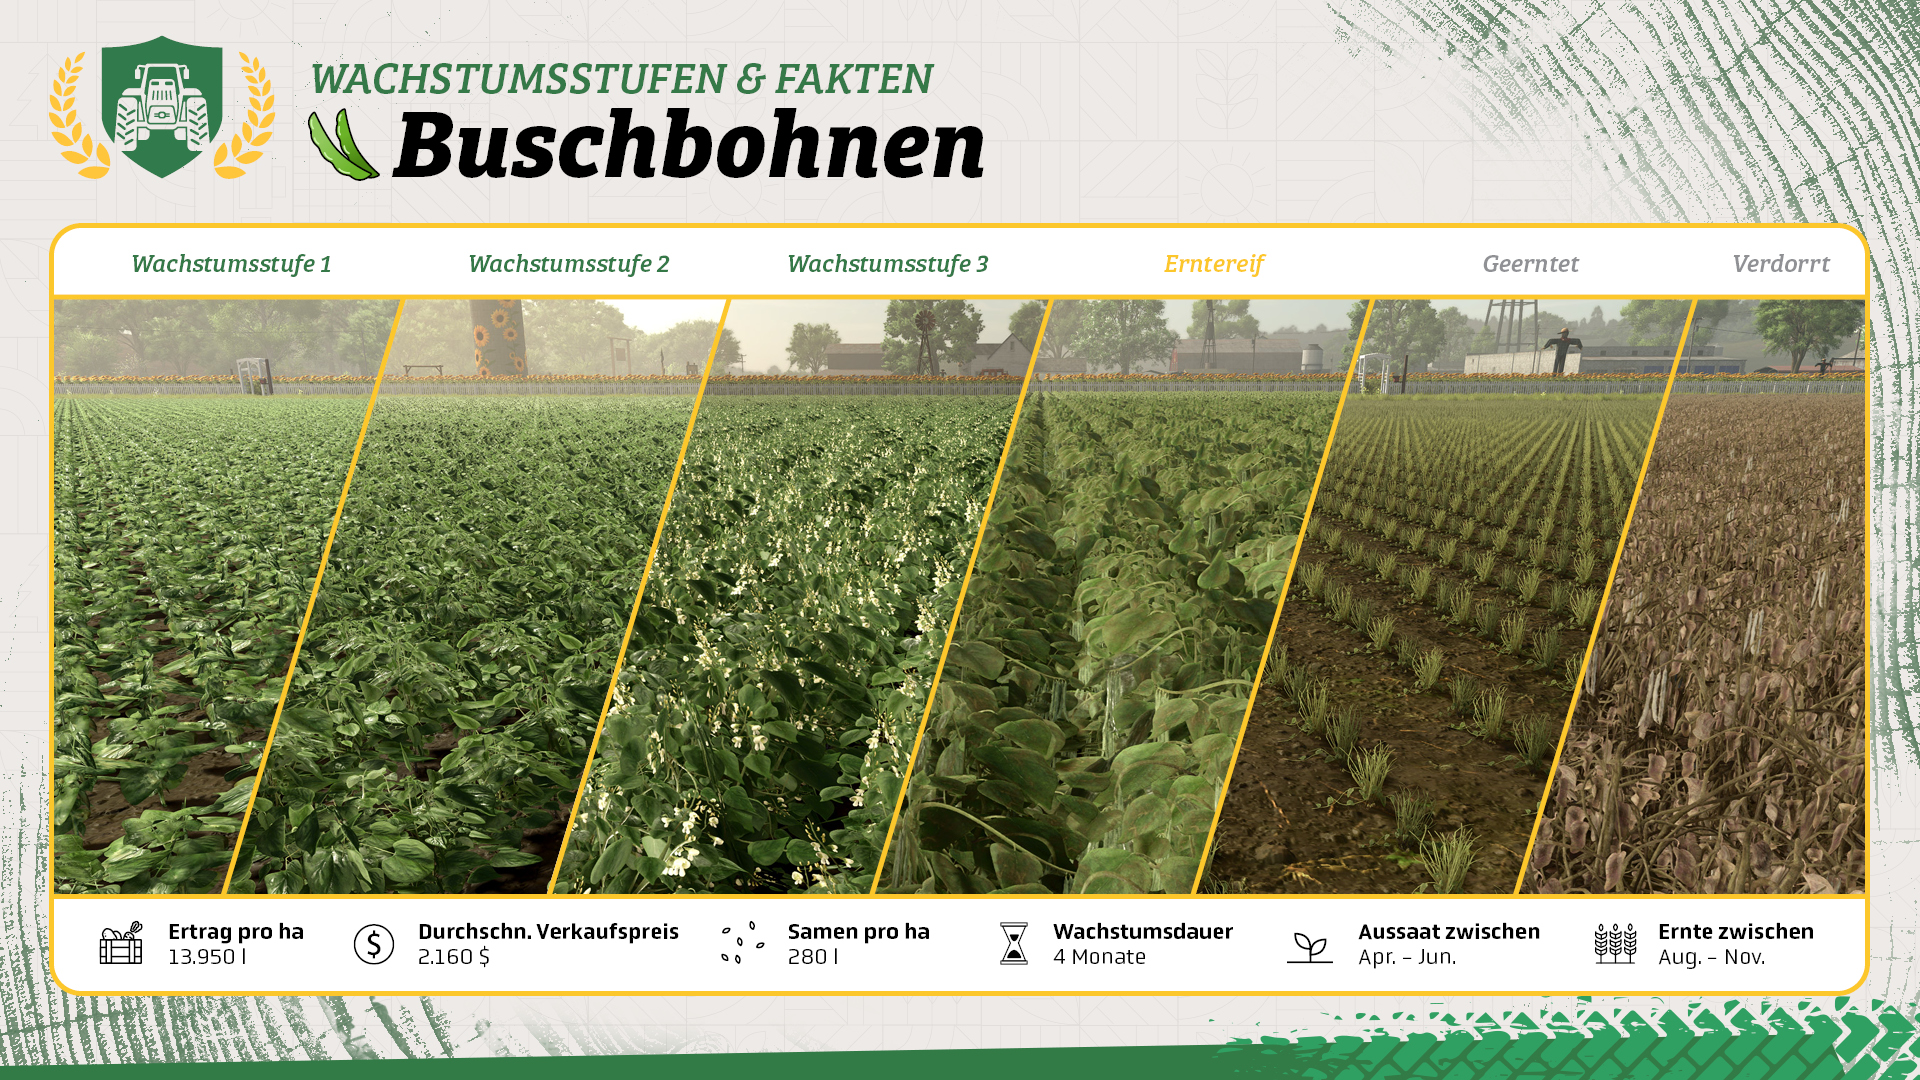
Habt ihr alles, was ihr braucht? Dann lasst uns mit der Aufgabe beginnen und grüne Buschbohnen anbauen! Beachtet, dass ihr diese Feldfrucht nur von Anfang April bis Ende Juli pflanzen und von August bis November ernten könnt, falls das Wachstum nach Jahreszeiten aktiviert ist.
Schritt 1: Kalk auftragen
Verbessert euren Ertrag, indem ihr Kalk auftragt, aber beachtet, dass dies nicht immer notwendig ist. Die Feldinformationsbox zeigt euch an, ob euer Feld Kalk benötigt. Falls ihr den Bredal K105 als Düngerstreuer gekauft habt, könnt ihr diesen auch für Kalk verwenden.
Verbindet den Streuer mit eurem Traktor und positioniert ihn neben den Kalkkisten. Drückt die entsprechende Taste, um die Maschine zu befüllen. Sobald sie gefüllt ist, fahrt zu eurem Feld. Stellt euch an einer Ecke des Feldes auf und beginnt mit dem Auftragen des Kalks.
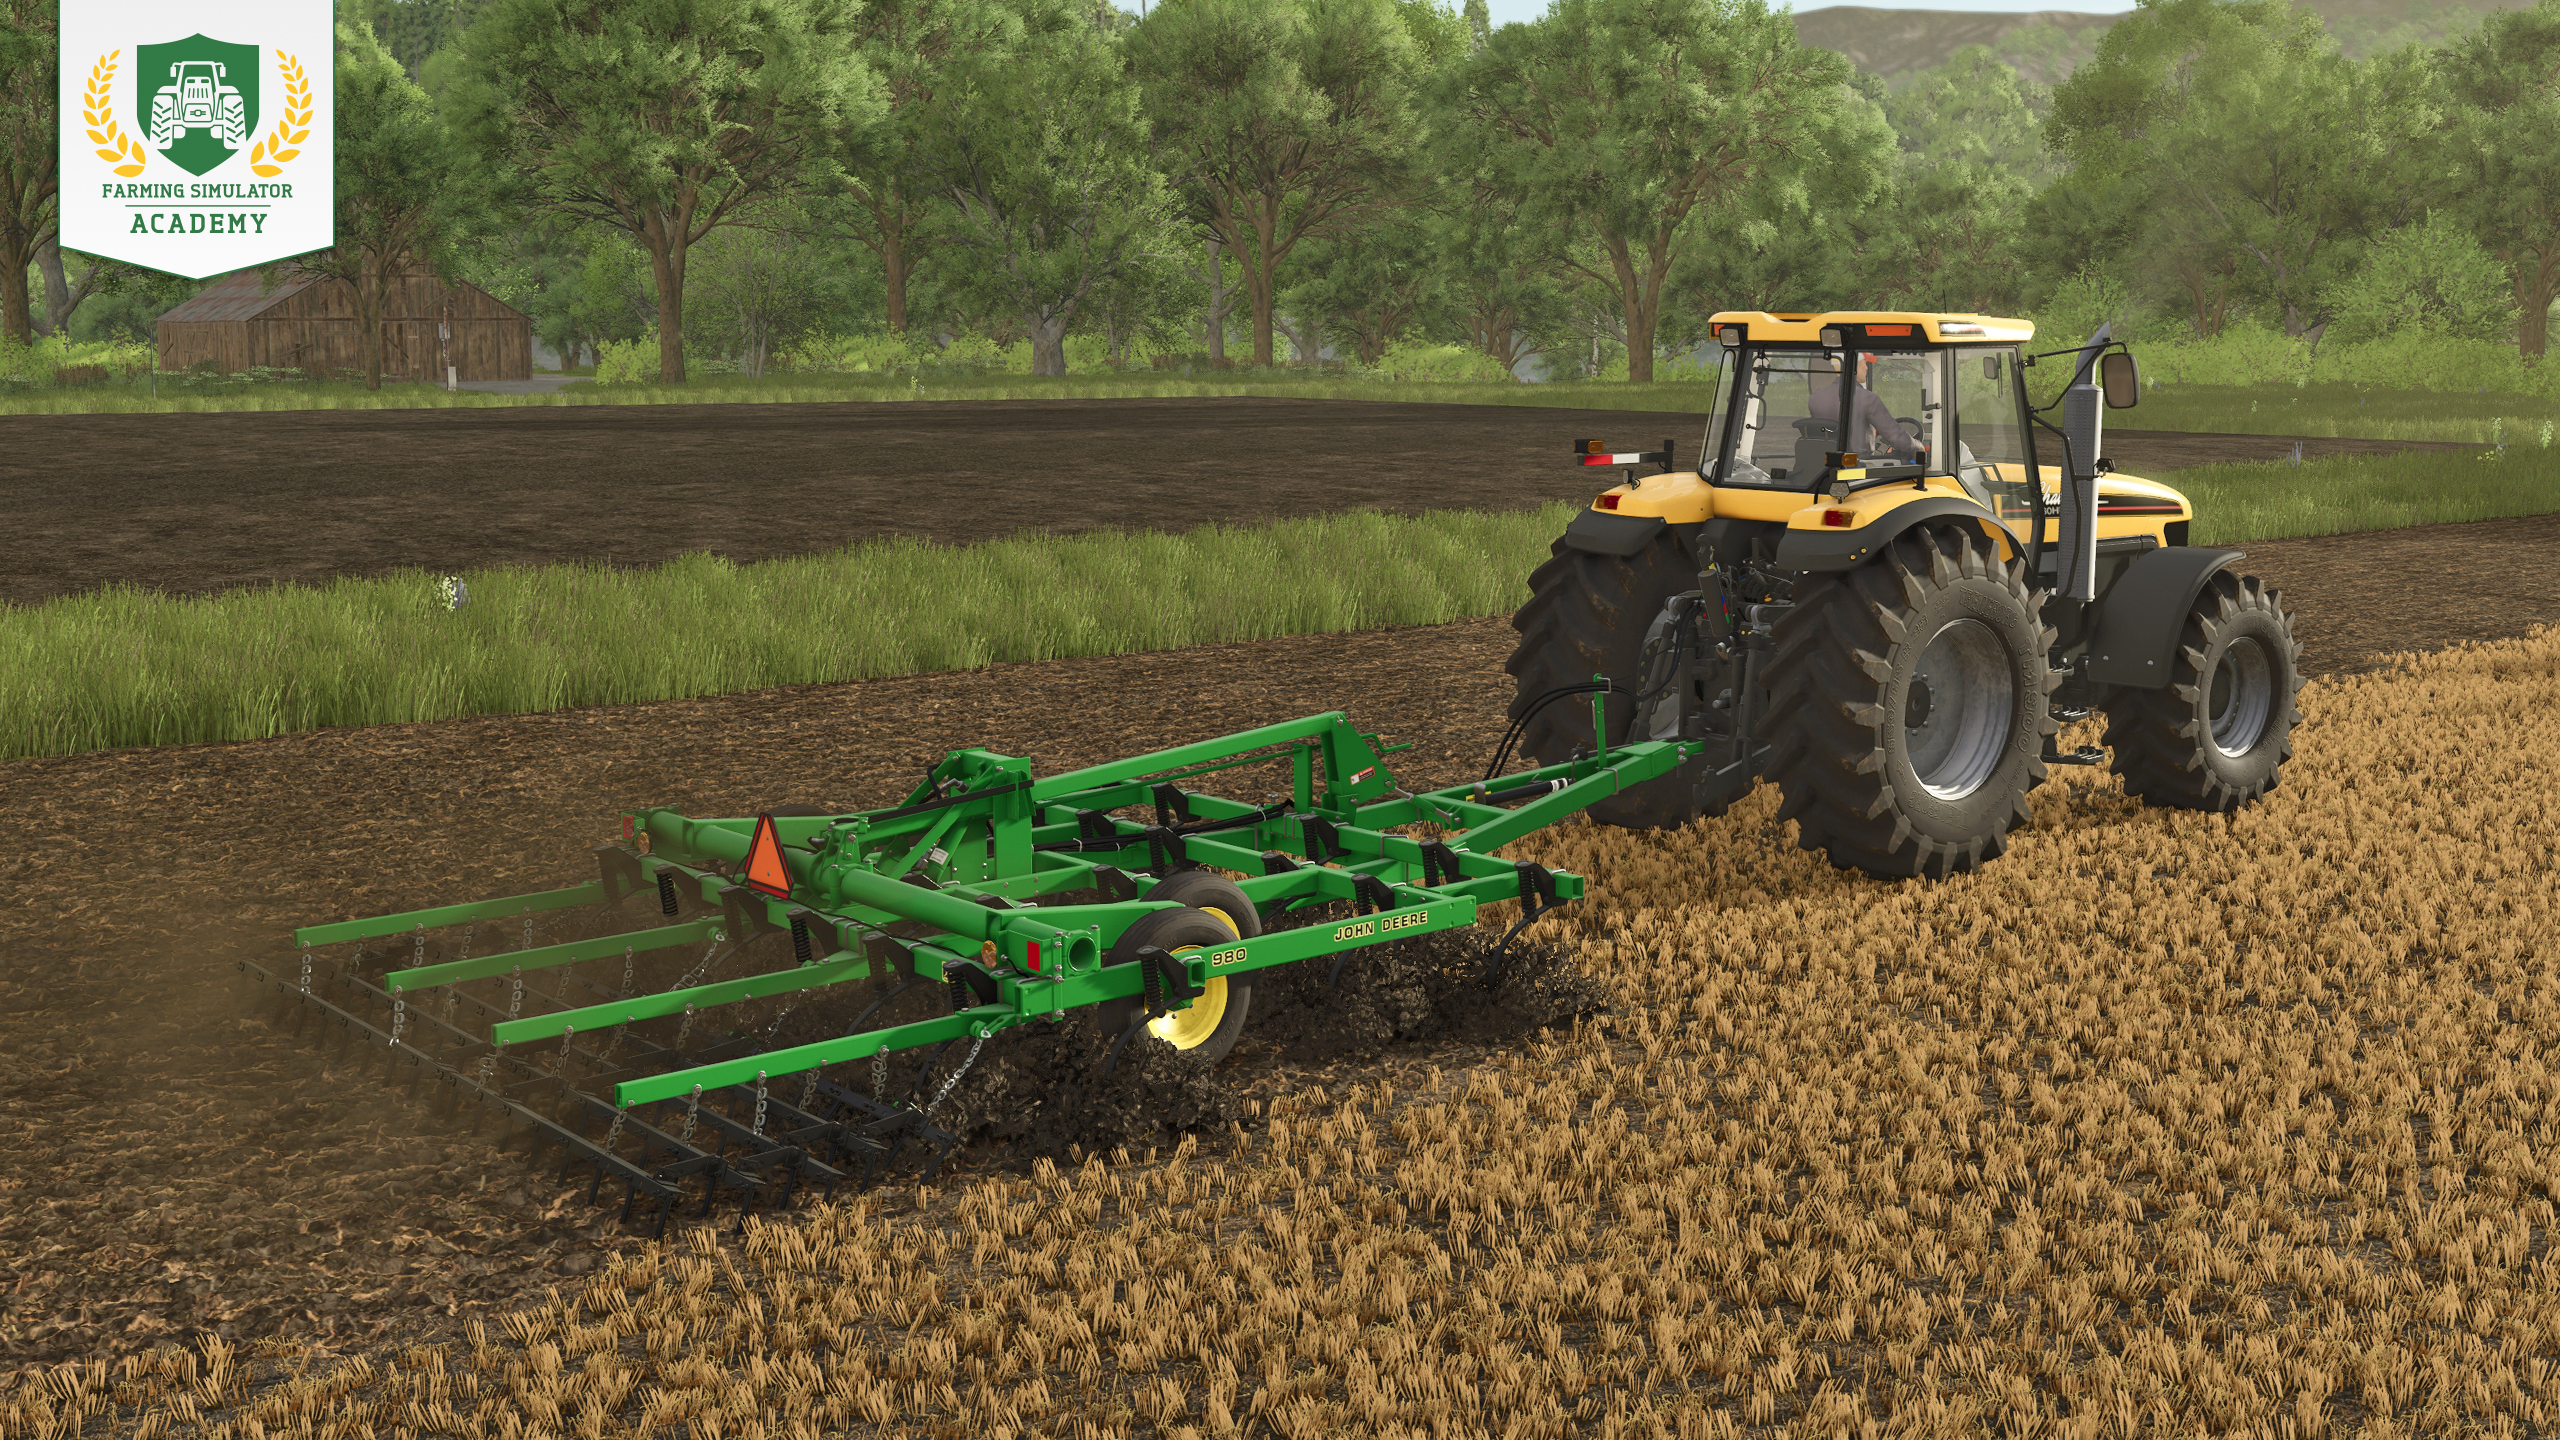
Um Buschbohnen anbauen zu können, müsst ihr zuerst euer Feld grubbern. Verbindet den Grubber mit eurem Traktor, stellt das Fahrzeug an einer Ecke des Feldes ab, senkt den Grubber in den Boden und arbeitet das Feld Reihe für Reihe durch, bis es komplett bearbeitet ist.
Schritt 3: Grüne Bohnen pflanzen
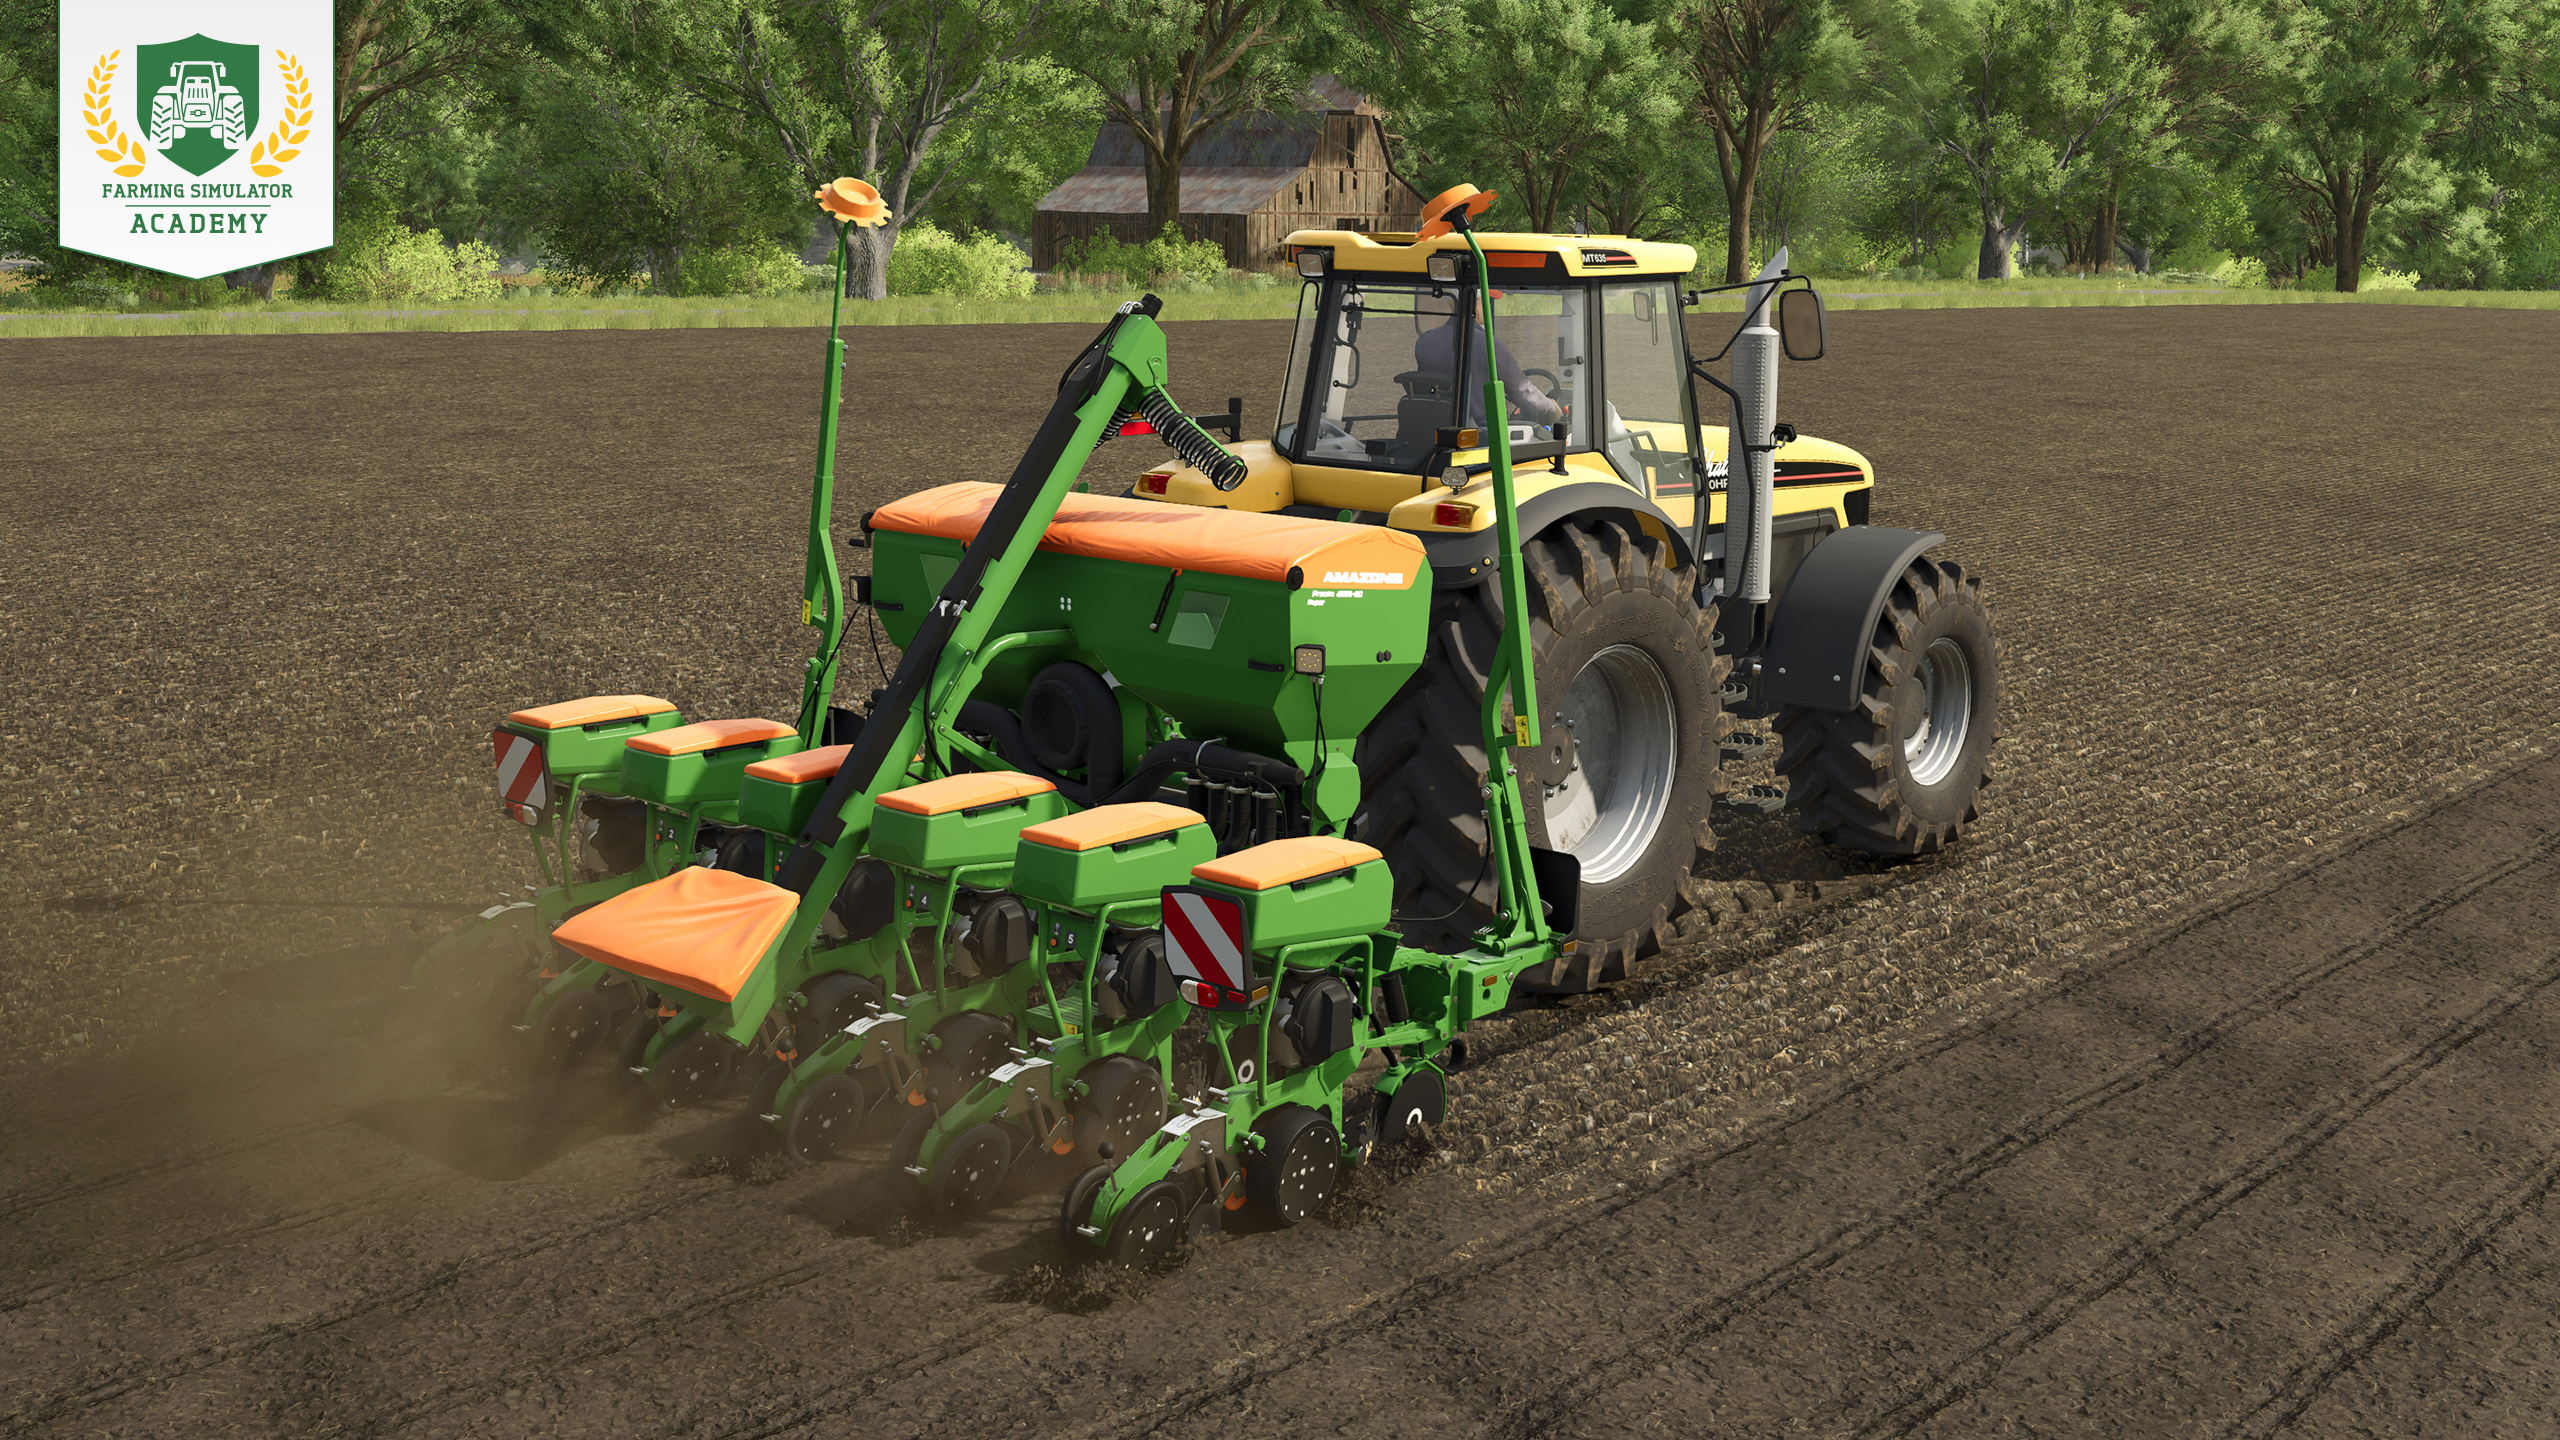
Verbindet die Pflanzmaschine mit eurem Traktor und positioniert sie neben den Samen. Drückt die Taste, um die Maschine zu befüllen. Sobald sie bereit ist, fahrt zurück zu eurem Feld und beginnt den Pflanzvorgang: Positioniert euch an einer Ecke und arbeitet das Feld Reihe für Reihe ab.
Schritt 4: Düngen
Nachdem ihr Kalk aufgetragen habt, entladet überschüssigen Kalk auf eurem Hof und füllt den Dünger nach. Beginnt dann den gleichen Vorgang erneut.
Tipp! Düngt ein zweites Mal, nachdem die Pflanzen zu wachsen begonnen haben, um die Düngung auf 100 % zu erhöhen. Dadurch steigt der Ertrag nochmals an. Mit einem Gülle- oder Miststreuer könnt ihr die doppelte Aktivierungsrate einstellen, um nur einmal düngen zu müssen.
Schritt 5: Walzen
Um den Ertrag weiter zu verbessern, benutzt die Walze auf euren frisch gepflanzten Samen. Dadurch wird der Boden verdichtet und die Qualität und der Ertrag werden um 2,5 % gesteigert.
Schritt 6: Unkraut entfernen
Schon bald wächst das erste Unkraut auf dem Feld. Nutzt den Striegel, um es loszuwerden, bevor es über die erste Wachstumsphase hinausgeht. In dieser frühen Phase könnt ihr es noch mit dem Striegel entfernen. Später wird ein Hackmesser oder eine Feldspritze benötigt, was Kosten verursacht. Spielt mit Ernteschutz und verwendet Traktoren mit schmalen Reifen, um die Pflanzen zu schützen.
Tipp! Ihr könnt das Tempo ein wenig erhöhen, bis das Unkraut zu wachsen beginnt.
Schritt 7: Ernte die grünen Bohnen
Sobald die Pflanzen vollständig gewachsen sind, solltet ihr keine Zeit verschwenden, damit sie nicht zu welken beginnen. Steigt in euren speziellen Erntehelfer, fahrt zum Feld, senkt den Erntevorsatz und beginnt zu ernten.
Sobald die Erntemaschine voll ist, holt euren Anhänger, um die Erntemaschine zu entladen. Fahrt dazu mit dem Anhänger an die Maschine, fahre den Bunker der Buschbohnenmaschine aus und übertragt die geernteten Bohnen in den Anhänger. Wenn die Erntemaschine neben einem Anhänger positioniert ist, entlädt sie sich automatisch.
Schritt 8: Verkauf der grünen Bohnen
Nach der Ernte könnt ihr eure Bohnen verkaufen. Schaut auf dem Preisbildschirm nach dem besten Verkaufsstandort und entladet den Anhänger im gekennzeichneten Bereich.
Gut gemacht!
Herzlichen Glückwunsch, ihr habt eine weitere Lektion abgeschlossen und wisst jetzt, wie man Buschbohnen anbaut. Bleibt dran und schon bald werdet ihr virtuelle Spitzenlandwirte!


